A trailer built without strict adherence to VSB1 standards is a liability, not an asset. You might save a few dollars on scrap steel, but a structural failure at 100km/h on the Bruce Highway costs far more than a professional build. Learning how to build a box trailer from scratch requires more than just a welder and a steady hand. It demands an engineering mindset and a clear understanding of Australian Design Rules to ensure your vehicle is road-legal and safe.
It’s frustrating to spend 40 hours in the shed only to have a registration inspector reject your work because of an undersized axle or incorrect lighting placement. We understand that the technical requirements for a road-legal build can feel like a minefield for many DIY builders. This article provides the engineering steps and compliance knowledge needed to fabricate a durable, heavy-duty trailer using genuine Australian components. We’ll walk through the structural calculations, suspension sizing, and the specific VSB1 requirements to ensure your project passes inspection the first time. You’ll gain the confidence to source the right galvanised parts and build a trailer that handles the harshest Australian conditions.
Key Takeaways
- Understand the National Code of Practice (VSB1) and ATM limits to ensure your trailer build is road-legal and safe for Australian roads.
- Learn the professional engineering steps on how to build a box trailer from scratch using high-grade Australian steel for the chassis and drawbar.
- Identify the correct heavy-duty axles and suspension systems to match your specific load requirements and intended towing terrain.
- Master precise axle positioning and spring hanger installation to achieve optimal ball weight and long-term towing stability.
- Implement reliable LED wiring looms and industrial-grade corrosion protection to ensure your build survives harsh local conditions.
Designing Your Box Trailer for Australian Standards
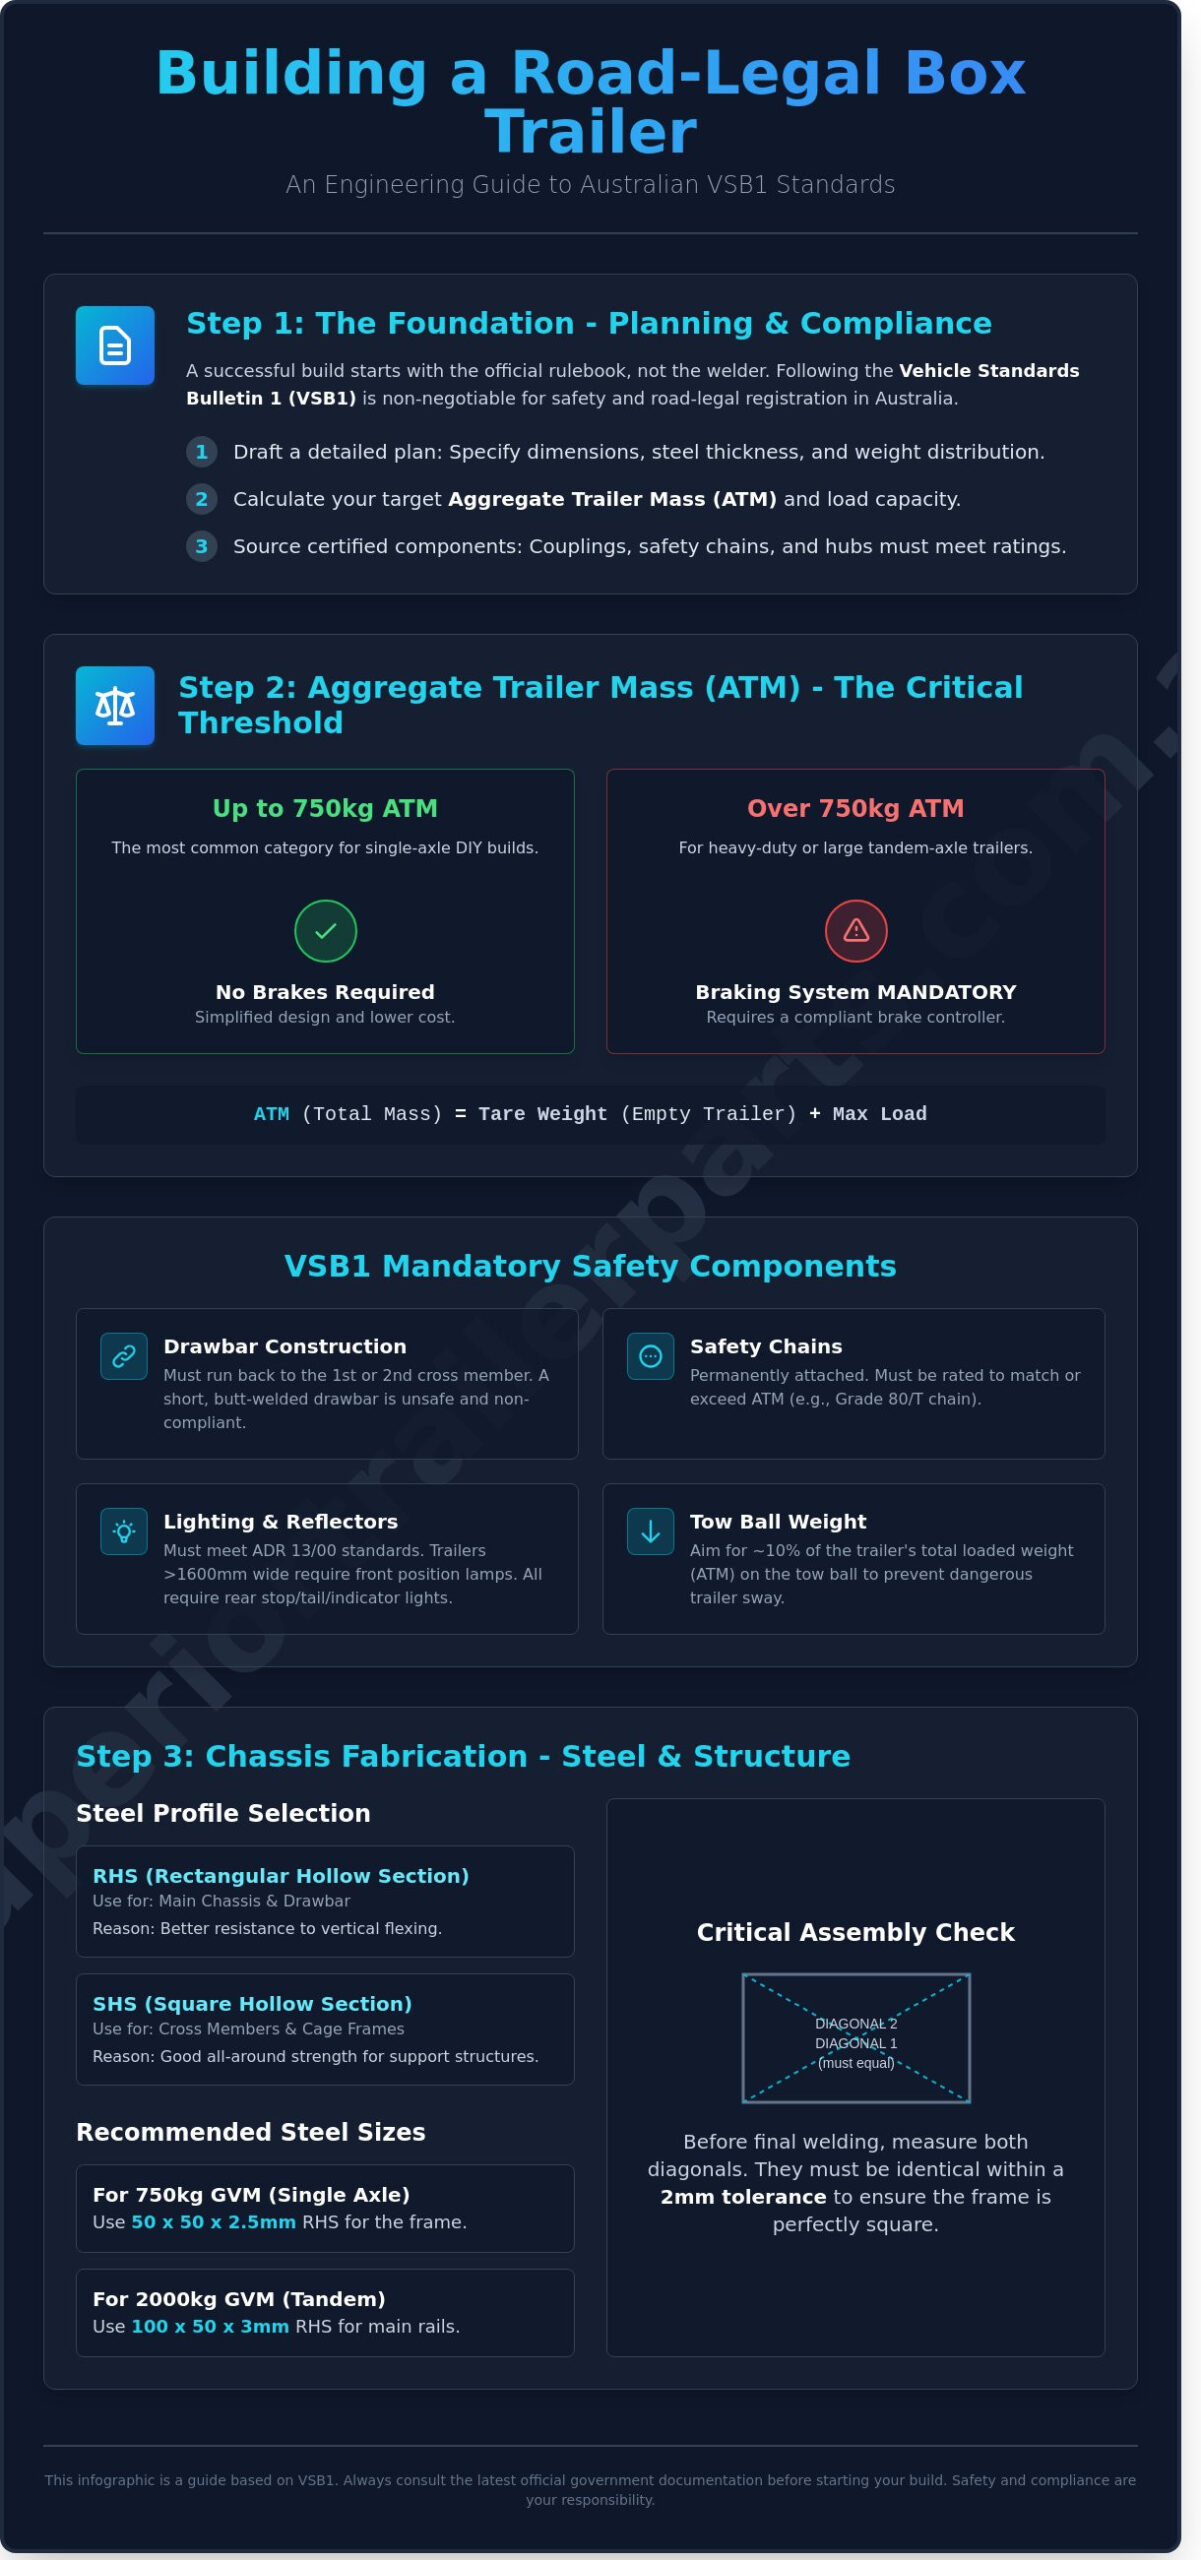
Building a box trailer requires a disciplined engineering mindset. You can’t just weld steel together and hope for the best. Every build starts with the National Code of Practice, specifically Vehicle Standards Bulletin 1 (VSB1). This document provides the technical requirements for small trailers to ensure they’re safe for Australian roads. Learning how to build a box trailer from scratch means studying these rules before you buy your first length of SHS steel. A Trailer (vehicle) is a significant piece of equipment that must handle high-speed travel and heavy loads without mechanical failure.
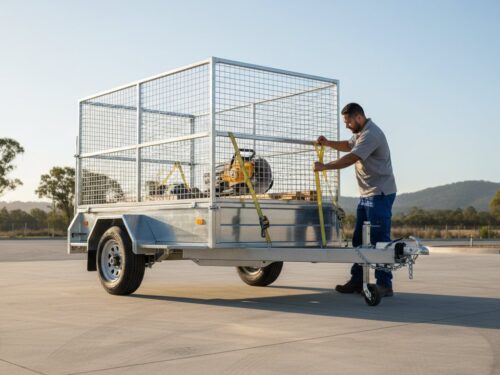
Draft a detailed plan that specifies dimensions, steel wall thickness, and weight distribution. You must identify critical safety components like safety chains, couplings, and hubs that require certified ratings. Weight distribution is vital. You want roughly 10% of the total weight on the tow ball to prevent trailer sway. Use high-quality trailer parts to ensure your build lasts under harsh Australian conditions. This initial design phase prevents costly mistakes during the fabrication process.
Understanding ADR and VSB1 Requirements
VSB1 is your primary technical guide. It defines the standards for everything from drawbar construction to tail light placement. Drawbar length is a critical safety measurement. A drawbar that’s too short makes reversing difficult and reduces towing stability. Safety chains are mandatory and must be permanently attached to the trailer. They require a rating that matches or exceeds your trailer’s ATM, typically using Grade 80 or Grade T chains for trailers up to 3.5 tonnes. You must also follow strict rules for reflector and lighting placement. For example, trailers wider than 1600mm require front position lamps, and all trailers need rear stop, tail, and indicator lights that meet ADR 13/00 standards.
Determining Your ATM and Load Capacity
You must calculate your Aggregate Trailer Mass (ATM) before starting. The ATM is the total weight of the trailer plus the maximum load it can carry. Subtract the Tare weight (the weight of the empty trailer) from the ATM to find your actual load capacity. In Australia, the 750kg ATM mark is a major threshold. Any trailer with an ATM over 750kg must have a functional braking system. Many DIY builders stick to a 750kg limit for single-axle projects to simplify the design and avoid the cost of brake controllers. When you plan how to build a box trailer from scratch, choose your target capacity early. This decision dictates whether you need 39mm round axles or 45mm square axles and determines the specific rating of your leaf springs.
Fabricating the Trailer Chassis and Body
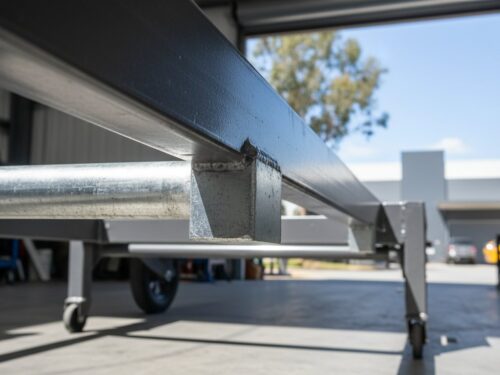
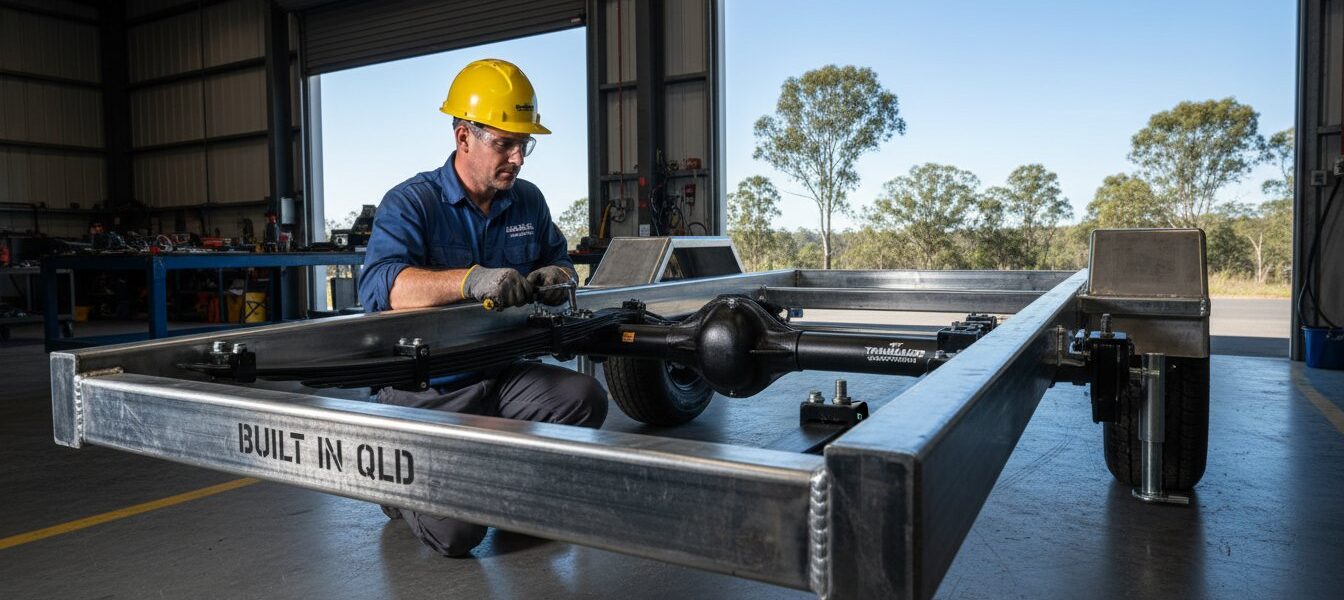
Structural integrity begins with material choice. Use high-grade Australian steel from reputable local mills to ensure your build survives corrugated roads and heavy loads. For most builds, Rectangular Hollow Section (RHS) is the industry standard for the main chassis and drawbar. RHS provides better resistance against vertical flexing compared to Square Hollow Section (SHS), which is often reserved for cross members or cage frames. Understanding how to build a box trailer from scratch requires a focus on the drawbar. It is the most critical structural element. It handles the majority of the stress during braking and turning. Always run the drawbar back to the first or second cross member rather than just butt-welding it to the front of the frame.
Selecting Steel Sections and Cutting
Precision cutting is the difference between a trailer that tracks straight and one that destroys tyres. For a standard 750kg GVM trailer, 50mm x 50mm x 2.5mm RHS is sufficient for the frame. If you are stepping up to a 2000kg tandem build, use 100mm x 50mm x 3mm RHS for the main rails. Use a cold saw or a high-quality drop saw for all 45-degree mitre joins. This ensures tight gaps for stronger welds. Before you strike an arc, remove all mill scale and oil from the joint areas with a flap disc. Clean steel is mandatory for deep weld penetration.
Welding and Frame Assembly
Work on a dead-level concrete floor or a dedicated welding table. Tack-weld the outer frame first and check the diagonals. Both diagonal measurements must be identical within a 2mm tolerance. Following a professional trailer frame setup will help you maintain squareness throughout the heat cycles of welding. When how to build a box trailer from scratch, you must avoid over-welding. Excessive heat causes the steel to warp and creates brittle zones near the joints. Use staggered welding techniques to manage heat distribution. Secure the drawbar underneath the main frame rails for maximum leverage and strength. This overlap design is far superior to flush-mounted drawbars.
- RHS 50x50x3mm: Ideal for 750kg drawbars and frames.
- RHS 100x50x3mm: Recommended for 2000kg heavy-duty builds.
- Check Diagonals: Ensure the frame is square before final welding.
- Surface Prep: Grind all surfaces to bright metal before welding.
Once the frame is rigid, you can begin fitting the floor and side panels. For those seeking trade-quality results without the fabrication hassle, reviewing the specs of heavy duty single axle box trailers provides an excellent blueprint for professional bracing and tie-down point placement. Always ensure your welds are clean and free of slag before moving to the suspension fitment phase.
Selecting High-Quality Running Gear and Hardware
The axle serves as the heart of your trailer’s performance. When you learn how to build a box trailer from scratch, you’ll find that component quality directly impacts road safety. Using genuine trailer axles is essential. These parts are engineered to withstand harsh Australian road conditions and heavy load cycles without bending. Selecting a high-quality axle ensures the spindle geometry remains true, which prevents premature tyre wear and bearing failure.
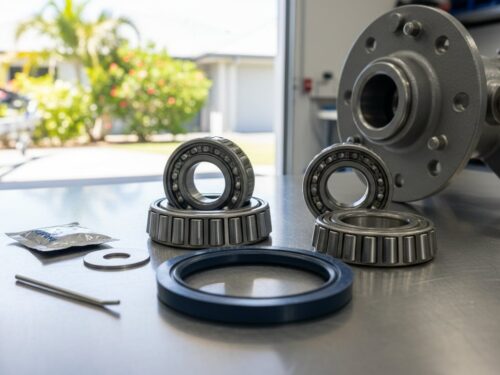
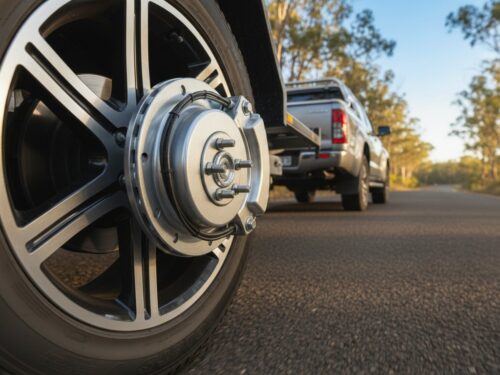
Axle and Hub Selection
Choose your axle based on the intended Gross Vehicle Mass (GVM). A 39mm round axle handles light-duty tasks up to 750kg GVM. For heavy-duty applications, move to a 45mm square axle. The square profile provides more surface area for U-bolts and handles higher torque loads. High-quality bearings are vital for reliability. Cheap bearings often fail under heat, leading to seized hubs and expensive roadside repairs. Ensure your hub stud pattern matches your intended wheels. Ford (5 x 114.3mm) and Holden (5 x 108.0mm) patterns are the Australian industry standards. Deciding this early prevents compatibility issues during the final assembly stage.
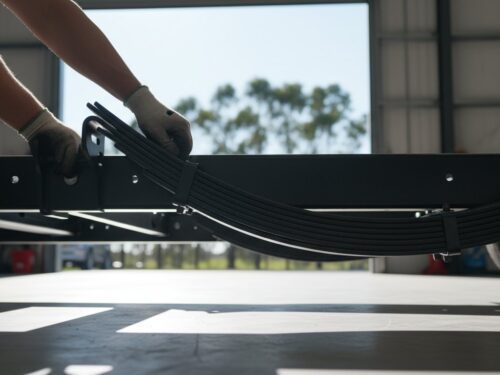
Suspension Systems: Slipper vs. Eye-to-Eye
Standard box trailers typically use 4 leaf slipper springs. They’re reliable, simple to install, and cost-effective for trailers under 750kg. If you plan to travel on unsealed roads or carry fragile cargo, upgrade to eye-to-eye springs. These provide superior shock absorption by using a shackle bolt at both mounting points, allowing the spring to flex more naturally. When positioning your spring hangers, don’t place the axle exactly in the centre of the chassis. Offset the axle 25mm to 50mm toward the rear of the trailer. This creates the necessary downward pressure on the tow ball to prevent dangerous trailer sway at 100km/h.
Couplings and Safety Chains
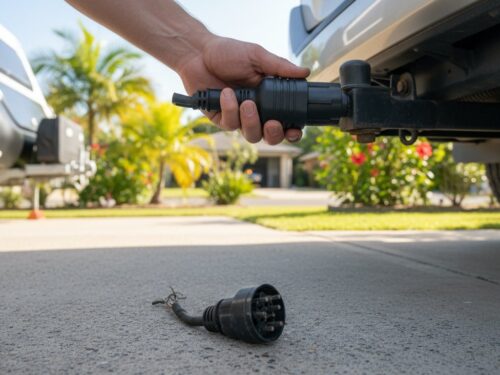
Compliance with Australian Design Rules (ADR) is a legal requirement for registration. You must select ADR-approved couplings and parts to pass inspection and ensure road safety. For a single axle build, choose between a 2-hole or 3-hole fixed coupling. The 3-hole variant offers a more secure attachment to the drawbar. Safety chains require permanent fixing for compliance. They must be welded to the drawbar, not bolted. A 10mm rated chain is the standard requirement for trailers up to 2,500kg. This ensures the trailer remains attached to the tow vehicle if the coupling fails.
Understanding how to build a box trailer from scratch means focusing on the mechanical details that keep the trailer stable. Selecting the right hardware now saves money on maintenance and ensures your trailer remains roadworthy for years to come.
Installing the Suspension and Axle Assembly
Correct suspension installation determines how your trailer handles under load. When learning how to build a box trailer from scratch, the axle placement is your most critical measurement. A misplaced axle leads to poor weight distribution; this causes dangerous trailer sway at highway speeds. You must ensure the axle sits square to the chassis to prevent uneven tyre wear and tracking issues. This stage requires precision engineering to ensure the trailer tracks straight behind the tow vehicle.
Calculating Axle Position
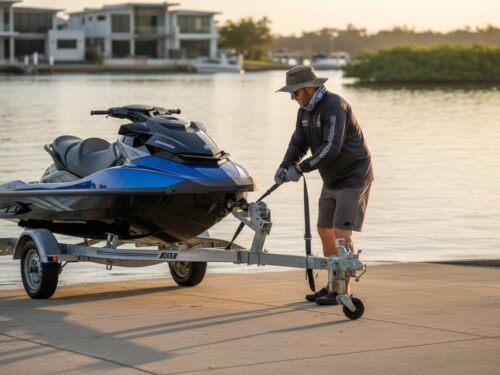
Follow the 60/40 rule for most standard box trailer builds. This means 60% of the trailer tray length should be positioned in front of the axle centreline. For a 2100mm tray, the axle centre should sit 1260mm from the front of the box. This configuration typically produces a ball weight between 10% and 15% of the total ATM. Specialized setups like jet ski trailers often require the axle to be shifted further rearward to compensate for the heavy engine weight at the back of the watercraft. Insufficient ball weight is the primary cause of high-speed instability and jackknifing.
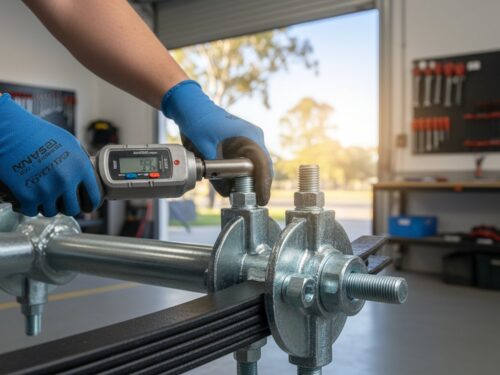
Fitting Hangers and U-Bolts
Position your spring hangers on the chassis rails and tack weld them first. Measure diagonally from the front coupling point to each hanger to ensure the assembly is perfectly square. A variance of even 2mm can cause the trailer to “dog track” down the road. Once verified, perform a full structural weld around the hanger base. Secure the axle to the leaf springs using heavy-duty u-bolts and fish plates. These kits provide the necessary clamping force to keep the axle from shifting during heavy braking or sudden impacts.
You must never weld directly to the axle beam. The heat from a welder alters the steel’s molecular structure and creates a brittle failure point that will eventually snap under load. Tighten u-bolts to the specific torque requirements for your bolt diameter, usually between 90Nm and 110Nm for 12mm bolts. Always re-check these torque settings after the trailer has completed its first 100 kilometres of travel to account for initial settling.
Verify all clearances before finishing the assembly. You need at least 50mm of vertical travel space between the top of the tyre and the underside of the mudguard. Ensure there is a minimum of 25mm clearance between the tyre sidewall and the trailer chassis. This prevents rubbing when the suspension flexes under heavy loads or during sharp cornering. If you don’t allow for this movement, you risk a high-speed blowout.
Secure your build with professional components and browse our range of heavy-duty trailer axles today.
Electrical Wiring, Finishing, and Registration
Completing the structural frame is a major milestone, but the final stage of how to build a box trailer from scratch involves making the unit road-legal and weather-resistant. This phase requires precision in electrical work and a commitment to high-quality surface protection. You aren’t just building a frame; you’re creating a piece of equipment that must survive the Australian sun and salted coastal roads.
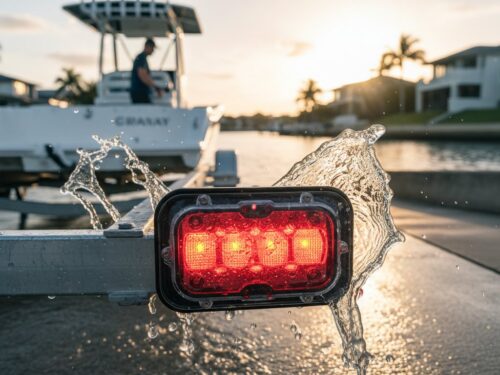
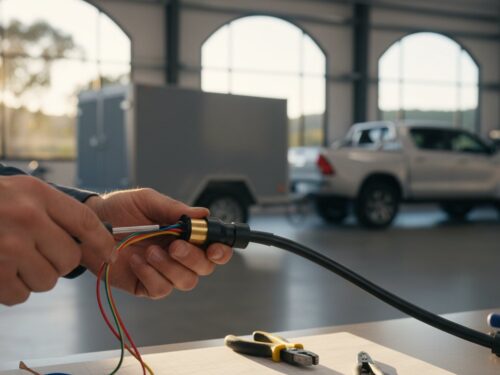
Trailer Lighting and Wiring
Reliability starts with a high-quality wiring loom. Use tinned copper wire for all connections. Standard copper wire can corrode internally when exposed to moisture, but tinned wire resists “wicking” and ensures long-term conductivity. For a standard 7-pin flat plug, follow the Australian wiring code: Yellow for left turn, Blue for service brakes, White for earth, Green for right turn, Brown for tail and markers, Red for stop lights, and Black for reverse. Install LED submersible lights to avoid the frequent bulb failures common with incandescent units. Ensure your number plate light is positioned to illuminate the plate clearly, and mount side markers if your box trailer exceeds 2.1 metres in width.
Corrosion Protection and Finishing
Hot-dip galvanising is the gold standard for Australian trailers. This process involves dipping the entire frame into molten zinc, creating a 50-micron thick metallurgical bond that protects both the interior and exterior of the steel tubing. If you choose to paint instead, preparation is everything. Use a grinder to smooth all sharp edges and weld spatter. This prevents the finish from chipping and stops rust from gaining a foothold. Apply a 90% zinc-rich primer followed by two coats of industrial-grade enamel topcoat. This “belt and braces” approach ensures the steel remains protected against the elements for years.
The Registration and VIN Process
Successfully completing the steps for how to build a box trailer from scratch requires meeting the Vehicle Standards Bulletin 1 (VSB1) requirements. You must apply for a Vehicle Identification Number (VIN) through your state transport authority, such as VicRoads or NSW Service. Once you have the VIN, stamp it into the drawbar on the left-hand side. You’ll need to book a safety inspection where an officer checks your welds, safety chains, and light placements. Before you go, ensure you have the following ready:
- A weighbridge certificate confirming the tare weight.
- Original receipts for all major components like axles and couplings.
- A completed self-build construction summary.
- A compliant VIN plate riveted to the drawbar.
Once the inspector signs off, you’ll pay your registration fees and receive your plates. Your custom-built trailer is now ready for the road.
Get Your Custom Build on the Road
A professional build relies on two factors: engineering precision and high-grade materials. You must follow the Vehicle Standards Bulletin 1 (VSB1) to ensure your trailer is road-legal and safe for Australian highways. Focus on structural integrity by using heavy-duty galvanised steel for the chassis and selecting suspension systems rated for your specific Aggregate Trailer Mass (ATM). Mastering how to build a box trailer from scratch gives you a custom, durable asset that outperforms generic mass-produced alternatives.
This passion for custom fabrication and high-performance materials often extends to other vehicles. For enthusiasts who apply the same engineering mindset to their motorcycles, seeking lightweight strength and a premium finish, you can discover Upper Carbon to see what’s possible with advanced composite parts.
Once your trailer is complete, ensuring your tow vehicle is up to the task is the next logical step. Many builders apply the same mindset of performance and durability to their truck or SUV. For those looking to enhance their vehicle’s towing power and sound, you can explore AWE Track Edition Exhaust options for a significant upgrade.
This new asset opens up a world of possibilities, from trade work to recreational adventures or even launching a mobile food business. If you’re exploring the commercial route, you can check out Southern Select Equipment for insights on the necessary professional-grade gear.
Superior Trailer Parts is your partner in this project. We’re 100% Australian Owned and Operated, providing the local industry with reliable components designed for our tough environment. We offer nationwide shipping on all parts and provide expert technical advice for DIY builders who need specific technical answers. Source heavy-duty components for your DIY build at Superior Trailer Parts and start your fabrication today. You’ve got the plan; now get the gear to finish the job right.
Frequently Asked Questions
Do I need a license to build my own trailer in Australia?
You don’t need a specific trade license to build a trailer in Australia. However, every trailer must comply with the National Code of Practice, specifically Vehicle Standards Bulletin 1 (VSB1). This document outlines technical requirements for lights, safety chains, and dimensions. Failure to follow these engineering standards means your trailer won’t pass inspection or receive registration.
Can I build a trailer without a welder?
You can build a trailer using heavy-duty bolts and pre-drilled components, but welding is the industry standard for a professional chassis. A bolted frame requires high-tensile Grade 8.8 bolts and regular torque checks to prevent loosening from road vibration. Most experts recommend a welded construction for long-term durability and structural rigidity when learning how to build a box trailer from scratch.
What is the maximum width allowed for a box trailer?
The maximum allowable width for a box trailer in Australia is 2.5 metres. This measurement includes all permanent fixtures like mudguards and lights, but excludes side mirrors on the towing vehicle. For a standard 6×4 or 7×5 build, you’ll typically stay well under this limit. Exceeding 2.5 metres requires special permits and “Oversize” signage according to state transport regulations.
Do I need brakes on a 750kg ATM box trailer?
Brakes aren’t legally required for trailers with an Aggregate Trailer Mass (ATM) of 750kg or less. Once the ATM exceeds 750kg, you must install at least an overrun braking system on one axle. For trailers over 2,000kg ATM, independent power-actuated brakes and a breakaway system become mandatory. Always verify your specific state’s registration requirements before finalizing your braking setup.
How do I get a VIN for a home-built trailer?
You obtain a Vehicle Identification Number (VIN) by applying through your local state transport authority, such as VicRoads or Transport for NSW. You’ll need to provide receipts for major components and a weighbridge certificate. Once approved, you must stamp the 17-character VIN into the drawbar or a permanent plate. This process ensures the trailer is tracked in the National Exchange of Vehicle and Driver Information System (NEVDIS).
What type of steel is best for a trailer chassis?
Galvanised Rectangular Hollow Section (RHS) steel is the superior choice for a trailer chassis. Use 75mm x 50mm x 3mm RHS for the main frame of a standard box trailer to ensure high load-bearing capacity. Galvanised steel resists corrosion far better than painted mild steel, especially in coastal environments. This material provides the necessary strength-to-weight ratio for a reliable, long-lasting build.
Can I use second-hand axles for a new trailer build?
You can use second-hand axles, but we don’t recommend it for a new professional build. Used axles often hide fatigue cracks or bent spindles that compromise safety. A new 39mm or 45mm round axle costs approximately A$150 to A$250 and provides guaranteed structural integrity. Investing in new, genuine parts ensures your trailer meets modern safety standards and handles heavy-duty loads without failure.
How much does it cost to build a 6×4 box trailer from scratch?
Building a 6×4 box trailer from scratch typically costs between A$1,200 and A$1,800 for materials and parts. This estimate includes A$400 for steel, A$300 for an axle and leaf spring kit, and A$250 for wheels and tyres. Registration and inspection fees add another A$150 to A$200 depending on your state. Buying quality components Australia-wide ensures you get the best value for a durable, heavy-duty result.