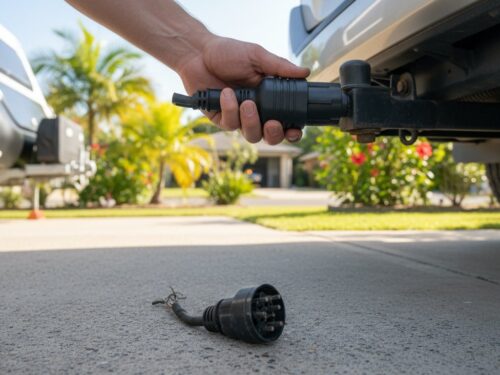
A single loose wire or corroded terminal in your trailer plug can turn a simple haul into a costly roadside fine or a dangerous electrical failure. Faulty lighting accounts for approximately 15% of trailer-related defect notices during roadside inspections. You’ve likely dealt with the frustration of flickering lights or blown fuses in your towing vehicle just as you’re ready to hit the highway. It’s a common headache for many Australian drivers who find themselves confused by the differences between 7-pin and 12-pin configurations. Getting your trailer plug wiring right isn’t just about convenience; it’s a legal requirement under Australian Design Rules that keeps you and other road users safe.
Superior Trailer Parts provides the expert advice you need to master these technical requirements. We’ll show you the exact color codes and wiring diagrams for both flat and round connectors to ensure your system is heavy-duty and reliable. This reference covers everything from basic 7-pin setups to complex 12-pin connections. You’ll learn how to avoid intermittent faults and keep your trailer road-legal across Australia. We’re an Australian Owned and Operated specialist focused on getting your gear back on the road with minimal fuss.
Key Takeaways
- Ensure ADR compliance and road safety by following established Australian standards for vehicle-to-trailer communication.
- Compare 7-pin and 12-pin configurations to determine the correct plug for your specific towing requirements.
- Master trailer plug wiring techniques and learn to troubleshoot flickering lights caused by poor earth connections.
- Prevent corrosion and “green rot” by using tinned copper wire and heavy-duty components designed for harsh Australian conditions.
- Use essential tools like multimeters and crimpers to achieve professional, secure electrical connections.
Standard Trailer Wiring in Australia: Safety and Compliance
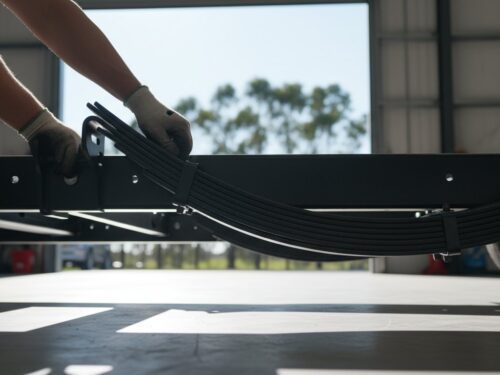
Correct trailer plug wiring is a legal necessity under Australian Design Rules (ADR). ADR 13/00 dictates the installation of lighting and light-signalling devices on all trailers. You shouldn’t compromise on these standards. A faulty connection means your indicators or brake lights won’t sync with your tow vehicle. This creates a high-risk environment for every road user. Superior Trailer Parts provides the heavy-duty components needed to maintain these connections. Every wire must be seated correctly to handle the vibration and dust of Australian roads.
Australia uses a specific national colour coding system. This ensures any vehicle can hitch to any trailer safely. Using a “near enough” approach leads to short circuits or blown fuses. Electrical safety on the road depends on precision. It’s about more than just a working light; it’s about reliable communication between the two vehicles. High-quality terminals prevent voltage drops that dim your signals. If the plug fails, the trailer becomes a blind hazard to following traffic.
The Legal Requirements for Trailer Lighting
All trailers must feature functional indicators, stop lights, tail lights, and a white number plate light. If your trailer exceeds 750kg GTM, it requires specific braking signals to meet ADR 38/05 standards. Police can issue on-the-spot fines exceeding A$400 per non-functional light in some states. Insurance companies often reject claims if they determine that non-compliant trailer plug wiring contributed to an accident. Keeping your lighting up to code is the only way to ensure total compliance and safety.
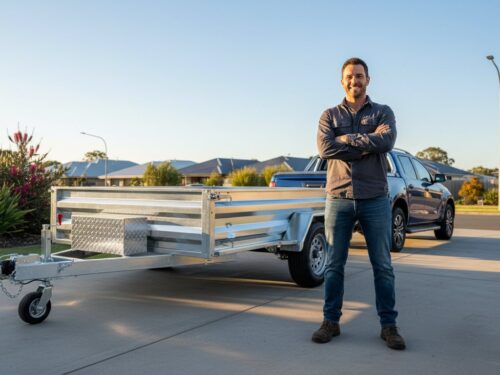
Identifying Your Plug and Socket Type
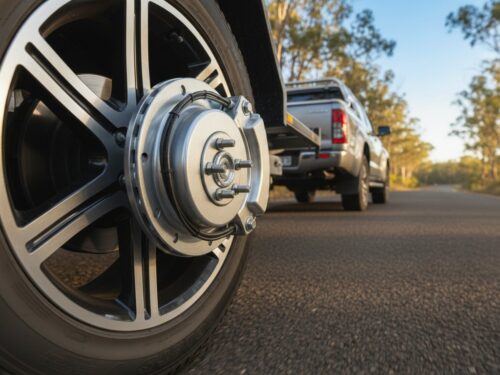
Most Australian setups use either flat or round plugs. Flat 7-pin plugs are common for standard box trailers. Caravans often require 12-pin flat plugs to power internal appliances and charging circuits. Round plugs come in small (35mm) or large (70mm) diameters. Large round plugs are typically found on heavy-duty commercial equipment or older agricultural trailers. Check if your vehicle uses a factory-fitted loom or an aftermarket bypass. Modern vehicles with CAN bus systems require specific wiring modules to prevent computer errors. Match your plug to the vehicle’s towing capacity to ensure reliable performance every time you hit the road.
Just as commercial trailers require robust electrical connections, businesses using them for events and trade shows need durable presentation equipment. For example, specialists like Coker Exhibition Systems Ltd (CokerExpo) offer a range of reliable exhibition displays designed for transport and frequent use.
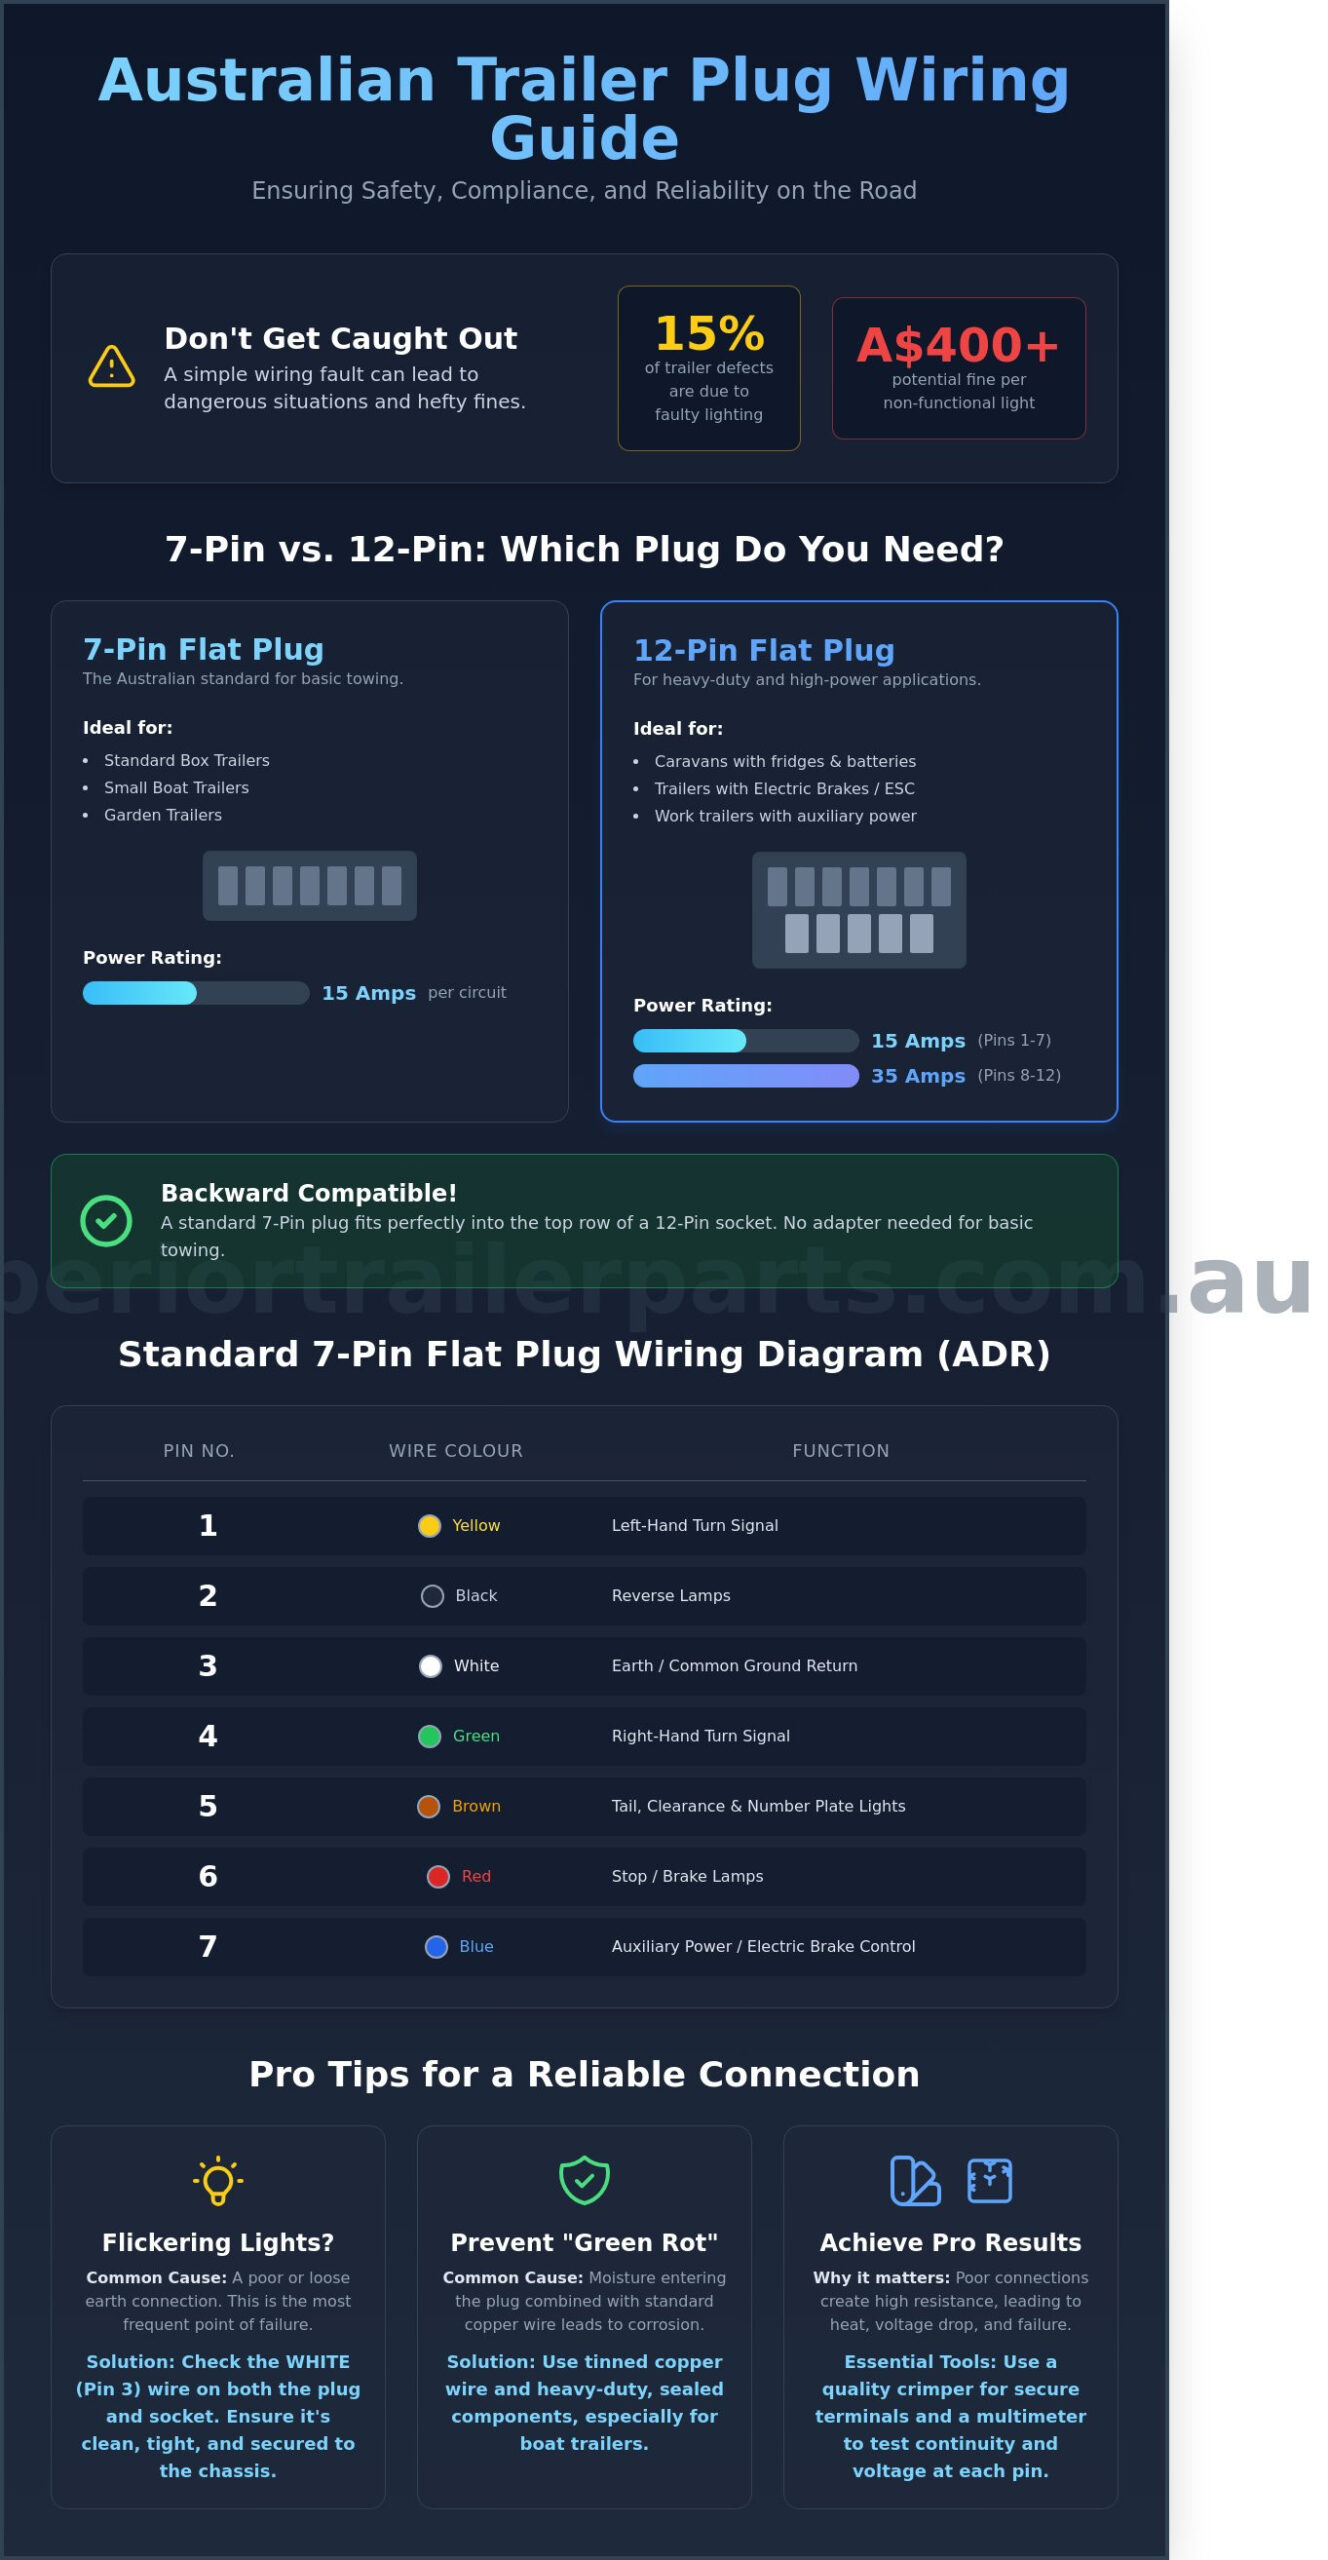
7-Pin vs 12-Pin Trailer Plugs: Which Standard Do You Need?
Choosing between a 7-pin and 12-pin setup depends on your trailer’s power requirements. A 7-pin plug handles basic lighting and signal functions. It’s the standard for most Australian box trailers and small boat trailers. If you’re towing a caravan with an internal battery or a fridge, you’ll need a 12-pin configuration. The 12-pin setup provides the extra amperage required for modern accessories without risking a blown fuse or melted wiring.
The Standard 7-Pin Flat and Round Configuration
The 7-pin setup is the baseline for trailer plug wiring in Australia. It covers the seven essential safety circuits required for legal road use. These circuits include:
- Left: Left-hand turn signal
- Reverse: Reverse lamps
- Earth: Common ground return
- Right: Right-hand turn signal
- Tail: Rear lamps, clearance lights, and registration plate light
- Stop: Brake lamps
- Aux: Auxiliary power or electric brake control
Standard 7-pin connectors are typically rated for 15 amps per circuit. The 7-pin flat plug is the most common choice for modern Australian passenger vehicles. It features a slim profile and a secure locking mechanism that handles vibration better than older round styles. It’s a reliable choice for any standard trailer that doesn’t carry its own power source.
Advanced 12-Pin Functions for Heavy-Duty Towing
A 12-pin plug expands on the standard 7-pin layout by adding a second row of five larger pins. These pins (8 through 12) are designed for high-current applications. They provide dedicated circuits for battery charging, fridge power, and ESC (Electronic Stability Control) systems. While the top seven pins remain rated at 15 amps, the bottom five pins are often rated for 35 amps. This extra capacity is vital for running a 3-way fridge while you’re on the move.
Heavy-duty axles equipped with electric brakes often rely on these advanced signals for consistent performance. A 12-pin socket is physically larger than a 7-pin version and requires a wider mounting footprint on your hitch plate. It’s a smart upgrade for anyone moving from a basic trailer to a fully equipped caravan or work trailer.
Compatibility is straightforward with flat plugs. A standard 7-pin flat plug will fit perfectly into the top row of a 12-pin flat socket. This means you don’t need an adapter to tow your garden trailer with a vehicle wired for a caravan. However, a 12-pin plug won’t fit into a 7-pin socket. If you’re setting up a new tow vehicle, installing a 12-pin socket provides the most flexibility for future use. If you’re unsure which components you need for your rig, you can find a wide range of reliable trailer parts to suit any Australian towing setup.
Wiring Your Trailer Plug: A Step-by-Step Technical Guide
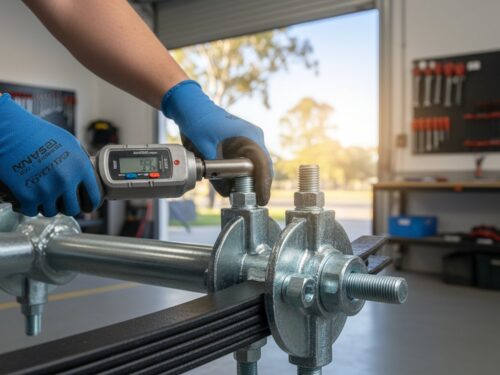
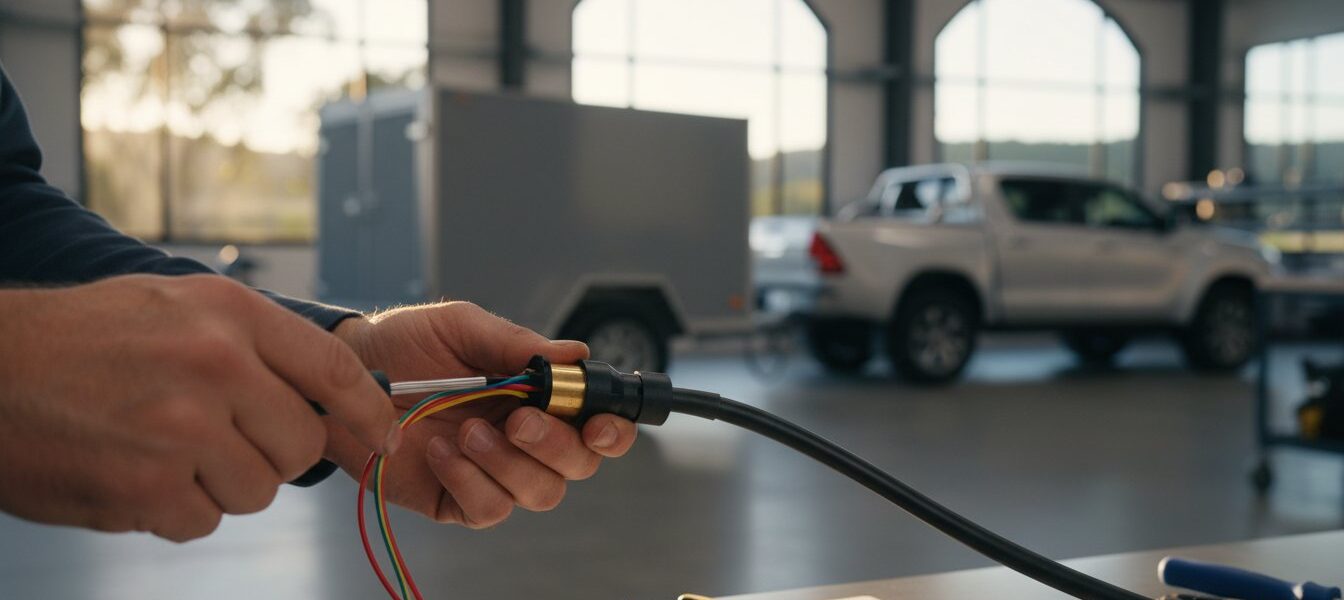
Proper trailer plug wiring starts with the right equipment. You need high-quality wire strippers, heavy-duty crimpers, a soldering iron for permanent joins, and a digital multimeter. If you are sourcing new components, ensure you use genuine trailer parts designed for Australian conditions. Strip approximately 10mm of insulation from each core. Don’t nick the copper strands; damaged strands reduce current capacity and lead to premature failure under vibration.
Always connect the earth wire first. In the Australian standard, Pin 3 is the dedicated earth, typically using a White wire. This connection provides the return path for every circuit in the system. A loose or corroded earth causes flickering lights and intermittent brake signals, which are common causes of roadside fines in Australia. Establishing a solid ground is the most critical step for electrical safety.
The Wiring Process: Pin by Pin
Follow the Australian colour code strictly to ensure compatibility with any tow vehicle. Use this sequence for standard 7-pin plugs:
- Pin 1 (Yellow): Left-hand turn signal.
- Pin 2 (Blue): Electric brakes.
- Pin 3 (White): Earth return.
- Pin 4 (Green): Right-hand turn signal.
- Pin 5 (Brown): Tail lights, clearance, and number plate lights.
- Pin 6 (Red): Stop lights.
- Pin 7 (Black): Reversing lights.
Insert the stripped wire fully into the terminal block. Tighten the grub screws firmly to prevent vibration from loosening the connection over corrugated roads. The Blue wire serves as the primary conductor for electric brake signals between the tow vehicle and the trailer.
Testing and Final Assembly
Don’t hook up the trailer until you verify the circuits. Set your multimeter to the DC voltage or continuity setting to check each pin against the earth. If you detect a 12V signal on the wrong pin, strip it back and start again. Accurate trailer plug wiring ensures your lights and brakes function correctly during heavy-duty towing.
Apply a small amount of dielectric grease to the terminals before closing the housing. This prevents moisture ingress and corrosion in harsh marine or coastal environments. Secure the plug housing tightly and ensure the cable entry is weather-sealed against dust and rain. A well-sealed plug lasts significantly longer in the Australian climate.
Common Trailer Wiring Faults and Troubleshooting
Electrical issues often surface at the worst times. Industry data suggests 70% of trailer faults involve the plug or the earth connection. If your lights flicker or dim when you apply the brakes, you likely have a “Bad Earth.” This occurs when the current cannot find a clear path back to the vehicle battery. Instead of a solid return, the power backfeeds through other circuits, causing multiple lights to glow dimly at once.
Voltage drop is another frequent headache, particularly on caravans exceeding 7 metres in length. A standard 12V output can drop by 1.5V or more over long cable runs. This results in weak illumination and can even prevent electric brakes from engaging correctly. If your vehicle keeps blowing fuses, you have a short circuit. Inspect the wiring loom where it passes through the trailer frame. A 2mm nick in the insulation is enough to ground the circuit and pop a 15-amp fuse instantly.
Solving Earth and Grounding Issues
Many DIY builds mistakenly use the trailer chassis as the primary return path. This is a mistake because rust, paint, and zinc coatings create electrical resistance. Always use a dedicated white earth wire in your trailer plug wiring setup. Check the plug pins for green corrosion regularly. Clean them with a terminal tool or fine sandpaper to ensure metal-to-metal contact. Applying a small amount of lanolin spray or dielectric grease protects the connection for up to 12 months, even in harsh coastal conditions.
LED Conversion and Load Resistors
Modern cars use CAN-bus systems to monitor bulb health. Switching from incandescent bulbs to LEDs often triggers “hyper-flashing” or “bulb out” dashboard warnings. This happens because LEDs draw 80% less current, tricking the car into thinking the circuit is open. You must install 21W load resistors in parallel with the indicator circuit to correct this. For those launching in salt water, ensuring your boat trailer parts include IP68-rated submersible LEDs is vital. These units use epoxy potting to prevent water from reaching the circuit board, which stops internal shorts before they start.
Get the right gear to fix your rig by visiting our heavy-duty trailer parts store.
Selecting High-Quality Components for Durable Trailer Electrics
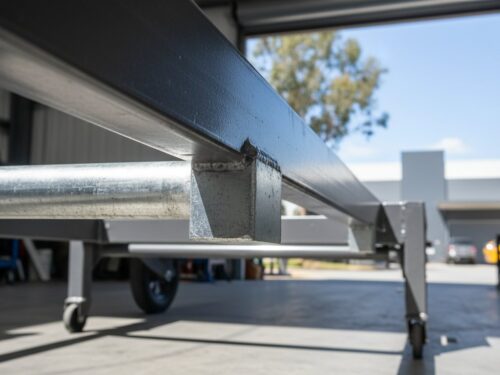
Australian roads demand hardware that handles extreme heat and corrosive salt spray. Cheap components lead to flickering lights and dangerous signal failures. You must use marine-grade wiring for any trailer operating near coastal areas. Tinned copper wire is the industry standard for these conditions. Unlike bare copper, tinned strands resist “green rot” corrosion. This chemical reaction occurs when moisture enters the cable, turning the conductor into a brittle green powder that kills electrical flow. Quality trailer parts are an investment in safety that prevents roadside breakdowns.
Your choice of plug housing depends on your typical usage. Plastic housings are lightweight and won’t corrode, making them suitable for standard box trailers. However, they can become brittle after years of UV exposure. Metal housings offer superior impact resistance for heavy-duty applications or off-road use. They survive accidental drops and rough handling that would shatter a plastic equivalent. Ensure your trailer plug wiring is secured tightly within the housing to prevent terminal strain.
Protecting Your Wiring Loom
Exposed wires are a liability. You should always run your wiring loom through split conduit to protect against stone chips and debris. Use rubber grommets at every point where the cable passes through the steel chassis. Without grommets, the vibration of the road causes the metal edges to saw through the insulation, leading to direct shorts. Secure the loom every 300mm using UV-rated cable ties. Keep the wiring well away from moving couplings and suspension components. Standard household cable is not a substitute for automotive wire. It lacks the UV stabilisation required for Australian conditions and typically fails within 12 months of outdoor use.
Maintenance Tips for Long-Term Reliability
Reliability requires a proactive approach. Inspect your plug and exposed wiring every 3 months for signs of wear or heat damage. Clean the pins with a dedicated contact cleaner to remove oxidation. When the trailer isn’t hitched, use a protective cap to keep moisture and spiders out of the terminals. This simple step prevents 90% of common connection issues. If you notice brittle insulation or 15% of the wire strands are broken at the terminal, don’t attempt another patch job. Replace the entire plug or loom section. Professional fleet operators often replace plugs every 24 months to ensure 100% uptime on the road. It’s a small price for peace of mind during a long haul.
Secure Your Connection for the Australian Road
Maintaining correct trailer plug wiring is the most effective way to ensure your vehicle meets Australian Design Rule 42/04 standards. Whether you’re installing a standard 7-pin plug for a small box trailer or a 12-pin heavy-duty unit for a caravan with electric brakes, precision is vital. Poor connections cause 15% of trailer-related electrical failures on local roads. You’ll avoid these common faults by using high-quality terminals and following the standard wiring diagrams. Superior Trailer Parts is Australian Owned and Operated; we understand the demands of the local environment. We offer nationwide shipping on all electrical parts and provide expert technical advice to help you solve complex wiring issues. Don’t settle for flimsy components that corrode in the salt or heat. Invest in gear that’s built for durability and long-term performance. It’s the best way to keep your lights bright and your brakes responsive on every journey.
Browse our range of heavy-duty trailer electrical components
Build it strong and keep your trailer moving safely.
Frequently Asked Questions
What are the standard trailer wiring colours in Australia?
Standard Australian 7-pin wiring follows a specific colour code to ensure safety and compatibility. Connect the yellow wire for the left indicator, blue for service brakes, white for the earth return, green for the right indicator, brown for tail lights, red for stop lights, and black for reversing lights. These seven colours are defined by Australian Standards to maintain consistency across all local trailers.
Why do my trailer lights flicker when I turn on the indicators?
A faulty earth connection is the primary cause of flickering lights in 85% of trailer electrical systems. When the white earth wire fails to provide a solid ground, the current seeks an alternative path through other circuits. Check the white wire at both the plug and the trailer chassis for corrosion. Tighten every screw and clean the brass pins with a wire brush to restore a reliable connection.
Can I plug a 7-pin trailer plug into a 12-pin socket?
You can plug a standard 7-pin flat plug directly into a 12-pin flat socket without using an adapter. The 7-pin plug occupies the top row of the 12-pin socket, which carries the essential lighting and braking signals. This design ensures that standard trailers remain compatible with heavy-duty tow vehicles. It’s a practical feature that allows for versatile towing across different equipment types.
How do I wire a 7-pin flat trailer plug?
Strip 5mm of insulation from each wire and insert them into the numbered terminals according to the standard diagram. Terminal 1 is for the left turn, 2 for reverse or brakes, 3 for earth, 4 for the right turn, 5 for tail lights, 6 for stop lights, and 7 for the auxiliary circuit. Using a high-quality trailer plug wiring diagram ensures you don’t cross circuits during the installation process.
Do I need a special wiring loom for LED trailer lights?
Modern vehicles equipped with CAN bus technology usually require a load resistor or an LED-compatible loom. LED lights draw 90% less power than traditional bulbs, which often triggers bulb-out warnings on your dashboard. Installing a heavy-duty bypass module prevents these errors. Most late-model Australian-spec 4WDs require this specific hardware to function correctly with LED trailers.
What is the most common cause of trailer light failure?
Terminals corroded by moisture account for 70% of all trailer light failures on Australian roads. Saltwater and road grime enter the plug housing and oxidise the brass pins, which stops the flow of electricity. Regularly inspect your trailer plug wiring for green or white powdery residue. Applying a small amount of dielectric grease to the terminals provides a marine-grade barrier against the elements.
Is it better to use a flat or round trailer plug?
Flat plugs are the preferred choice for 95% of modern Australian passenger vehicles and SUVs. They offer a more compact profile and a more secure locking mechanism than traditional round plugs. While round plugs remain common on older agricultural machinery and heavy trucks, the flat 7-pin and 12-pin configurations are now the standard for domestic towing. Stick with flat connectors for the best compatibility.
How much does it cost to have a trailer plug professionally wired?
Professional auto electricians typically charge between A$120 and A$250 for a standard 7-pin installation. This price covers approximately one hour of labour and the cost of a genuine, heavy-duty plug. If your vehicle requires a complex ECU-compatible wiring loom or a 12-pin setup, expect to pay between A$400 and A$650. Investing in professional fitment ensures your vehicle’s warranty remains intact.