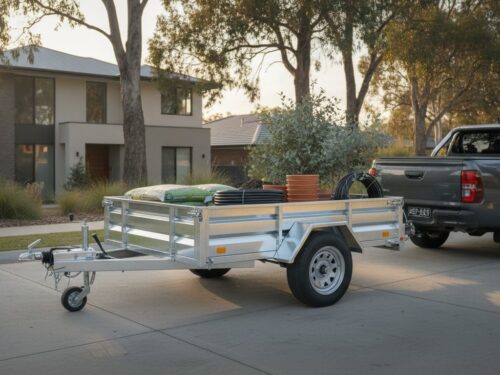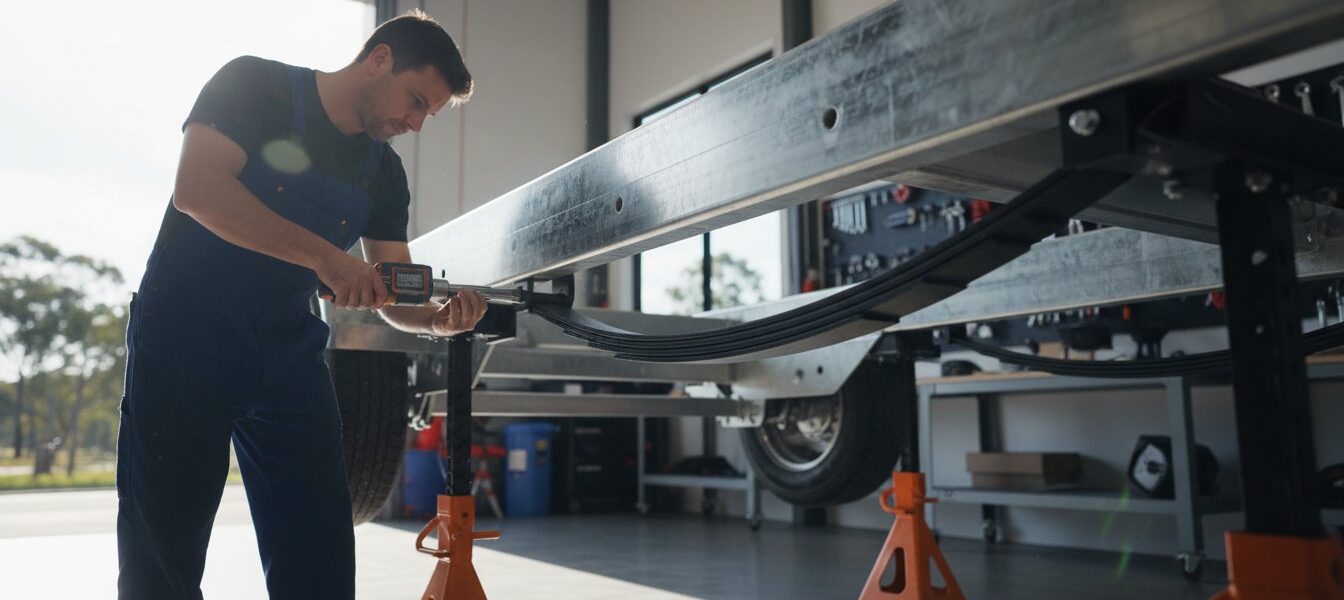
Last Saturday, a customer in Queensland discovered his tandem axle trailer was listing three degrees to the left due to a snapped leaf. It’s a common story. Dealing with rusted bolts and heavy steel is a dirty, demanding task. Replacing trailer leaf springs requires more than just a spanner; it needs a solid plan to ensure the trailer doesn’t shift while it’s on the stands. You likely agree that the fear of a trailer shifting off its jacks or struggling with a seized shackle bolt is enough to make anyone hesitate.
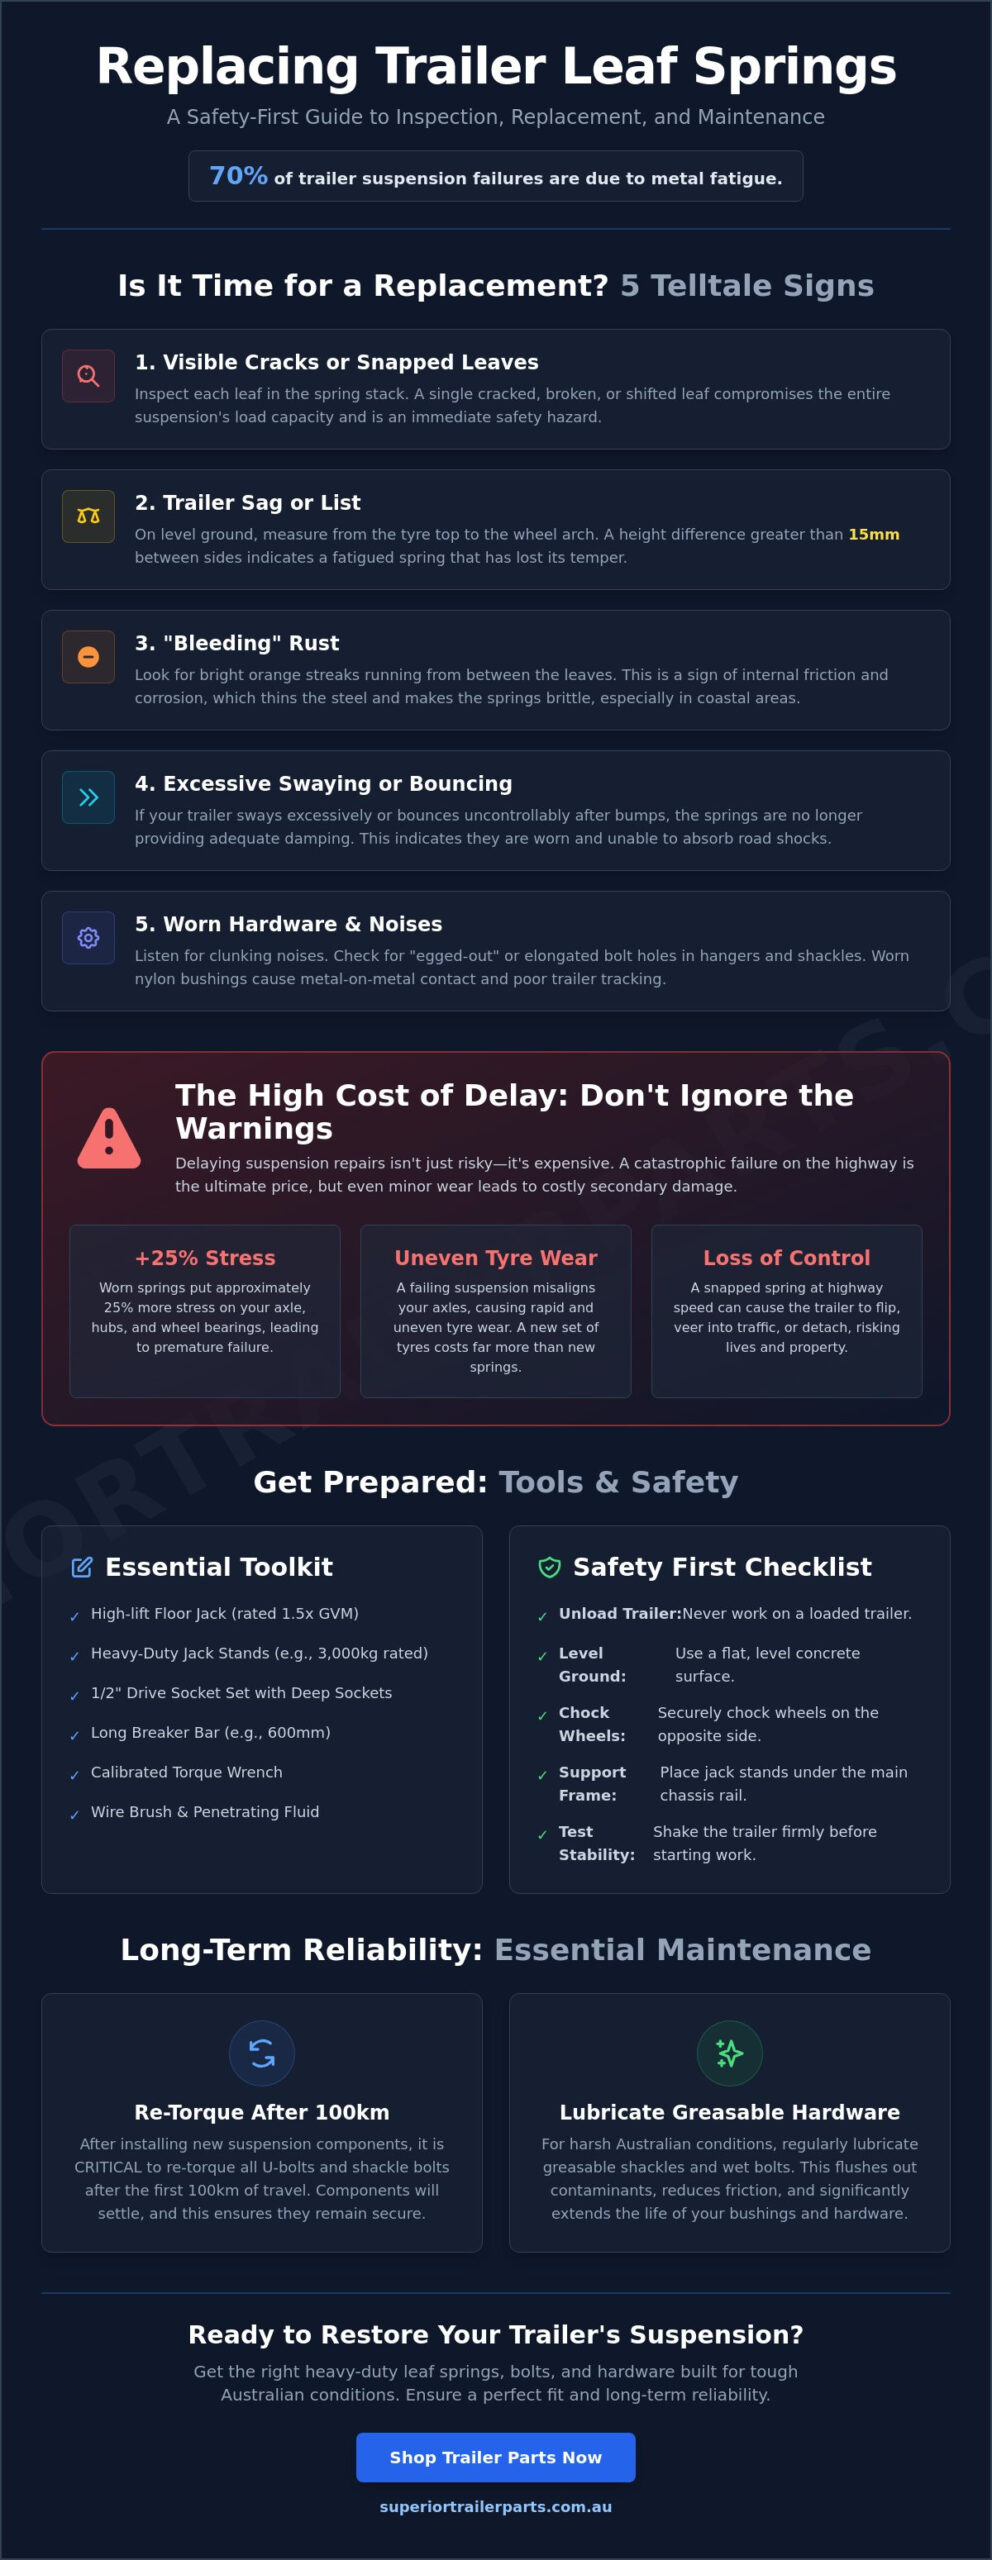
This guide gives you the expert advice needed to handle the job safely. Industry reports indicate that 70% of trailer suspension failures are due to metal fatigue, making timely maintenance essential. You’ll learn how to identify your suspension type, remove worn components, and install new hardware rated for your load. We cover the technical differences between slipper and eye-to-eye springs to ensure a perfect fit. You’ll gain the confidence to restore your trailer’s roadworthiness and save on professional labor fees. As an Australian Owned specialist, we’ll help you get your gear back on the road with a suspension system built for our harsh conditions.
Key Takeaways
- Identify worn or cracked leaves and measure suspension sag to prevent roadside failures and ensure trailer stability.
- Select the correct heavy-duty components by accurately measuring spring length and identifying your specific suspension configuration.
- Master the safe removal and installation process for replacing trailer leaf springs using high-capacity tools and proper torque specs.
- Ensure long-term reliability by following essential maintenance routines, such as re-torquing bolts after the initial 100km of travel.
- Protect your trailer’s performance with expert advice on lubricating greasable shackles and wet bolts for harsh Australian conditions.
Identifying When to Replace Trailer Leaf Springs
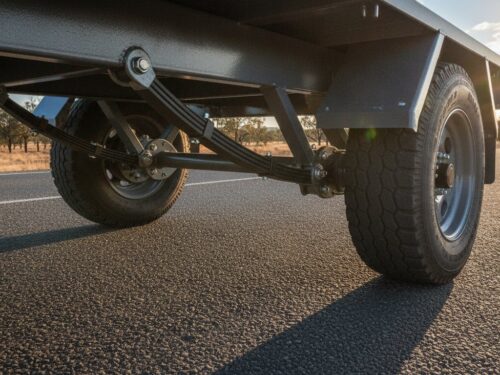
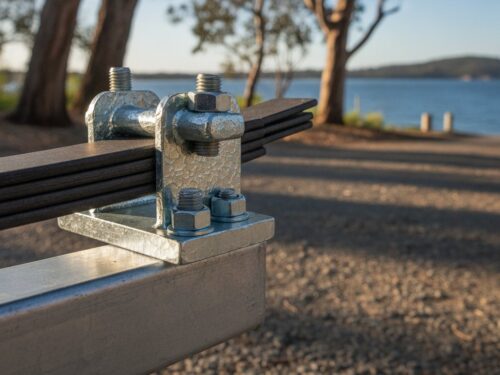
Safe towing starts with a solid foundation. Understanding What are leaf springs? is the first step in maintaining your trailer’s structural integrity. These heavy-duty steel components handle the vertical load and absorb road shocks. Regular inspections prevent expensive roadside breakdowns. Look for individual leaves that have snapped or shifted out of alignment. A single cracked leaf compromises the entire stack’s load-carrying capacity and safety rating.
Use a tape measure on level ground to check for sagging. Measure from the top of the tyre to the bottom of the wheel arch on both sides. A height difference exceeding 15mm between the left and right sides suggests one side has lost its temper. Sagging indicates the steel has fatigued over time. This often requires replacing trailer leaf springs to restore the correct ride height and ensure the axle remains square to the frame.
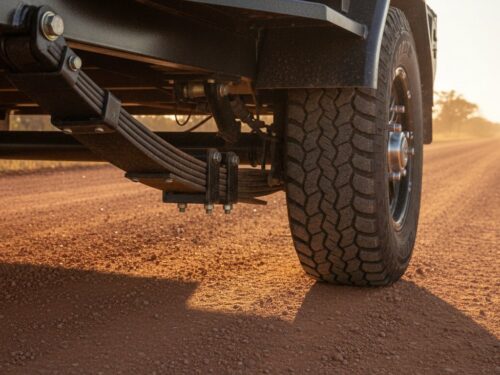
Check for “bleeding” rust during your visual walk-around. This appears as bright orange streaks running between the leaves. It indicates the protective coating has failed and internal friction is grinding the steel away. In Australian coastal areas, salt water accelerates this degradation. Excessive corrosion thins the metal and makes the spring brittle. If you notice the trailer swaying more than usual or bouncing excessively after hitting a pothole, the suspension is no longer providing adequate damping.
The Dangers of Delayed Suspension Repair
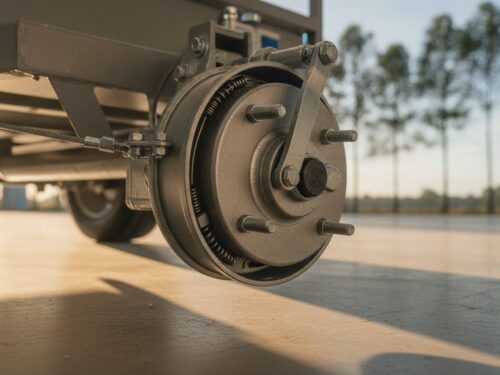
Worn springs don’t just ride poorly; they’re a safety hazard. Weakened suspension components put approximately 25% more stress on your axle and wheel bearings. This leads to premature bearing failure. A snapped spring at 100km/h can cause a trailer to flip or veer into oncoming traffic. You’ll also notice uneven tyre wear. Replacing a set of heavy-duty tyres costs significantly more than a new pair of leaf springs. Don’t risk a catastrophic failure on the highway for the sake of a simple maintenance task.
Common Signs of Bushing and Bolt Wear
Check your hardware before blaming the steel. Nylon bushings often wear out before the spring itself. Look for elongated shackle holes or “egged” out bolt holes in the hanger. Listen for distinct clunking noises when you turn corners or navigate speed bumps. This metal-on-metal contact destroys shackle plates quickly. If the bushings are gone, the spring will move laterally. This causes poor tracking. When replacing trailer leaf springs, always install new galvanised bolts and bushes to ensure a secure, quiet fit.
Essential Tools and Safety Preparation
Successful suspension work starts with the right equipment. Don’t attempt replacing trailer leaf springs with a standard automotive bottle jack and flimsy stands. You need a high-lift floor jack rated for at least 1.5 times the trailer’s Gross Vehicle Mass (GVM). Support the frame with heavy-duty jack stands. A pair of 3,000kg rated stands provides the necessary stability for most Australian tandem trailers. Working on a loaded trailer is dangerous and increases the risk of frame distortion. Always unload the trailer to ensure the chassis remains true during the swap.
Mechanical efficiency requires specific hand tools. Ensure you have a 1/2-inch drive socket set with deep-reach impact sockets. A 600mm breaker bar is essential for cracking seized nuts. You’ll also need a calibrated torque wrench to ensure every fastener meets the required tension. Referencing a preventive maintenance guide helps identify other components that might need attention while the axle is dropped. Keep a stiff wire brush and a canister of heavy-duty degreaser nearby to clean the mounting points.
Setting Up a Safe Work Area
Only work on a flat, level concrete surface. Asphalt can soften under high pressure, causing jack stands to sink or tilt. Chock the wheels on the opposite side of the axle you’re lifting. Use heavy rubber or plastic chocks rather than loose bricks or timber offcuts. Position jack stands directly under the main chassis rail. Never place them under the floor or light-gauge crossmembers. Give the trailer a firm shake to test stability before you remove any wheels. This ensures the setup is rock-solid for the duration of the repair.
Managing Rusted and Seized Fasteners
Road grime and salt water quickly seize trailer hardware. Apply a high-quality penetrating fluid to all shackle bolts and U-bolts 24 hours before you start. Use a wire brush to clear rust from exposed threads so the nut has a clean path off the bolt. If a nut won’t budge with a breaker bar, use an impact wrench or apply heat with a butane torch. Don’t risk rounding off the hex head. If the fastener is severely degraded, use an angle grinder to cut the bolt. It’s often faster to replace hardware than to struggle with stripped threads. You can find high-tensile replacements in our range of U-bolt kits designed for Australian conditions.
Superior Trailer Parts is Australian Owned and Operated, providing expert advice to get your trailer back on the road. We offer Australia Wide shipping on all heavy-duty components.
Step-by-Step Removal and Installation Process
Begin by loosening the wheel lug nuts while the trailer is still on the ground. Use a heavy-duty jack to elevate the trailer frame until the tyres clear the surface. Place 2-ton or higher rated jack stands under the frame to ensure a stable work environment. Don’t rely solely on a jack when replacing trailer leaf springs. Once the frame is secure, remove the wheels to access the suspension components.
Removing the Old Suspension Components
Support the axle independently with a secondary jack or timber blocks before loosening any hardware. This prevents the axle from dropping suddenly and straining brake lines or wiring. Remove the U-bolts and the fish plate, then lower the axle away from the spring. Take this time to inspect the axle seats for wear or deformation. If you notice even 1-2mm of ovaling in the seat hole, the axle may require repair to prevent the spring from shifting during transit.
Follow a specific order of operations for the shackle bolts. Extract the rear shackle bolt first. This releases the tension on the spring and makes it easier to remove the front hanger bolt. Use a pry bar if the bolts are seized due to corrosion. Once the fasteners are out, slide the old spring unit away from the hangers. Check the hangers for cracks or thinning metal while the spring is out of the way.
Installing New Springs and Hardware
Position the new spring so the centre bolt aligns perfectly with the hole in the axle seat. This alignment is critical for the trailer’s tracking and prevents uneven tyre wear. You should always use new galvanised U-bolts when replacing trailer leaf springs. Metal fatigue and thread stretch occur during the initial torquing process. This means old bolts cannot provide the same clamping force, increasing the risk of hardware failure by 25% or more under heavy loads.
- Secure the front hanger bolt followed by the rear shackle fasteners.
- Apply a thin layer of marine-grade grease to the shackle bolts if they are greasable.
- Tighten all nuts until they are snug but not fully torqued.
Lower the trailer so the full weight rests on the suspension before the final tightening. This “finger-tight” rule ensures the bushings don’t bind and the spring sits naturally in its hangers. Use a torque wrench to tighten the U-bolt nuts in a cross-pattern to the manufacturer’s specification. For standard 1/2 inch hardware, this is typically between 60 and 90 foot-pounds. Check the tension again after the first 100 kilometres of travel to account for initial settling.
Selecting the Correct Leaf Springs for Your Trailer
Replacing trailer leaf springs requires precision. You can’t guess the specifications because an incorrect fit leads to poor towing stability and premature component failure. To get the job done right, you must identify the spring type, measure the dimensions accurately, and calculate the load capacity based on your trailer’s Aggregate Trailer Mass (ATM).
Slipper Springs vs Eye-to-Eye Springs
The first step is identifying the mounting style. Slipper springs are common on light-duty Australian trailers. They feature a single “eye” at the front and a flat “tail” that slides inside a rear hanger. A 4 leaf slipper spring is a standard choice for 750kg ATM box trailers. These systems are simple to install and maintain because they have fewer moving parts.
Eye-to-eye springs, also known as shackle springs, have eyes at both ends. They use shackle plates and pins to connect to the rear hanger. This design allows the spring to flex more naturally, providing a smoother ride for heavier loads. A 5 leaf eye-to-eye spring is frequently used on trailers rated for 1,500kg or higher. Before purchasing, check your existing hangers and shackle plates for ovality or wear. If the holes are no longer perfectly round, replace the hardware along with the springs.
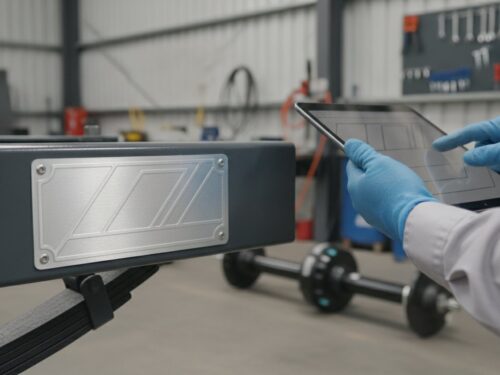
Measuring for a Perfect Fit
Don’t rely on the trailer’s build plate alone. Physical measurements are the only way to ensure compatibility. Start by measuring the spring width. Most Australian trailers use either 45mm or 60mm wide steel. Installing a 45mm spring into a 60mm hanger creates dangerous lateral movement that will snap your center bolts.
Next, measure the length. For eye-to-eye springs, measure from the center of one eye to the center of the other. For slipper springs, measure from the center of the eye to the end of the tail. It’s best to measure the old spring while it’s under load or follow the curve of the steel if the spring is removed. You also need to check the following:
- Camber: This is the vertical arch of the spring. Measure from a straight line between the eyes to the top of the main leaf.
- Leaf Count: The number of individual steel plates determines the weight capacity. More leaves generally mean a higher load rating.
- Axle Compatibility: Ensure the spring capacity matches your trailer axle rating. A 1,000kg axle requires a pair of springs rated for at least 500kg each.
Calculate your required capacity by taking the trailer’s ATM and dividing it by the number of springs. If you have a tandem axle trailer with a 2,000kg ATM, each spring must be rated for a minimum of 500kg. Always choose a rating slightly higher than your maximum expected load to account for road shocks and uneven weight distribution.
Need help finding the right specifications for your setup? Contact our team for expert advice on leaf spring selection.
Ongoing Maintenance for Suspension Longevity
Replacing trailer leaf springs is only the first step in ensuring a safe tow. The initial 100km of travel after installation is a critical settling period. Hardware can vibrate loose as the new components seat themselves under load. You must re-torque all U-bolts and shackle bolts to the manufacturer’s specified tension after this first trip. Neglecting this step leads to premature wear or catastrophic component failure on the road.
For trailers equipped with greasable shackles or wet bolts, regular lubrication is mandatory. Apply high-quality marine-grade grease every 5,000km or every six months. If you use your trailer for heavy commercial work, increase this frequency to every 2,500km. Proper lubrication reduces friction between the spring eye and the bolt. This simple task extends the life of your bushings and prevents the metal-on-metal grinding that destroys shackle plates.
Environmental Protection and Cleaning
Saltwater and mud are the primary enemies of steel suspension components. Rinse your leaf packs thoroughly with fresh water after every boat ramp launch or off-road trip. This action prevents salt crystals from remaining trapped between leaves where they cause hidden corrosion. Apply a coat of lanolin or zinc-based spray to the exterior of the springs. This provides a sacrificial barrier against rust and keeps the steel supple.
Keep a close eye on the physical shape of the spring pack. Identify “leaf spread” early. This occurs when the individual leaves begin to fan out sideways or lose their vertical alignment. It usually indicates overloaded conditions or failed center bolts. If you notice the arch has flattened by more than 15mm compared to its original state, the springs are likely fatigued. They won’t provide the necessary dampening for your trailer load.
Professional Support and Parts Sourcing
Standard setups work for most applications, but custom suspension configurations require a specialist’s eye. Consult a professional if you are hauling constant near-limit loads or building a bespoke chassis. Sourcing essential trailer parts from reliable Australian suppliers ensures your components meet local standards and endure harsh conditions. High-quality parts are an investment in road safety and vehicle reliability.
Run through a final safety checklist before every long haul:
- Check for cracked leaves or broken center bolts.
- Verify that all split pins are intact and bent correctly.
- Ensure U-bolts are tight and haven’t shifted on the axle seat.
- Inspect rubber or poly bushings for excessive play or perishing.
Get Your Trailer Back on the Road
Maintaining a safe suspension system prevents costly breakdowns and ensures your load remains stable across Australian outback conditions. Industry standards recommend inspections every 10,000 kilometres to identify metal fatigue before it leads to a snapped leaf. Most mechanical guidelines suggest checking for a 10% reduction in ride height as a primary indicator of spring failure. Successfully replacing trailer leaf springs depends on selecting heavy-duty components that match your specific ATM and axle configuration. Proper torque settings and correct alignment are critical during the installation process to prevent premature wear on your new suspension setup.
Superior Trailer Parts is 100% Australian owned and operated. We provide expert technical advice for DIY repairs and offer nationwide shipping on all suspension components. Our team understands the specific demands placed on local equipment. We stock a range of reliable, galvanised, and multi-leaf options designed for maximum durability. Don’t risk a mechanical failure while hauling heavy loads on the highway. We’re here to help you get the job done right the first time.
Browse our range of heavy-duty Australian leaf springs and secure the parts you need for a professional-grade repair. Safe towing starts with a solid foundation.
Frequently Asked Questions
Do I need to replace leaf springs on both sides of the trailer?
Yes, you should always replace leaf springs in pairs. Replacing trailer leaf springs on just one side creates an imbalance in ride height and load distribution. The older spring will have more “sag” due to metal fatigue, which causes uneven tyre wear and poor handling. Installing a matched pair ensures your trailer remains level and tracks correctly behind your vehicle. This practice maintains the integrity of your suspension system across the entire axle.
How long do trailer leaf springs typically last?
Trailer leaf springs generally last between 5 and 10 years depending on load and environment. Marine trailers used in saltwater often require replacement every 3 to 4 years due to corrosion. Inspect your springs every 12 months for cracks, flattening, or heavy rust. If the spring arch has dropped by more than 20mm from its original specification, it’s time for a replacement. Regular maintenance prevents roadside failures and costly repairs.
Can I add an extra leaf to my existing spring to increase capacity?
You shouldn’t add an extra leaf to increase the trailer’s legal ATM. While adding a leaf stiffens the ride and reduces sag, it doesn’t change the legal rating of the axle, hubs, or chassis. Overloading a trailer beyond its VIN plate rating is illegal in Australia. If you need more capacity, you must upgrade the entire suspension system and have it certified by an engineer to meet safety standards and local regulations.
Why do my new leaf springs look flatter than the old ones?
New springs often appear flatter because they haven’t been “set” yet or they use a different design. Manufacturers often use higher-grade spring steel that maintains its rating with a lower arch. Measure the eye-to-eye distance instead of the height. If the measurement matches your trailer’s hangers, the spring is correct. Old springs often look more curved because they’ve deformed or “fanned out” over time due to fatigue and heavy use.
What is the correct torque setting for trailer U-bolts?
Use a torque wrench to tighten 1/2 inch U-bolts to 65-90 Nm. For 5/8 inch U-bolts, increase the torque to 135-175 Nm. Tighten the nuts in a diagonal “X” pattern to ensure even pressure on the axle seat. Check these settings after the first 100 kilometres of towing. Loose U-bolts are a primary cause of broken centre bolts and shifted axles, which can lead to dangerous trailer sway and loss of control.
Is it better to repair a single leaf or replace the entire pack?
When replacing trailer leaf springs, always install the entire pack rather than repairing a single leaf. When one leaf breaks, the remaining leaves have already suffered stress and fatigue. A single new leaf will have a different tension than the old ones, leading to premature failure of the assembly. Replacing the full pack is the only way to guarantee the heavy-duty performance required for harsh Australian road conditions and heavy loads.
Can I use WD-40 to lubricate my leaf springs?
Don’t use WD-40 or oil on the leaves themselves. These products attract dust and road grit, which acts like sandpaper between the leaves and accelerates wear. For shackle bolts and pins, use a high-quality marine-grade grease applied through grease nipples. If you have “squeaky” springs, it usually indicates worn nylon bushes or shackle bolts that require replacement rather than lubrication. Keep the surfaces clean to prevent corrosion and premature failure.
What size U-bolt do I need for a 45mm square axle?
A 45mm square axle requires a U-bolt with an internal width of 46mm. This 1mm clearance allows for a snug fit over the galvanised or painted surface. Measure the thickness of your spring pack and the axle height to determine the required length. Standard 45mm square axles typically use 1/2 inch diameter U-bolts to secure the spring and fish plate assembly. Ensure you have enough thread for the nuts to engage fully.