Did you know that a single loose white wire is responsible for the vast majority of intermittent trailer light failures on Australian roads? Dealing with flickering indicators or dim brake lights right before a long haul is a frustration most drivers know well. It is often a result of poor earthing or confusion between 7-pin flat and round configurations. Learning how to wire trailer lights australia correctly is essential for safety and for ensuring your setup remains ADR compliant. You need a trailer that passes registration and performs reliably in harsh conditions.
You’ll learn the technical requirements for Australian trailer wiring, including the standard colour codes and professional troubleshooting techniques to stop corrosion from destroying your electrical systems. We provide a clear look at the AS 4177.5-2004 standards and how to achieve waterproof connections for boat trailers. This information covers everything from basic pin layouts to advanced maintenance strategies for long-term durability. Follow these steps to ensure your lighting system is robust, visible, and legal every time you hit the highway.
Key Takeaways
- Upgrade to LED submersible tail lights to ensure superior vibration resistance and long-term durability in harsh conditions.
- Maintain road legality by complying with ADR 13/00 standards for all mandatory stop, tail, and indicator lamps.
- Learn how to wire trailer lights australia using the standard 7-pin flat plug colour-coding system for reliable power delivery.
- Identify earth return faults as the primary cause of dim or flickering lights to resolve most common electrical issues quickly.
- Utilise high-quality harness kits and adapters to protect against marine corrosion and simplify the installation process.
Understanding Trailer Lighting Technology and LED Upgrades
Modern Australian trailers have moved almost exclusively to LED technology. This transition isn’t just a trend; it’s a practical response to the harsh local environment. Traditional incandescent bulbs rely on a fragile filament that often breaks under constant road vibration. In contrast, LEDs use solid-state technology. There are no moving parts or delicate wires to snap when you’re towing on corrugated tracks or uneven highway surfaces. When you learn how to wire trailer lights australia, selecting the right hardware is the first step toward a reliable, long-term build.
LEDs draw significantly less power than older filament globes. Research indicates they use approximately 80% less current, which reduces the overall load on your vehicle’s electrical system. This lower draw helps prevent blown fuses and protects the vehicle’s alternator. Because LEDs don’t generate the intense heat associated with traditional bulbs, you won’t deal with lenses cracking during rapid heat cycles. This is especially common when a hot incandescent lamp is submerged in cold water at a boat ramp. Solid-state construction allows for completely sealed units that prevent water ingress and internal corrosion.
LED vs Incandescent Performance
The lifespan of an LED unit far exceeds any standard globe. A typical incandescent bulb might last 1,000 hours, whereas a quality LED unit can run for over 50,000 hours. This longevity is critical for fleet managers and individual owners who value durability over constant maintenance. Safety is another major factor. LEDs reach full brightness instantly. This “instant-on” performance gives following drivers more time to react when you apply the brakes. For trailers exposed to the intense Australian sun, always select units with UV-stabilised lenses to prevent the plastic from becoming brittle. Understanding the various Australian trailer connector types ensures these high-performance lights receive a clean signal from the tow vehicle.
Multi-Function Combination Lamps
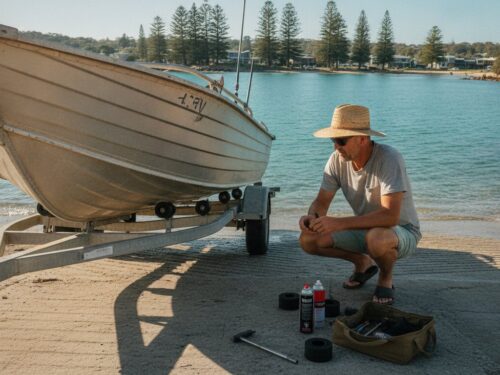
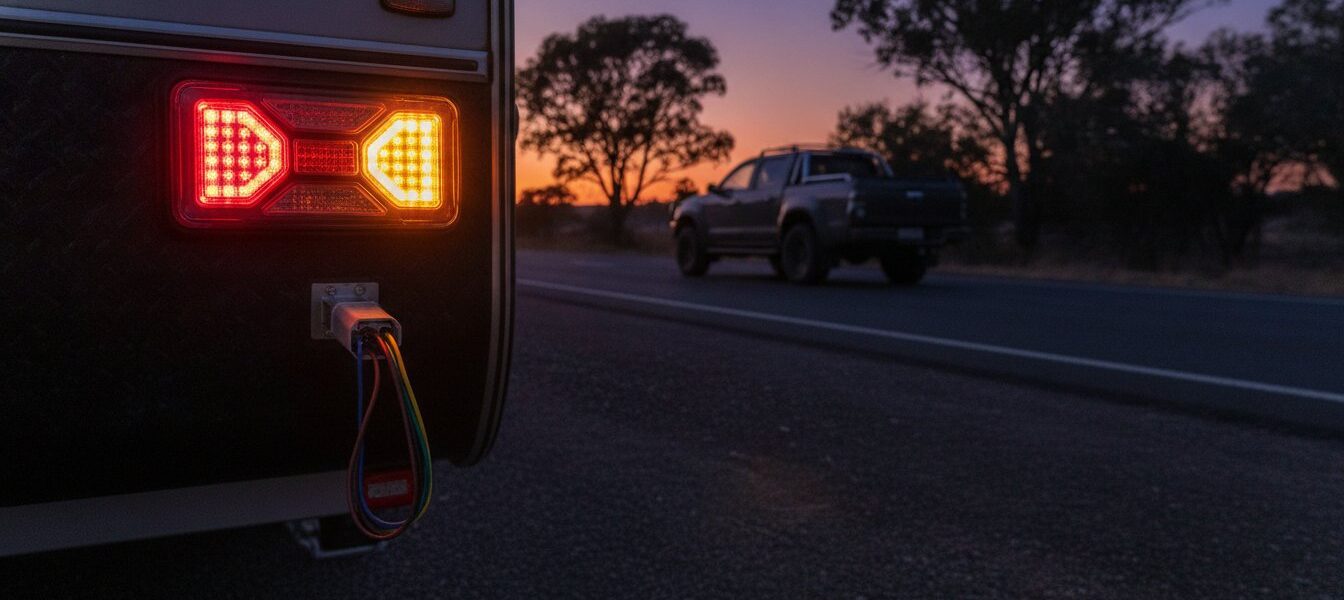
Most modern setups now utilise multi-function combination lamps. These units integrate the stop, tail, and indicator functions into a single housing. This design simplifies the physical mounting process when you are determining how to wire trailer lights australia for a custom build. Many of these lamps also include integrated reflectors and a dedicated licence plate light to satisfy legal requirements without extra drilling. You can choose between slimline profiles for narrow frames or larger square units for maximum visibility. For those maintaining marine equipment, using specialised boat trailer parts like submersible LEDs is the only way to ensure the circuitry survives repeated salt-water exposure. These units are often potted with epoxy resin to provide a permanent barrier against moisture.
Australian Design Rules and Legal Requirements for Towing
Compliance with Australian Design Rule (ADR) 13/00 is a non-negotiable requirement for any trailer on public roads. These rules standardise how lighting and signalling devices are installed and operated. This creates a predictable environment for all road users. You must equip your trailer with rear stop lamps, tail lamps, and amber indicators. A white licence plate lamp is also mandatory and must illuminate the registration plate clearly. Don’t forget reflex reflectors. These are not powered but are a legal necessity. They must be non-triangular and positioned to ensure the trailer is visible in low-light conditions even when parked.
When you are learning how to wire trailer lights australia, you must understand that electrical connectivity is only half the job. Physical positioning determines whether your trailer is roadworthy. Non-compliant lighting can lead to heavy fines, failed safety inspections, and the potential for insurance companies to deny claims after an accident. Every component must be ADR-approved. This means the lenses must carry the correct markings to prove they meet light output and colour standards. Using unapproved components is a risk to your safety and your registration status.
Mandatory Light Placement and Visibility
ADR 13/00 specifies strict mounting dimensions. Tail lights and indicators must sit between 350mm and 1500mm above the ground. If the trailer frame prevents this, the limit moves to 2100mm. Indicators require 600mm of horizontal spacing so signals remain distinct. For narrow trailers under 1300mm, this spacing can drop to 400mm. High-quality trailer parts help maintain these legal positions across thousands of kilometres of corrugated roads and highway travel.
Requirements for Large and Heavy-Duty Trailers
Width and length trigger extra requirements. Trailers wider than 2.1 metres must have clearance lights to define their edges for oncoming traffic. Those longer than 7.5 metres need side marker lights and reflectors for improved safety at intersections. The NHVR Vehicle Standards Guides provide specific layouts for these heavy-duty rigs. Wiring these setups often requires higher-gauge looms to handle the extra electrical load without voltage drop. If you are upgrading an older rig to meet these standards, contact us for technical support on ADR-compliant components.
Standard Australian Trailer Wiring Colour Codes and Plugs
Australia uses a standardised colour-coding system for trailer wiring. This system ensures that any tow vehicle can safely operate any trailer without signal confusion. The 7-pin flat plug is the most common standard for domestic utility trailers. It’s robust and easy to inspect. Precision is vital when you learn how to wire trailer lights australia. A single misplaced wire can cause short circuits or damage your vehicle’s sensitive electronic control units. Always select high-quality tinned copper wire. It offers superior durability compared to standard bare copper, especially in the high-humidity environments found across the country.
7-Pin Flat and Round Wiring Diagrams
The Australian Standard 7-pin configuration follows a strict colour sequence. Pin 1 is Yellow for the left-hand indicator. Pin 2 is Black for reversing lights. Pin 3 is White, which serves as the critical earth return. Pin 4 is Green for the right-hand indicator. Pin 5 is Blue for service brakes or electric brake controllers. Pin 6 is Red for stop lamps, and Pin 7 is Brown for tail, clearance, and side markers. While the flat plug is the modern standard, you will still find small and large round plugs in use. Small round plugs are typically found on older passenger vehicles. Large round plugs are standard for many commercial and heavy-duty applications. For a visual guide to these pinouts, refer to our Trailer Plug Wiring: The Standard Reference for Australian Towing. Always identify the pin numbers moulded into the plastic housing before making connections.
Wiring for Marine and Submersible Applications
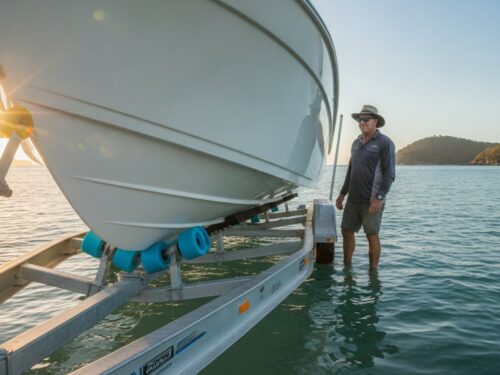
Saltwater environments require a different approach to electrical work. Standard wiring often fails because moisture enters the cable jacket and travels up the wire. This “wicking” effect destroys the copper core. Using tinned copper wire for boat trailer lights is the best way to prevent this. Each strand is coated in tin to provide a permanent barrier against oxidation. You must also ensure your lamps are IP68-rated. This rating confirms the unit is fully submersible and dust-tight. When joining wires, avoid standard crimps or electrical tape. Use resin-filled heat shrink instead. The internal adhesive melts during application to create a 100% waterproof seal. This level of protection is a fundamental part of how to wire trailer lights australia for marine use. It guarantees your indicators won’t fail the moment you back into the boat ramp.
Troubleshooting Common Trailer Lighting Faults
Earth faults cause approximately 80% of trailer lighting failures in Australia. While a quick visual check might find a loose wire, it won’t reveal high resistance or internal cable decay. You must use a multimeter to diagnose these issues accurately. Testing for continuity between the plug pins and the lamp terminals is the only way to confirm a circuit is healthy. If you are learning how to wire trailer lights australia, mastering the multimeter is just as important as knowing the colour codes. Systematic testing saves hours of guesswork and ensures your repairs actually last.
Identifying and Fixing Earth Circuit Issues
Poor earthing creates symptoms like dim tail lights or indicators that cause the brake lights to flash. This “cross-talking” happens because the current is searching for any path back to the vehicle. A common mistake is relying on the tow ball and hitch for earthing. This is a mechanical connection, not a reliable electrical one. Grease, paint, and surface rust on the coupling will eventually block the circuit. Always run a dedicated white earth wire from Pin 3 directly to each light unit. Secure the connection to a clean, bare metal surface on the trailer frame using a galvanised bolt to ensure a permanent bond.
Maintaining Plugs and Sockets
Corrosion inside the trailer plug is a primary cause of intermittent failure. Inspect the pins for “green rot.” This is a form of copper oxidation that turns the wire into a brittle, non-conductive green powder. If you find green rot inside the cable jacket, a full harness replacement is usually the only permanent fix. To prevent this, apply a small amount of dielectric grease to the plug pins. This creates a moisture-proof barrier that stops oxidation before it starts. If the connection feels loose, use a small flat-head screwdriver to gently tension the female socket pins. This ensures maximum surface contact and prevents heat build-up.
Maintaining a reliable connection is easier when you use high-quality components designed for local conditions. If your current setup is beyond repair, consider upgrading with our ADR-compliant trailer parts to ensure your rig stays roadworthy. Professional-grade hardware reduces the risk of these common electrical faults during long hauls and heavy-duty use. For operators who want to ensure their entire transport setup is secure, CargoCare NZ provides high-quality cargo safety nets and handling equipment that meet professional standards.
Selecting Professional Components and Harness Kits
Standardising your equipment is the best way to ensure fleet reliability. High-quality 7-pin or 12-pin plugs form the backbone of any professional setup. While cheap plastic alternatives are common, they often fail under the thermal stress of Australian summers or the vibration of unsealed roads. If you’re managing multiple rigs, using a consistent plug type across your tow vehicles and trailers simplifies maintenance. For businesses transporting high-end inventory, such as the commercial food equipment from Top Shelf Concepts, ensuring a secure electrical connection is a critical safety step. Use trailer plug adapters if you need to tow a legacy round-pin trailer with a modern flat-pin vehicle. Always ensure your mounting hardware consists of galvanised or stainless steel components. This prevents the rust streaks that often plague older trailers and ensures the light units remain securely attached over time.
When to Upgrade to a 12-Pin Plug
A standard 7-pin plug is sufficient for basic lighting. However, modern caravans and heavy-duty work trailers often require more. A 12-pin configuration provides five additional high-current circuits. These are essential for running a 3-way fridge, charging internal batteries, or powering reverse cameras while in motion. One major benefit of this system is backward compatibility. A standard 7-pin flat plug will fit perfectly into a 12-pin flat socket. This allows you to tow smaller utility trailers without needing an adapter. When planning how to wire trailer lights australia for a long-distance tourer, the 12-pin option is the most future-proof choice. You can find these heavy-duty components in our range of trailer parts.
Hardwired vs Plug-and-Play Systems
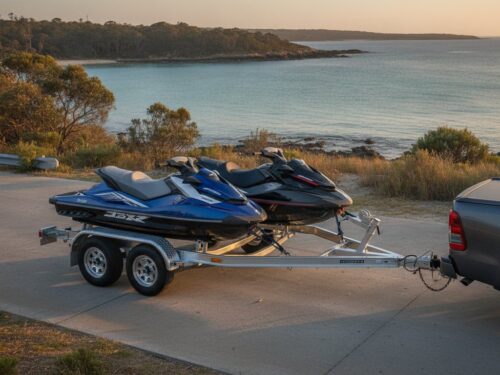
Choosing between a hardwired or plug-and-play system depends on your technical skill and the trailer’s application. Plug-and-play harnesses are efficient. They reduce installation time and virtually eliminate the risk of wiring errors. These kits use pre-moulded connectors that snap together, providing a decent level of weather resistance. For maximum longevity in industrial environments, a hardwired system with soldered joins is superior. Soldering creates a permanent molecular bond that won’t vibrate loose like a standard crimp connector. If your setup is complex, use a waterproof junction box to house your connections. This keeps the wiring loom organised and protected from road debris. We recommend professional-grade LED submersible tail lights for all jet ski trailers to withstand constant immersion. This final step in how to wire trailer lights australia ensures your electrical system is as rugged as the trailer frame itself.
Build a Reliable and ADR-Compliant Lighting System
Ensuring your trailer meets Australian standards is vital for road safety and long-term performance. By following the correct pin layouts and choosing high-quality LED components, you eliminate the most frequent causes of electrical failure. Remember that a dedicated earth return to each light unit is the best way to prevent dim lamps and flickering indicators. Mastering how to wire trailer lights australia involves more than just matching colours; it requires using durable materials that can survive the local climate and heavy-duty use.
Superior Trailer Parts has been Australian-owned and operated since 2014. We understand the harsh conditions your equipment must endure every day. Our team provides technical support from industry experts and offers nationwide shipping on all essential components. We stand behind the strength and fit of every product we supply. Browse our range of ADR-compliant LED trailer lights to secure the hardware you need for a professional installation. Take the time to do the job properly and enjoy the peace of mind that comes with a robust, reliable towing setup.
Frequently Asked Questions
What are the standard trailer wiring colours in Australia?
Australia follows a specific colour-coding system defined in AS 4177.5-2004. Yellow is for the left-hand indicator, Black for the reversing light, and White is the earth return. Green handles the right-hand indicator, Blue is for electric brakes, Red for stop lights, and Brown covers the tail, clearance, and side marker lights. Sticking to these standard colours ensures your trailer is compatible with any tow vehicle in the country.
Do I need a 7-pin flat or a 7-pin round plug for my trailer?
Choose a 7-pin flat plug for most modern domestic utility trailers. It is the current industry standard and offers a secure, low-profile connection that is easy to inspect. Round plugs are still common on older vehicles or heavy-duty commercial rigs. If your vehicle and trailer have different connections, you can use a trailer plug adapter to bridge the gap without rewiring the entire harness.
Why do my trailer lights flash rapidly when I turn on the indicator?
Rapid flashing usually indicates a low current draw or a blown bulb. If you’ve just switched to LEDs, your vehicle’s flasher relay might think a bulb has failed because LEDs draw approximately 80% less power than filament globes. You can resolve this by installing a load resistor or an LED-compatible flasher relay. This ensures the indicator pulse returns to a standard, legal rhythm.
Are LED trailer lights legal for use on Australian roads?
Yes, LED lights are legal provided they comply with ADR 13/00 standards. They must meet specific light output, colour, and visibility requirements to be roadworthy. Most modern trailers now use LEDs because they offer superior vibration resistance and a much longer lifespan than traditional bulbs. Always check for the ADR approval mark on the lens before you learn how to wire trailer lights australia for a new build.
How do I wire a 12-pin trailer plug for a caravan?
A 12-pin plug uses the standard 7-pin flat layout for the first row and adds five larger pins for high-current auxiliary power. Pins 8 through 12 handle tasks like fridge power, battery charging, and reverse cameras. You must use a heavier wire gauge for these additional circuits to prevent voltage drop. This setup is essential for caravans that require constant power while in motion.
Can I use a 7-pin plug on a 12-pin socket?
You can plug a standard 7-pin flat trailer plug directly into a 12-pin flat vehicle socket. The first seven pins are physically identical and aligned in the same configuration. The additional five high-current pins on the vehicle socket will simply remain unused. This backward compatibility makes it easy to tow standard utility trailers even if your vehicle is set up for a heavy-duty caravan.
Why is the earth wire so important in trailer wiring?
The white earth wire (Pin 3) provides the necessary return path for all electrical current. Relying on the trailer frame or the hitch for earthing is a common mistake that leads to intermittent failure. Poor earthing causes dim lights or “cross-talking,” where the indicators might flash the brake lights. A dedicated earth return to every lamp is the most reliable way to ensure your system works correctly.
What is the difference between IP67 and IP68 trailer lights?
IP68 lights are fully submersible and designed for permanent underwater use, while IP67 units only handle temporary immersion. IP67 is suitable for standard box trailers exposed to heavy rain. For boat trailers, you must use IP68-rated lamps. These units are typically resin-potted to seal the electronics against salt water, ensuring the circuitry survives repeated dunks at the boat ramp without corroding.