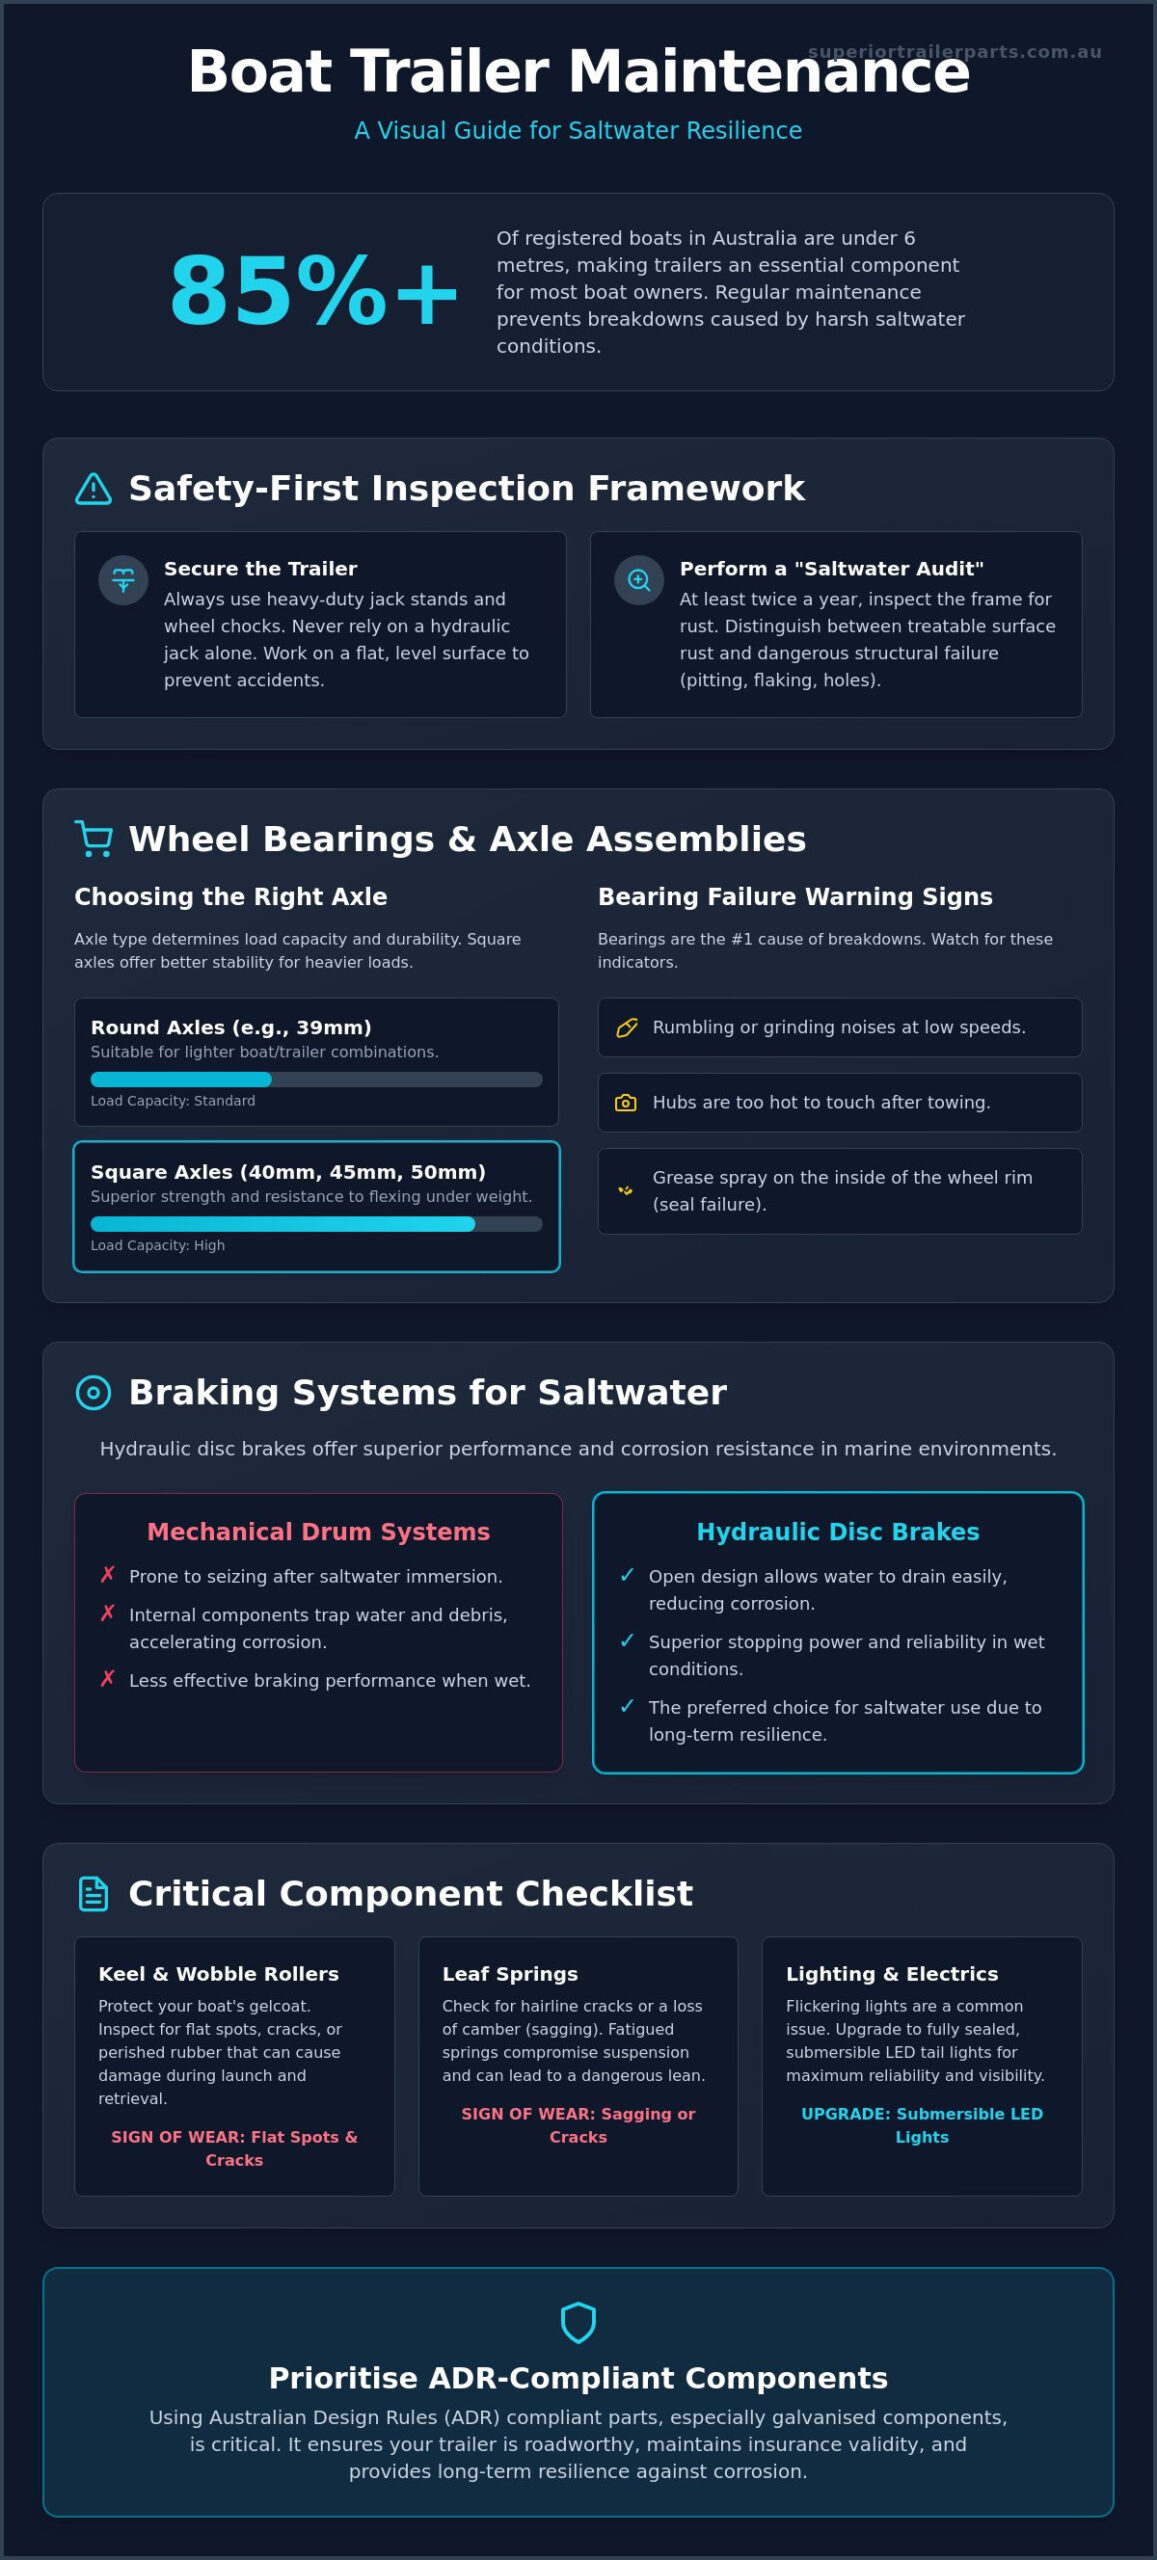
Over 85% of registered boats in Australia measure less than six metres, which means the vast majority of owners depend on a trailer for every launch. This diy boat trailer repair guide provides the technical foundation you need to maintain that critical link between your vehicle and the water. Saltwater is unforgiving. It does not take long for salt spray to turn a reliable haul into a dangerous roadside breakdown.
You likely understand the frustration of a seized winch at a busy ramp or the worry of seeing flickering trailer lights in the rearview mirror. These mechanical failures are common, but they are also preventable with the right maintenance routine. We promise to show you how to inspect, repair, and upgrade your trailer using professional techniques and saltwater-resilient components built for harsh conditions.
This article previews essential hardware upgrades and maintenance steps. We examine the installation of galvanised U-bolts, the replacement of manual boat winches, and the transition to LED submersible tail lights. By following these practical steps, you will ensure smooth launching and gain total confidence during long-distance towing.
Key Takeaways
- Establish a safety-first inspection framework to ensure your trailer meets Australian roadworthy standards before hitting the highway.
- Use this diy boat trailer repair guide to identify whether your load requires 39mm round or 50mm square axles to prevent roadside bearing failure.
- Learn to spot perished rubber or flat spots on keel and wobble rollers to protect your boat’s gelcoat during launch and retrieval.
- Understand why hydraulic disc brake kits are the superior choice for saltwater immersion compared to standard mechanical drum systems.
- Prioritise ADR-compliant, galvanised components to maintain insurance validity and ensure long-term resilience against corrosion.
Systematic Inspection and Safety Framework
In Australia, a roadworthy boat trailer must comply with national standards like VSB1 Revision 6. This ensures the vehicle is safe for highway use and meets Australian Design Rules. Understanding Trailer basics helps you identify the core components of your rig. Since 85% of registered boats in Australia are under 6 metres, most owners rely on trailers for every trip. A roadworthy trailer requires reliable brakes, clear lighting, and a structurally sound frame. This diy boat trailer repair guide begins with a thorough safety check.
Never rely on a hydraulic jack alone. Use heavy-duty stands and wheel chocks on a flat, level surface. Trailers can shift during maintenance, especially when you are torquing stubborn bolts. Secure the vehicle properly to prevent accidents. Working on a slope or soft ground is dangerous and can lead to equipment failure.
Perform a “Saltwater Audit” at least twice a year. Focus on high-stress areas like spring hangers and the inner surfaces of the frame rails. Use a wire brush to clear away debris and inspect the metal underneath. You must distinguish between cosmetic surface rust and structural failure. Surface rust is a brown film that can be cleaned and treated. Structural failure appears as deep pitting, flaking layers of metal, or holes in the frame. If the frame is compromised, the trailer is no longer safe for the road.
Essential Tools for DIY Trailer Repairs
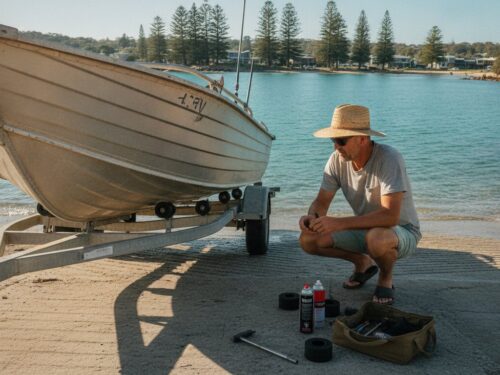
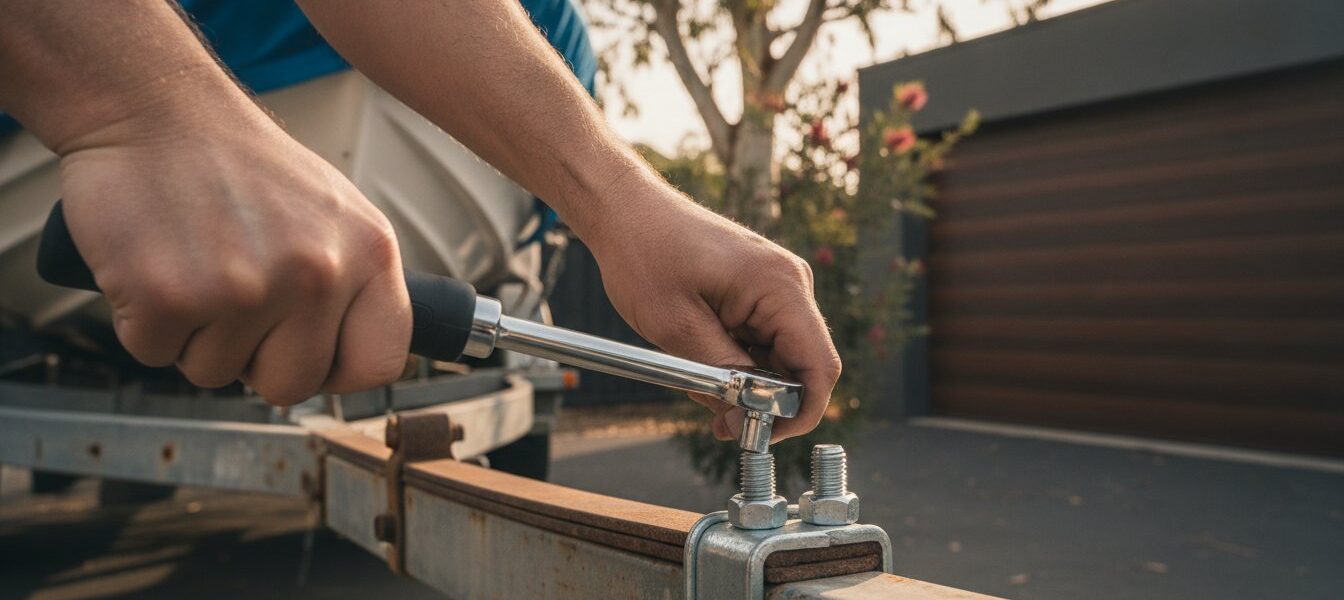
Assemble a dedicated tool kit for marine trailer work. This includes a torque wrench for axle nuts, a grease gun for hubs, and wire brushes for cleaning. Don’t skip safety gear. Eye protection and gloves are non-negotiable when dealing with flaking rust or sharp metal edges. Keep a stock of marine-grade grease and galvanised U-bolts on hand. Using the right consumables ensures your repairs last through multiple saltwater submersions.
Identifying Component Fatigue
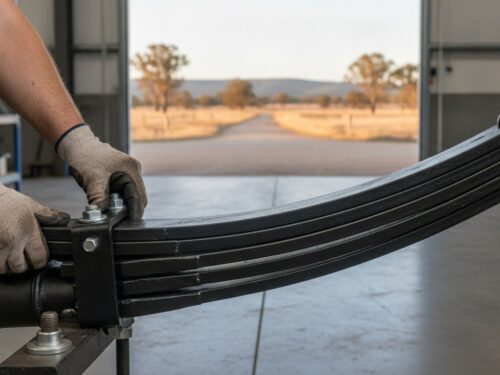
Inspect the suspension for signs of stress. Check leaf springs for hairline cracks or a loss of camber. If the trailer leans, the springs are likely fatigued. Examine couplings and safety chains for worn links or seized locking mechanisms. Before you pull the hubs apart, test for play. Grab the tyre and rock it back and forth. Any movement suggests the bearings require adjustment or replacement.
Servicing Wheel Bearings and Axle Assemblies
Wheel bearings are the leading cause of boat trailer breakdowns in Australia. The combination of saltwater submersion and high-speed highway travel creates a brutal environment for metal components. When a hot hub hits cold water at the ramp, a vacuum effect can pull water past the seals. This diy boat trailer repair guide focuses on these critical failure points to ensure your rig remains roadworthy. Regular servicing prevents the dreaded seized hub that can ruin a fishing trip before it starts.
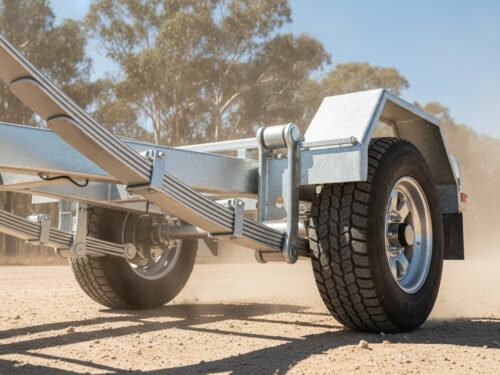
Your axle choice dictates the load capacity and durability of your trailer. Light utility setups often use 39mm round axles, but larger boats require more substantial support. Upgrading to 40mm, 45mm, or 50mm square axles provides a higher load rating and increased resistance to flexing under weight. Square axles offer a larger surface area for mounting hardware, which improves the overall stability of the trailer during long-distance towing. Always match your axle’s rating to the Aggregate Trailer Mass (ATM) of your boat and trailer combination.
Monitor your hubs for warning signs. Listen for rumbling or grinding noises while moving at low speeds. After a tow, carefully check the temperature of the hubs. If they are too hot to touch, the bearings are likely failing. Look for grease spray on the inside of the wheel rim, which indicates a compromised rear seal. When servicing, never use standard automotive grease. Marine-specific waterproof grease is formulated to resist washout and emulsification. Consistent boat trailer wheel bearing maintenance is the most effective way to extend the life of your running gear.
How to Replace Boat Trailer Bearings
Axle Maintenance and Replacement
Inspect the axle beam for heavy corrosion or bending. If the spindle is deeply pitted where the seal sits, cleaning is no longer an option. A pitted spindle will shred new seals, leading to immediate bearing failure. When ordering a replacement, measure the tip-to-tip length and the hub-face-to-hub-face distance. The hub-face measurement is critical for wheel alignment and mudguard clearance. Ensure the axle sits square to the frame during installation. Even a slight misalignment causes premature tyre wear and poor tracking. If your inspection reveals structural damage, you can find a range of replacement axles designed for heavy-duty marine use.
Optimising Launch and Retrieve Systems
Australian boat trailers rely on sophisticated roller systems rather than the carpeted bunks popular elsewhere. These systems facilitate a “drive-on” or “winch-on” recovery that’s essential for our varied ramp conditions. This diy boat trailer repair guide emphasises that your launch and retrieve gear must remain in top condition to prevent hull damage. A seized roller doesn’t just make recovery difficult; it can grind away at your gelcoat or aluminium hull during transport. Regular inspection ensures that every component moves freely and supports the boat’s weight evenly.
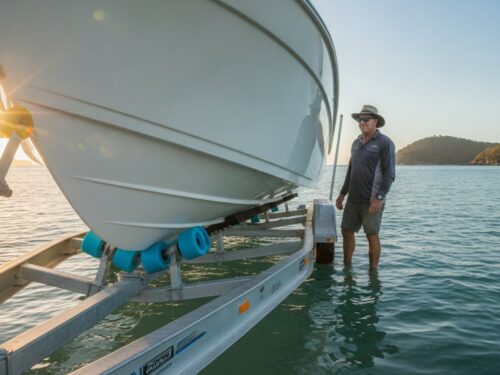
Inspect every roller for flat spots, perished rubber, or internal core failure. If a roller no longer spins freely on its shaft, it creates immense friction. Replace any roller showing signs of cracking or UV degradation. When installing new rollers, always use stainless steel or galvanised split pins. Standard steel pins corrode rapidly in marine environments. If a pin fails, the roller can slide off the shaft, leaving the sharp metal axle exposed to your boat. This simple oversight is a common cause of significant hull repairs.
Wobble Rollers vs Keel Rollers
Keel rollers are the backbone of the system. They sit along the centreline to support the heaviest part of the boat. Wobble rollers are mounted on pivoting arms to adjust to the hull’s shape, providing lateral stability during the retrieve. Choose your material based on your hull type. Polyurethane rollers are hard-wearing and ideal for fibreglass boats, while ribbed rubber rollers provide a softer grip for aluminium vessels. Ensure the rollers align with the hull’s strakes to prevent uneven pressure points.
Winch and Strap Maintenance
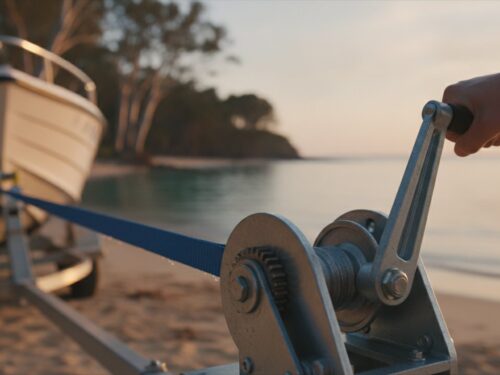
Your manual boat winch is your primary tool for recovery. Inspect the winch webbing for fraying or UV-related bleaching. Sun damage weakens the fibres, which can lead to a strap snapping under tension. Lubricate the internal gears with marine grease and ensure the ratchet pawl mechanism engages firmly. As noted in the report on the Top Five Causes of Boat Trailer Service Calls, winch failures are a major source of frustration at the ramp. Replace rusted handles and mounting hardware before they fail during a heavy pull.
Braking Systems and Marine Electrics
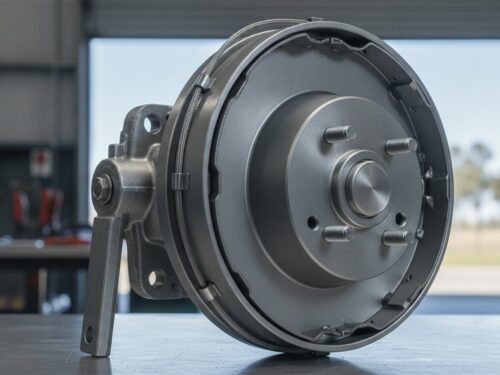
In Australia, trailers with an Aggregate Trailer Mass (ATM) exceeding 750kg must have an independent braking system. This diy boat trailer repair guide addresses the unique challenges of maintaining these systems in saltwater. Standard mechanical drum brakes often fail because salt crystals build up inside the drum, causing internal components to seize. Hydraulic disc brake kits are the preferred choice for marine environments. They feature open-ventilated rotors that allow for easy rinsing and superior heat dissipation. Unlike drum brakes, disc systems don’t trap salt and debris, which significantly reduces the risk of brake failure during highway travel.
Trailer electrics are notoriously unreliable when exposed to water. Traditional bulb-based lights are prone to failure because the hot glass often cracks when submerged in cold water. You should transition to LED submersible tail lights to eliminate this “blown bulb” syndrome. These units are factory-sealed to prevent moisture ingress. When making electrical connections, don’t use simple electrical tape. Protect every join with heat-shrink tubing and resin-filled connectors. This creates a permanent, waterproof seal that prevents the copper wiring from blackening and losing conductivity.
Hydraulic Disc Brake Maintenance
Check your brake pad thickness before every long trip. Marine environments accelerate wear due to grit and salt. Inspect the rotor surfaces for deep grooves or heavy pitting. If the rotors are compromised, they will destroy new pads rapidly. Bleed the hydraulic lines annually to remove trapped air and moisture. This ensures consistent pressure at the calipers. Inspect the coupling for signs of master cylinder leaks. A leaking seal in the coupling will lead to a loss of braking force when you need it most.
Rewiring for Submersion
Wiring issues usually stem from a poor earth connection. Clean the contact points on the trailer frame to ensure a solid metal-to-metal bond. Follow standard 7-pin flat or round wiring diagrams to ensure compatibility with your tow vehicle. Route all cables through the internal cavity of the trailer frame where possible. This protects the insulation from UV damage and prevents cables from snagging on submerged obstacles at the ramp. If you’re overhauling your system, check our full selection of boat trailer parts for ADR-compliant lighting and wiring solutions.
Sourcing ADR-Compliant Components
Selecting the right hardware is the final step in this diy boat trailer repair guide. While “cheap” non-galvanised components may seem like a cost-effective solution initially, they fail rapidly in marine environments. Corroded parts require frequent replacement and increase the risk of structural failure. In Australia, all trailer components must meet Australian Design Rules (ADR). This compliance is not just about performance; it is a legal requirement. Using non-compliant hardware can void your insurance policy and lead to heavy fines if the trailer is deemed unroadworthy during a roadside inspection.
Build a marine-grade spares kit for every trip. At a minimum, include a spare set of packed bearings, marine seals, and galvanised split pins. If you experience a bearing failure away from home, having these parts on hand can be the difference between a quick repair and an expensive tow. Store these items in a waterproof container to prevent pre-installation corrosion. Prioritise components that are engineered specifically for the harsh conditions found at Australian boat ramps. Reliability on the road starts with the quality of the parts you carry.
Selecting Saltwater-Resistant Hardware
Always choose hot-dipped galvanised finishes over standard zinc plating. Zinc plating is often too thin to withstand the abrasive nature of salt and sand. Hot-dipped galvanisation provides a thick, metallurgical bond that protects the steel even if the surface is scratched. Use stainless steel fasteners for mudguards and light brackets to prevent rust streaks. When sourcing boat trailer parts, verify that the load ratings match your trailer’s ATM to ensure the hardware can handle the stress of highway speeds.
Building a Maintenance Schedule
Longevity depends on consistent maintenance. Perform a thorough fresh-water washdown after every launch. Pay close attention to the inside of the wheel rims and the brake calipers where salt accumulates. Monthly tasks should include checking tyre pressures and inspecting the winch strap for UV damage. For frequent boaties, an annual teardown of the hubs is necessary to inspect for internal moisture. If you are undertaking a complex rebuild and need technical advice, you can reach out for technical support to ensure your project meets safety standards.
Before your first tow after a repair, run through a final safety checklist. Verify that the wheel nuts are torqued to specification and the coupling is securely locked onto the tow ball. Check that the safety chains are crossed and the D-shackles are tightened. Test the LED submersible lights one last time to ensure the earth connection is stable. A five-minute check prevents hours of frustration on the side of the road. Your goal is a trailer that tracks straight, brakes evenly, and survives the season without a breakdown.
Secure Your Boat for the Next Launch
Maintaining a roadworthy trailer requires a proactive approach to saltwater corrosion. This diy boat trailer repair guide highlights the necessity of ADR-compliant hardware and the transition to hydraulic disc brakes for superior performance. Regular inspections of your wheel bearings and roller systems prevent the most common causes of roadside failure. By prioritising galvanised components and waterproof electrics, you ensure your rig remains reliable for the long haul. A well-maintained trailer is just as important as the vessel it carries.
Superior Trailer Parts has been Australian-owned and operated since 2014. We provide nationwide shipping on a range of components engineered specifically for harsh Australian marine conditions. Don’t wait for a component to fail at the ramp or on the highway. Browse our range of high-quality boat trailer parts and hardware to find durable solutions for your maintenance needs. Our parts are built to withstand the grit and salt of local coastlines. With the right tools and professional-grade hardware, you can tow with confidence and focus on your time on the water.
Frequently Asked Questions
How often should I grease my boat trailer wheel bearings?
Grease your bearings at least every six months or before any long-distance trip. Saltwater is highly corrosive and can penetrate seals as the hubs cool down in the water. Following a consistent diy boat trailer repair guide ensures you catch early signs of wear before the bearing seizes on the spindle. Use high-quality marine grease to resist water washout.
Can I use standard car tyres on my boat trailer?
You should avoid using standard car tyres for towing boats. Trailer-specific tyres feature stiffer sidewalls designed to handle heavy loads and reduce swaying at highway speeds. Car tyres are built for traction and comfort, which can lead to instability when supporting a heavy hull. Always check the load rating on the sidewall to ensure it meets your trailer’s requirements.
Why do my trailer lights stop working as soon as they touch the water?
Non-submersible bulbs often fail due to thermal shock. When a hot bulb hits cold water, the glass housing cracks and short-circuits the system. This diy boat trailer repair guide recommends switching to factory-sealed LED units. These lights are designed for submersion and lack the fragile filaments found in traditional bulbs. Check your earth connection if the problem persists.
Is it better to repair or replace a rusty boat trailer frame?
Surface rust can be treated with a wire brush and cold-galvanising spray. However, if you see deep pitting or holes in the frame rails, the structural integrity is compromised. It’s safer to replace the trailer or the specific frame section rather than attempting to patch a failing chassis. Structural failures on the road are dangerous and often lead to insurance claim denials.
What size U-bolts do I need for my trailer axle?
Measure the width of your axle and the width of your leaf springs to determine the correct size. For a 45mm square axle with 50mm wide springs, you need U-bolts that match those specific dimensions. Always use galvanised hardware for marine applications. Standard steel bolts will rust and seize, making future suspension adjustments or repairs nearly impossible without a grinder.
Do I need brakes on my boat trailer in Australia?
Trailers with an Aggregate Trailer Mass (ATM) over 750kg must have an independent braking system. If your rig exceeds 2000kg, Australian regulations require power-assisted braking and a breakaway system. These rules ensure you can stop safely in emergency situations. Always verify your trailer’s ATM on the compliance plate before deciding on a braking system upgrade.
How do I know if my winch strap needs replacing?
Inspect your winch strap for UV bleaching, fraying, or stiffening of the fabric. Sun damage weakens the polyester fibres, which can cause the strap to snap under the tension of a heavy retrieve. If you see any visible cuts or significant fading, replace the strap immediately. A snapped strap at the boat ramp can lead to serious injury or hull damage.
Can I weld my own trailer frame repairs?
You can weld minor non-structural brackets if you are a competent welder, but chassis repairs require professional expertise. Australian standards for roadworthiness are strict regarding structural modifications. Poorly executed welds can lead to catastrophic failure on the highway. It’s best to consult a specialist for any repairs involving the main frame or drawbar to maintain safety and insurance compliance.