A visual inspection of your trailer isn’t enough to prevent a roadside disaster. Most owners assume their gear is roadworthy until a bearing seizes or a spindle snaps. To avoid these failures, you must understand exactly how to measure trailer axle specifications and identify wear before it becomes a critical safety risk. Precision is the only way to ensure your setup complies with Australian Design Rules (ADR) and remains reliable under heavy loads.
We know the frustration of trying to order replacement parts when you aren’t sure if you have a 40mm square or a 45mm square axle. It’s easy to feel overwhelmed by technical jargon and complex compliance standards. This article provides a technical, component-level framework to help you inspect your trailer like a professional. You’ll learn the exact steps to take accurate measurements for new parts and maintain your equipment for the long haul. We’ll walk through a clear checklist of items to verify, from brake sizes to spring conditions, giving you total confidence in your trailer’s structural integrity.
Key Takeaways
- Understand the legal requirements of trailer roadworthiness under Australian transport regulations. A proactive safety audit identifies structural risks before they lead to roadside failures.
- Master the technical steps for how to measure trailer axle dimensions to ensure a perfect fit for replacement 40mm or 45mm square beams.
- Evaluate critical towing gear by testing couplings for wear and inspecting safety chains for stretch. These checks ensure your trailer remains securely attached during transit.
- Verify external roadworthiness through light cycle checks and plug inspections. Corroded pins or loose wiring can compromise safety and lead to heavy fines.
- Establish a reliable maintenance schedule based on 6 month or 5,000km intervals. Regular inspections and post-trip washdowns protect your hardware from harsh Australian conditions.
Essential DIY Trailer Inspection Fundamentals
A DIY trailer inspection is more than a cursory glance before a long haul. It is a proactive safety audit of every structural and mechanical component that keeps your load secure. In Australia, maintaining a roadworthy trailer isn’t just common sense; it’s a legal necessity under state transport regulations. If your equipment fails on a public road, you are liable for the consequences. This process starts with a “safety first” mindset. You must look beyond the surface to find hairline cracks in welds or hidden corrosion tucked inside the chassis rails.
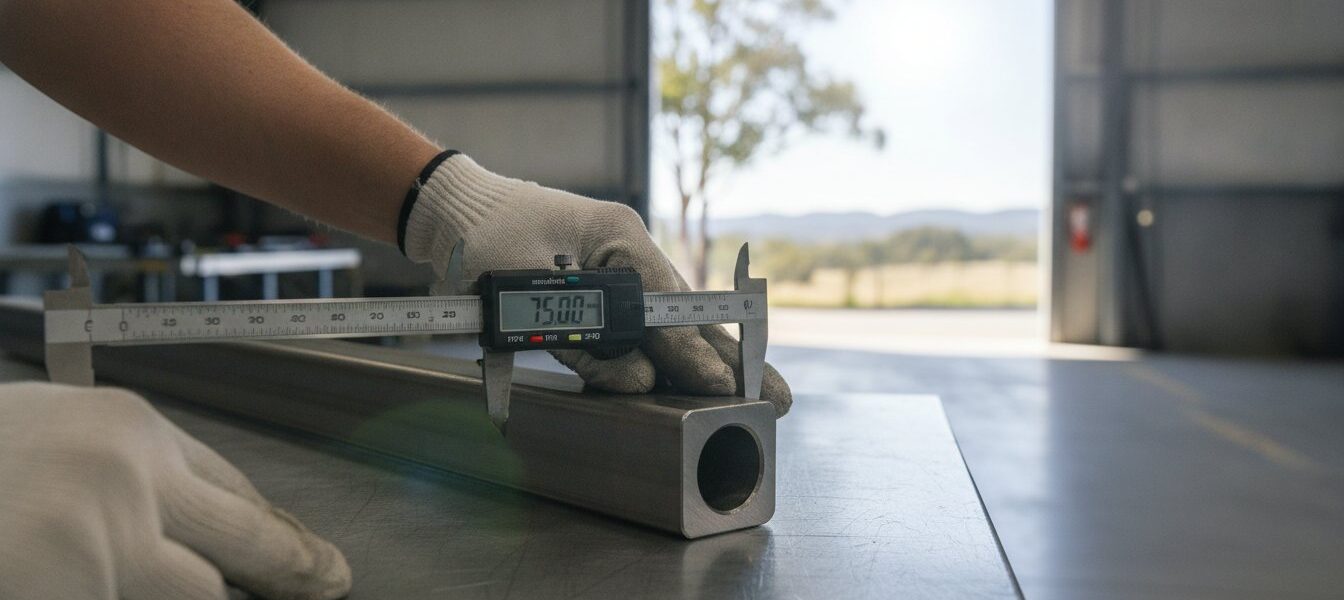
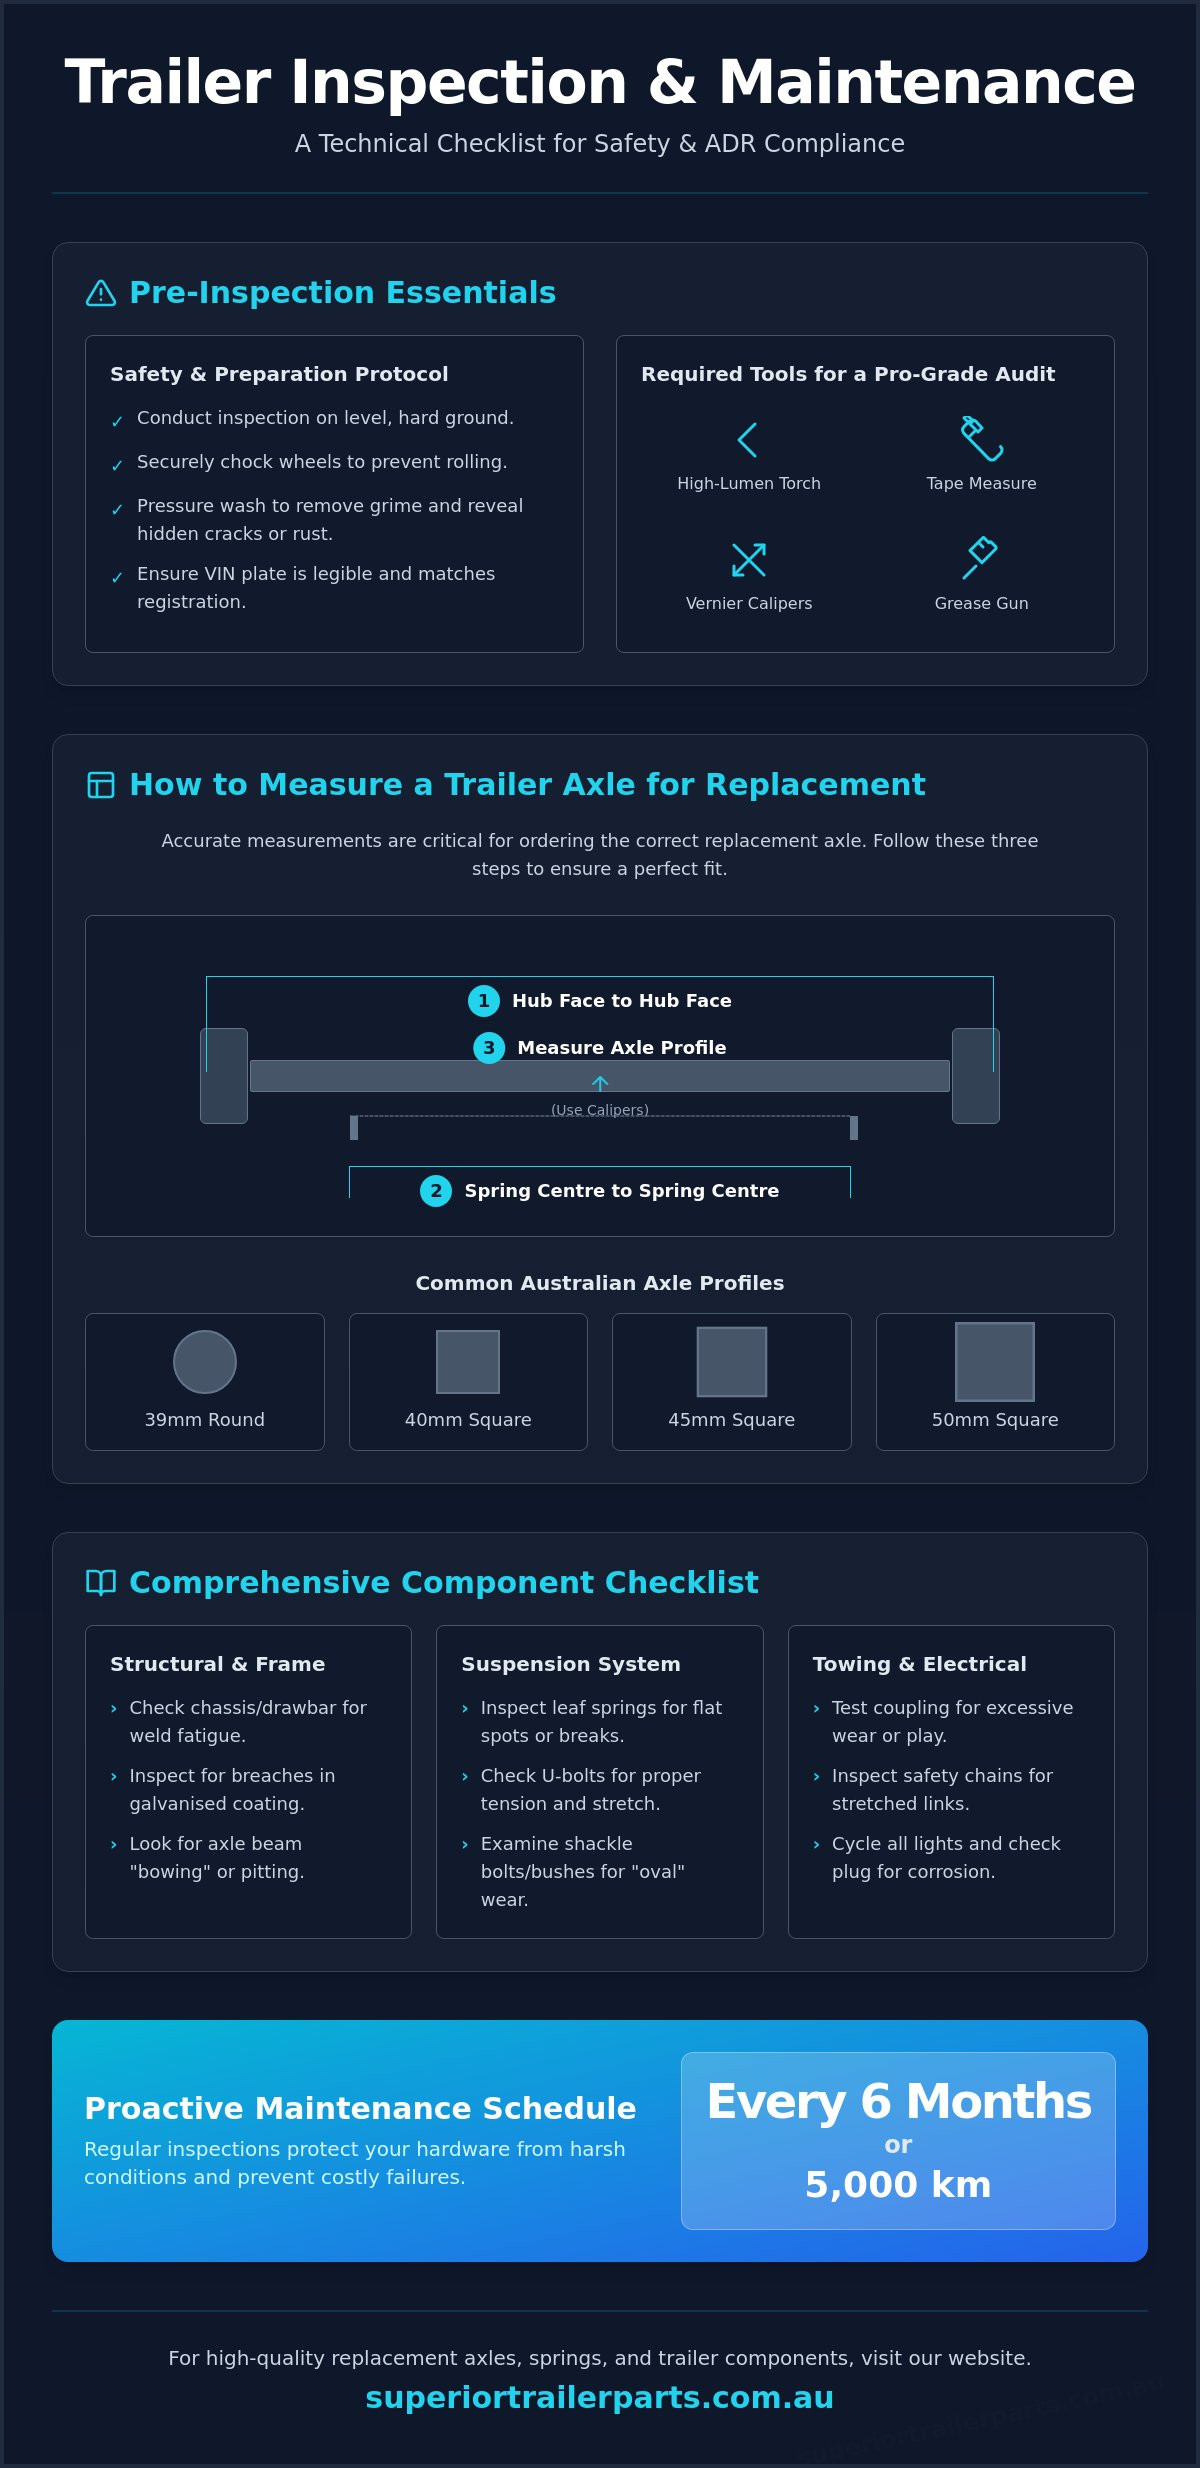
To perform a professional-grade assessment, you need a specific set of tools. A high-lumen torch is vital for spotting stress marks in dark corners. You will also need a quality tape measure and rated jack stands to support the frame safely. For those learning how to measure trailer axle dimensions for replacements, a pair of vernier calipers is mandatory. Precision is mandatory. This tool allows you to distinguish between 39mm round and 40mm square axles with millimetre accuracy. Finally, keep a grease gun handy to service bearings once the inspection is complete.
The Importance of Regular Inspections
Regular checks prevent catastrophic failures during high-speed towing on Australian highways. Constant vibrations and heavy loads eventually fatigue even the strongest steel. By identifying bearing play or bush wear early, you reduce long-term repair costs. Replacing a small component now prevents it from damaging the entire hub or the trailer axle beam later. For a deeper look at component lifespans, refer to our essential trailer parts resource.
Preparation and Safety Protocol
Never start an inspection on a slope. Conduct your audit on level, hard ground with the wheels properly chocked to prevent rolling. A clean trailer is easier to inspect. Use a pressure washer to remove mud and road grime. This reveals rust “bleeding” from structural joints or cracks in the galvanised coating. Always verify that your VIN plate is legible and matches your registration papers. This ensures legal compliance and helps you identify the correct specifications when you need to know how to measure trailer axle components for an upgrade or repair.
Structural Integrity and How to Measure Trailer Axle Dimensions
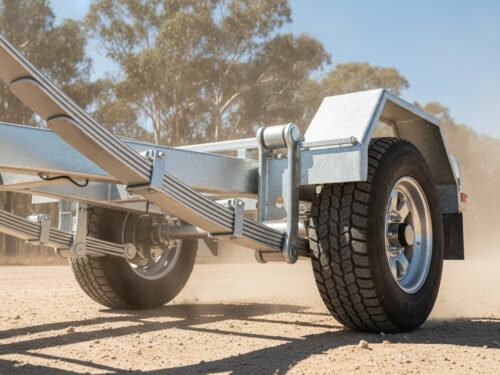
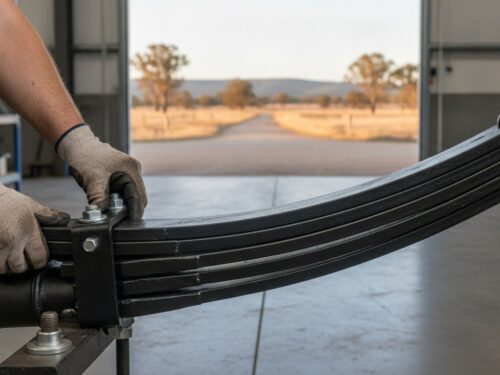
Structural integrity starts with a thorough inspection of the chassis and drawbar. Look for weld fatigue or breaches in the galvanised coating. These are early warning signs of metal stress that can lead to a complete frame failure if left unaddressed. Examine the axle beam itself for “bowing” or excessive pitting. A bent axle causes uneven tyre wear and poor tracking, which compromises safety at highway speeds. Inspect leaf springs for flat spots, broken leaves, or heavy corrosion. Rust between spring layers restricts movement and can lead to total failure under load. Check U-bolts for tension regularly. Look for stretching or thread damage. Shackle bolts and bushes must be tight. Any “oval” wear patterns in the bushes indicate they need immediate replacement to maintain proper alignment.
Step-by-Step: How to Measure Trailer Axle for Replacement
Learning how to measure trailer axle dimensions is a critical skill for any owner. You must record three specific figures for an accurate replacement. First, measure the “Hub Face to Hub Face” distance. This is the flat mounting surface of each hub where the wheel sits. Second, measure the “Spring Centres”. This is the distance from the centre of one spring to the centre of the other. Finally, use calipers to identify the axle profile. Australian trailers commonly use 39mm round, 40mm square, 45mm square, or 50mm square axles. Taking these measurements correctly ensures your new axle fits the existing suspension hangers and wheel offsets without modification.
Suspension Component Health
Suspension health keeps your load stable and protects your cargo. Differentiate between 4 leaf slipper springs and 5 leaf eye to eye springs during your check. Slipper springs rely on a sliding tail; eye to eye versions use shackles at both ends. Look for broken leaves or sagging in the pack. Ensure rocker roller sets move freely on tandem setups. Lubricate them via the grease nipples to prevent seizing and premature wear. Inspect your galvanised U-bolts for secure fitment. They should never be “bottomed out” on the thread. A stretched U-bolt loses its clamping force. This allows the axle to shift, which can snap the centre bolt and cause a dangerous loss of control. If your hardware shows signs of fatigue, consider browsing our range of replacement axles to restore your trailer’s safety.
Evaluating Braking Systems and Towing Gear
A trailer’s braking and towing gear are the primary fail-safes between your vehicle and the load. While previous sections covered structural integrity, these mechanical components require a different level of scrutiny. Start by testing the coupling for excessive “slop” or wear on the tow ball housing. A worn housing creates a loose connection that causes jerking during acceleration and braking. This vibration eventually damages the tow bar and the trailer’s drawbar. Check the primary and secondary safety chains for stretch or damaged links. In Australia, safety chains must be permanently fixed to the trailer and possess the correct rating for the Aggregate Trailer Mass (ATM).
Brake pads and shoes require regular thickness checks. Inspect them for even wear across the surface. Uneven wear often indicates a seized caliper or a misaligned drum. Verify that the handbrake or over-ride mechanism engages fully. It must hold the trailer’s weight on an incline without slipping. This is especially important for mechanical over-ride systems that rely on physical cable tension. Understanding how to measure trailer axle profiles is useful here. The axle size determines the compatible brake mounting plates and drum diameters, ensuring your replacement parts fit the first time without modification.
Couplings and Safety Chains
The locking trigger on your coupling must be snappy and secure. If the spring feels weak or the trigger sticks, the mechanism is likely fouled with grit or rust. Apply a high-quality grease to the internal mechanism to reduce friction and ensure smooth operation. Check that your safety chain rated shackles are in good condition. They should not be rusted shut or have bent pins. Replace any shackle that shows signs of thread stripping or deformation. These small components are the only thing keeping your trailer attached if the coupling fails.
Brake Component Inspection
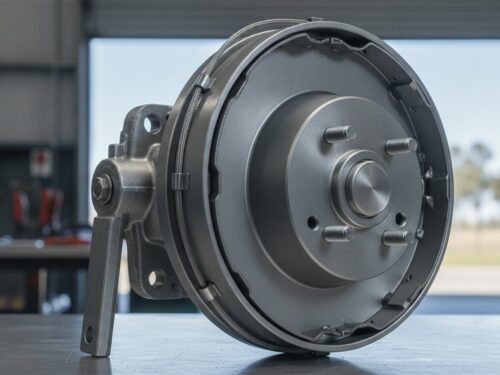
Inspect 10 inch electric drum brakes for magnet wear and wire integrity. The magnet face should be flat. If it shows deep grooves or uneven pitting, replacement is necessary. Check the wiring for frayed insulation or loose connections at the backing plate. For hydraulic disc brake kits, look for fluid leaks around the pistons and seals. Ensure the pistons move freely when the master cylinder is activated. Consult our brakes and calipers selection guide for specific maintenance intervals. Matching these components to your setup is straightforward once you know how to measure trailer axle dimensions like the hub face and bearing profile.
Electrical Systems and External Roadworthiness
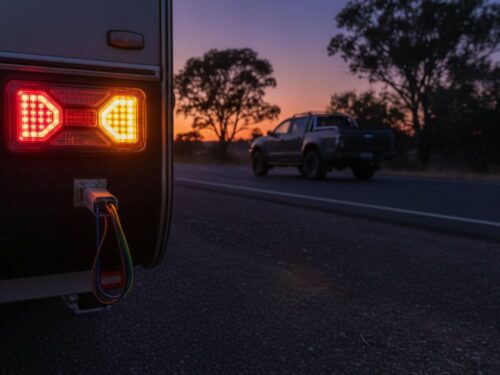
Electrical failures are the most frequent cause of roadside infringements and safety hazards on Australian roads. You must perform a full light cycle check before every haul. This includes verifying the operation of indicators, brake lights, tail lights, and clearance lights. Use a second person or a mirror to confirm each signal is bright and clear. Inspect the trailer plug for green copper oxide corrosion on the pins or loose internal wiring. A faulty connection causes intermittent signal loss, which is particularly dangerous during night driving or in heavy rain. If your plug is damaged, replace it immediately to maintain a reliable link to your tow vehicle.
Lighting and Wiring Integrity
Moisture ingress is the primary cause of circuit failure in traditional bulb-based systems. If you spot condensation inside the lenses, the seals are compromised. We recommend upgrading to LED submersible tail lights to eliminate this issue, especially for boat trailers. Inspect the wiring loom along the entire length of the chassis. Look for sagging sections or areas where the insulation has rubbed through against the metal frame. Secure any loose wiring with UV-rated cable ties. Test your trailer plug adapter for a snug fit. A loose adapter will vibrate and eventually fail, leaving you without lights in transit.
Tyre and Wheel Safety
Check every wheel nut with a torque wrench to ensure they meet manufacturer specifications. Look for “rust tracking” or orange streaks radiating from the studs. This is a clear sign that a nut is loose and the wheel is moving on the hub. Do not neglect the spare tyre. Check its age and air pressure. Rubber degrades over time even if it never touches the road. Verify that your mudguards are secure and provide full coverage for the tyre tread. Loose mudguards can vibrate and crack the mounting brackets. Ensuring your wheels track straight depends on your ability to verify alignment. Knowing how to measure trailer axle straightness is the first step in diagnosing why a trailer might be “dog-tracking” or scrubbing tyres prematurely.
Implementing a Proactive Maintenance Schedule
Always source high-quality, Australian-tested components for your replacements. Using parts that don’t meet Australian Design Rules (ADR) can void your insurance and compromise the vehicle’s integrity. When you perform these regular audits, record the specific data on how to measure trailer axle profiles and hub faces in your logbook. Having this information ready means you won’t have to crawl under the chassis every time you need to order a new seal or bearing kit. It streamlines the maintenance process and ensures you always get the right fit for your specific setup.
Post-Inspection Action Plan
Once your audit is complete, categorize your findings into “Immediate Repair” and “Monitor” items. Any component that affects the structural or braking integrity of the trailer falls into the immediate category. Replace any hardware that shows more than 10% surface metal loss from rust. This is particularly critical for U-bolts and shackle plates where structural thickness is vital for load bearing. Consult the Superior Trailer Parts catalog to find ADR-compliant replacement components that match your recorded measurements.
Storage Best Practices
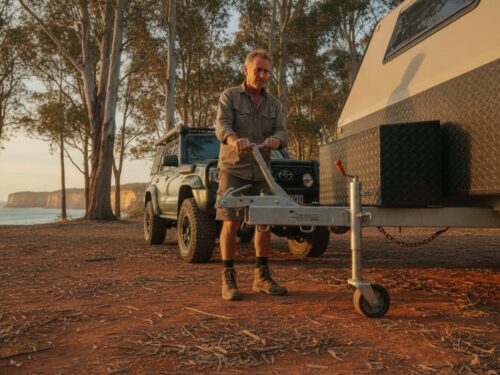
Proper storage prevents premature degradation of your trailer’s mechanical parts. If you store your trailer outdoors, cover the tyres to prevent UV damage and sidewall cracking. Position the trailer with the drawbar slightly elevated. This allows water to run off the deck or out of the chassis rails, preventing stagnant pools that cause rust. Don’t leave the handbrake engaged for long periods. This can stretch the cables or cause the pads to seize against the drums. Use the jockey wheel and high-quality chocks to secure the trailer instead. These small habits, combined with knowing how to measure trailer axle wear, will keep your trailer road-ready for years.
Secure Your Load for the Long Haul
Maintaining a roadworthy trailer requires a commitment to technical precision. You now have a framework to identify structural fatigue, braking wear, and electrical faults before they cause a roadside breakdown. Mastering how to measure trailer axle dimensions allows you to replace worn 40mm or 45mm square beams with total accuracy. Adhering to Australian Design Rules (ADR) is the only way to ensure your equipment handles the stress of heavy loads and high-speed towing. A proactive maintenance schedule protects your investment and ensures your trailer tracks straight every time you hit the bitumen.
Superior Trailer Parts is Australian-owned and operated. We specialise in heavy-duty galvanised hardware built for the harshest local conditions. We offer nationwide shipping on all components to get your gear back on the road quickly. Browse our range of ADR-compliant trailer parts and accessories to find the exact hardware for your next repair or upgrade. Take the time to audit your trailer today and tow with confidence.
Frequently Asked Questions
How do I measure a trailer axle for a replacement?
You must measure the distance between the hub face surfaces and the distance between the spring centres. Use a tape measure for the lengths and vernier calipers to check the axle thickness. Common Australian sizes include 40mm and 45mm square beams. This technical data is the only way to ensure your new beam aligns with your existing suspension hangers and wheel offsets. Accurate figures prevent fitment issues during the installation process.
How often should I perform a DIY trailer inspection?
Perform a comprehensive DIY inspection every 6 months or 5,000km for standard box trailers. Boat trailers require a washdown and visual check after every saltwater immersion to prevent corrosion. Regular audits help you catch bearing play or structural fatigue before they lead to roadside failures. Consistency prevents expensive repairs and keeps your setup compliant with Australian road regulations. It’s a simple habit that ensures long-term reliability.
What are the most common reasons trailers fail roadworthy checks in Australia?
Non-functional lights and worn tyres are the leading causes of roadworthy failure. Inspectors also look for excessive bearing play, rusted safety chains, and structural cracks in the chassis or drawbar. Ensure your VIN plate is legible and matches your registration papers exactly. Addressing these basic mechanical and electrical issues beforehand prevents costly infringements. It also ensures your trailer is legally fit for public roads.
Can I replace my own trailer axles and leaf springs?
You can replace these components yourself if you have the mechanical skills and rated equipment. You will need high-capacity jack stands and a torque wrench to secure the U-bolts correctly. Understanding how to measure trailer axle dimensions is vital for sourcing the correct ADR-compliant parts. If you’re unsure about weld integrity or complex braking setups, consult a professional. Safety under load is the priority.
How do I know if my trailer wheel bearings need replacing?
Jack up the trailer and wobble the wheel; any movement indicates the bearings need adjustment or replacement. Listen for growling or grinding noises when the wheel spins freely. Excessive heat on the hub after a short drive is another sign of impending bearing failure. Regular greasing extends their life significantly. However, pitted rollers or discoloured races require immediate replacement to prevent the hub from seizing on the spindle.
Is it legal to use a trailer with non-functional LED lights?
It’s illegal to tow a trailer on public roads if any of the mandatory lights aren’t working. This includes indicators, brake lights, tail lights, and clearance lights. Non-functional lights compromise safety and result in heavy fines from transport authorities. If your LED lights fail due to moisture or wiring issues, replace the units immediately. Maintaining visibility is a core requirement for roadworthiness in every Australian state.
What is the minimum tread depth for trailer tyres in Australia?
The legal minimum tread depth for trailer tyres across Australia is 1.5mm. You should replace tyres much sooner if you notice sidewall cracking or dry rot from UV exposure. Tyres on trailers often age out before the tread wears down completely. Check the depth across the entire width of the tyre. This helps you identify alignment issues that might be scrubbing the rubber prematurely during transit.
Should I use grease or oil on my trailer coupling?
Use a high-quality multi-purpose grease on the internal mechanism of your trailer coupling. Grease reduces friction on the tow ball and ensures the locking trigger operates smoothly. Don’t use thin oils as they wash away quickly and don’t provide enough protection against metal-on-metal wear. Regularly clean out old, gritty grease before applying a fresh layer. This keeps the connection secure and reduces noise while towing.