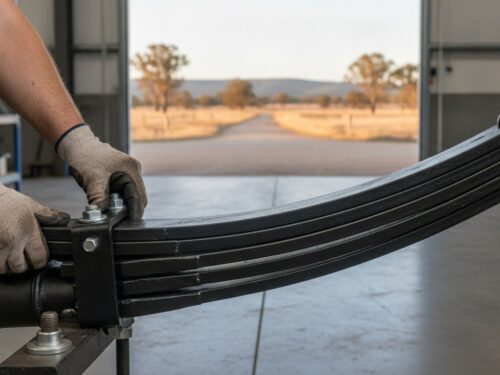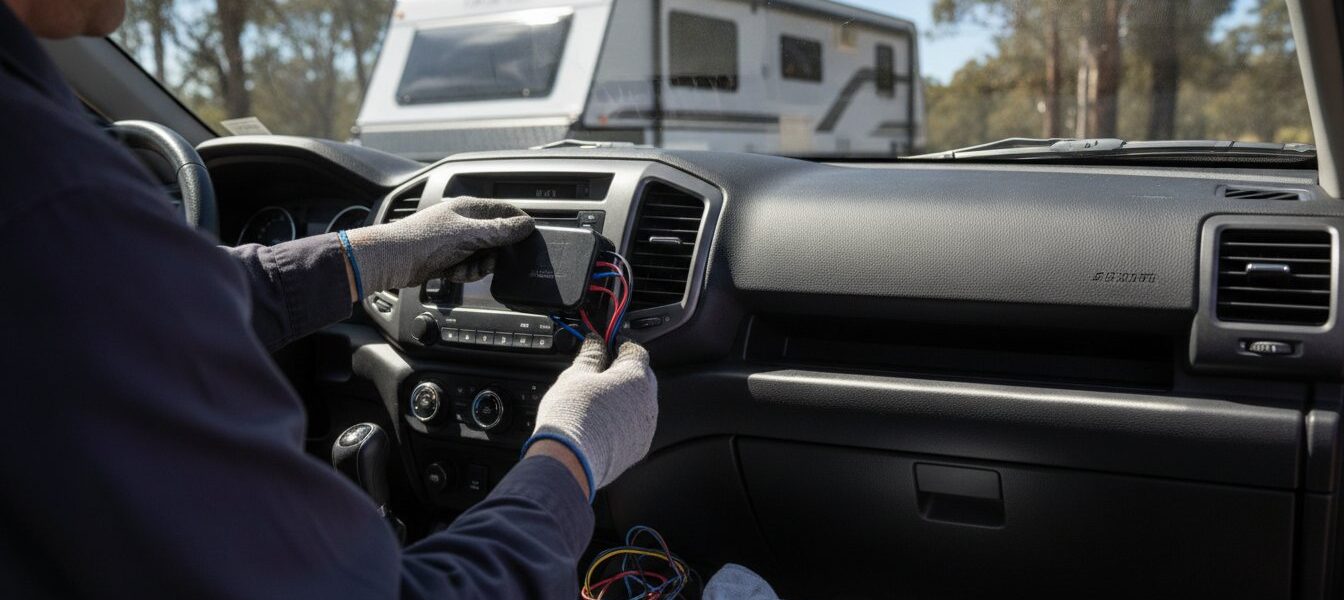
Statistics show that rear-end impacts and losing control are among the most common types of caravan accidents on Australian roads. These incidents often stem from inadequate braking performance or poor weight distribution. You know that towing a heavy load requires more than just a powerful engine. It requires a braking system that responds instantly and reliably. Many owners feel overwhelmed by complex wiring diagrams or fear damaging sensitive vehicle electronics during the setup process.
Learning how to install a trailer brake controller correctly is the best way to ensure your trailer stops safely under load. This resource helps you master the installation with professional wiring standards and mounting techniques suited for harsh local conditions. We provide a clear technical framework for connecting your vehicle to your trailer hardware. You’ll learn to identify wire colours, manage ADR-compliant connections, and achieve a clean, professional finish in your cabin. Follow these steps to ensure your rig is roadworthy and your family is safe on the highway.
Key Takeaways
- Understand Australian Design Rules (ADR) to ensure your braking system meets legal requirements for trailers over 750kg GTM.
- Learn how to install a trailer brake controller using secure mounting techniques and professional wiring standards for maximum reliability.
- Identify the essential industrial tools required for a durable installation, including multimeters and heat shrink for weather-proof connections.
- Master the calibration of your unit by adjusting gain and output levels to ensure responsive braking performance under heavy loads.
- Discover how a properly installed controller manages 10 Inch Electric Drum Brakes to maintain vehicle stability and prevent trailer sway.
Understanding Trailer Brake Controllers and Australian Requirements
A Trailer brake controller is an electronic interface installed within the cabin of your tow vehicle. It manages the power delivery to the trailer’s electrical braking system, typically controlling 10 Inch Electric Drum Brakes. This device acts as the brain of your towing setup. It ensures that when you apply pressure to the vehicle brake pedal, the trailer provides its own stopping force. This prevents the trailer’s momentum from pushing the vehicle, which reduces stopping distances and prevents dangerous jackknifing incidents.
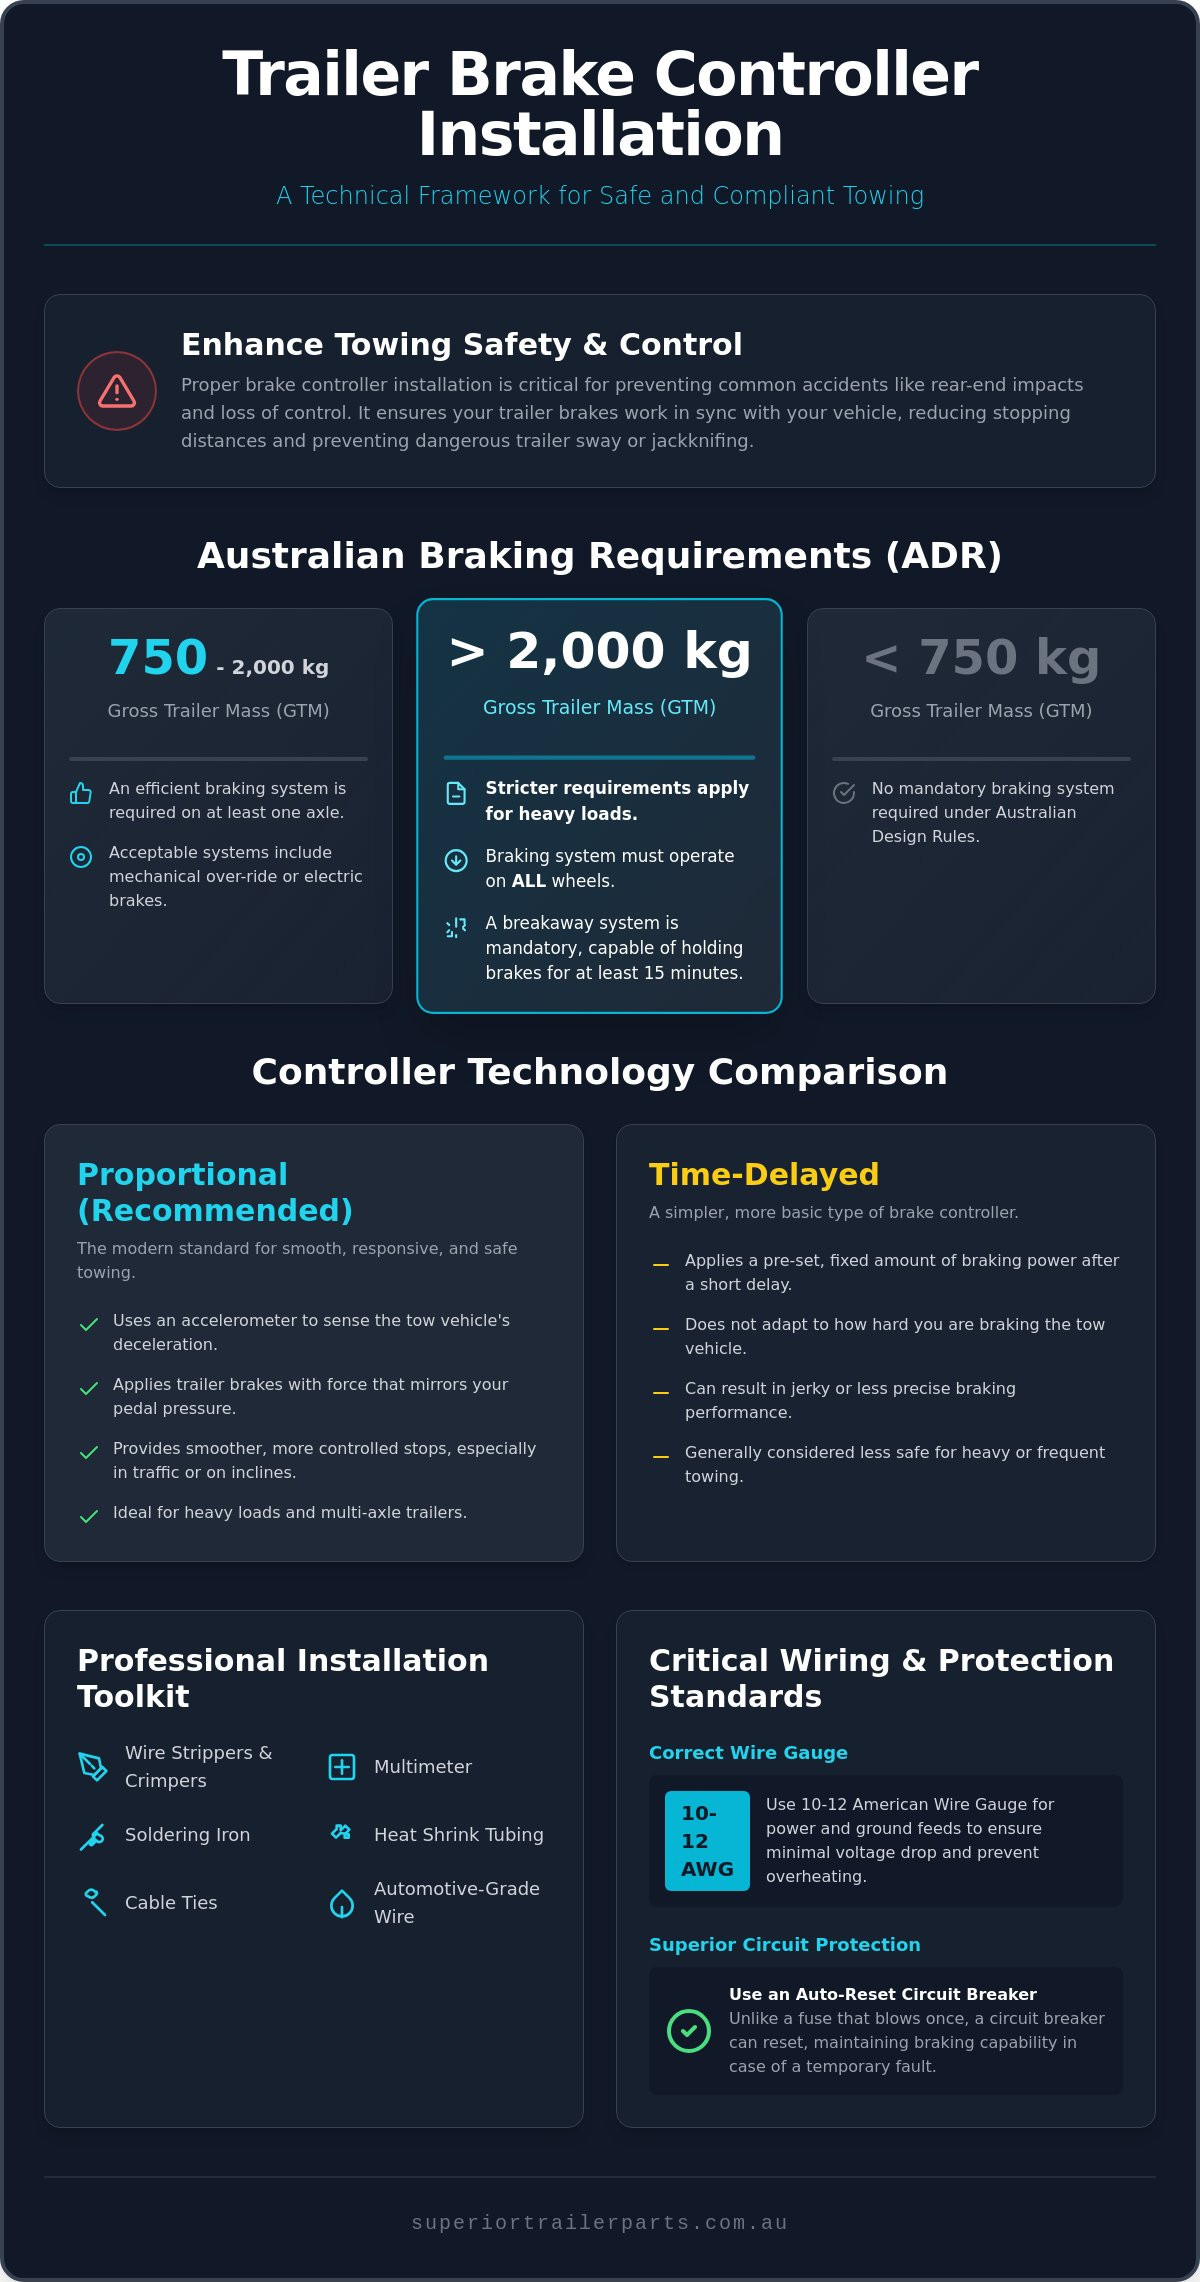
Understanding the legalities is the first step in learning how to install a trailer brake controller. In Australia, standards are governed by the Australian Design Rules (ADR). Specifically, ADR 38 and Vehicle Standards Bulletin 1 (VSB1) dictate how trailers must behave under load. If your trailer has a Gross Trailer Mass (GTM) exceeding 750kg, it must be fitted with an efficient braking system. For trailers over 2,000kg, the requirements are strict. These heavy trailers must have brakes on all wheels and a functional breakaway system to ensure safety if the hitch fails.
Legal Weight Thresholds for Braking
Australia’s towing laws are clear about weight classifications. For trailers between 750kg and 2,000kg GTM, you can use mechanical over-ride brakes or electric systems. However, once you cross the 2,000kg threshold, electric brakes are the industry standard. You must also install a breakaway system capable of holding the brakes for at least 15 minutes in an emergency. Always ensure your chosen unit is compatible with your brakes and calipers to avoid overheating or failure during steep descents. Using the correct hardware ensures your rig remains ADR-compliant and safe for regional travel.
Proportional vs. Time-Delayed Controllers
Proportional controllers are the preferred choice for modern Australian towing. These units use internal accelerometers to sense the vehicle’s deceleration rate. They apply the trailer brakes with a force that mirrors your foot pressure on the pedal. This creates a smoother, more controlled stop. Time-delayed units are simpler and apply a fixed amount of power after a short lag. While functional, they lack the precision needed for heavy traffic or mountain passes. When considering how to install a trailer brake controller for a tandem trailer, select a proportional unit that can handle multi-axle configurations for consistent performance.
Preparation: Tools and Wiring Standards
Success in learning how to install a trailer brake controller depends on the quality of your preparation. Cutting corners with subpar tools leads to intermittent electrical faults that are difficult to diagnose later. You need a dedicated workspace and a specific set of equipment to ensure the installation meets industrial standards. Professional results require more than just basic hand tools; you must be prepared to create permanent, weather-resistant connections.
Gather these essential tools before you begin:
- Wire strippers and crimpers: For clean insulation removal and secure terminal fitment.
- Multimeter: Critical for verifying 12V power sources and brake signal triggers.
- Soldering iron: Used for joining wires where mechanical crimps might vibrate loose.
- Heat shrink tubing: Provides superior insulation and moisture protection compared to electrical tape.
- Cable ties: Essential for securing looms away from heat sources and moving parts.
- Automotive-grade wire: Use multi-strand copper wire designed for high-vibration environments.
Safety is the priority. Always disconnect the negative terminal of the vehicle battery before touching any wiring. This step prevents accidental short circuits that could damage the vehicle’s sensitive electronic control units. For circuit protection, use a dedicated auto-reset circuit breaker. Fuses are inadequate for braking systems because they blow and stay dead. A circuit breaker allows the system to attempt a reset, which maintains a level of safety if a temporary fault occurs. Consult a guide to trailer brakes to ensure your setup aligns with Australian safety expectations.
Choosing the Right Wire Gauge
Electrical resistance creates heat and reduces the voltage reaching your trailer magnets. For power and ground feeds, 10-12 AWG (American Wire Gauge) is the standard. This thickness ensures minimal voltage drop over the length of the vehicle. Long-wheelbase utes or large caravans require the heavier 10 AWG wire to maintain consistent braking force. Using thin, inferior wire will cause the brakes to feel “spongy” or weak. Always source high-quality trailer parts that can withstand the high current draw of electric magnets.
The Australian 4-Wire Standard
Most modern controllers follow a standard four-wire configuration. You must identify these correctly to avoid wiring errors. The Red wire receives the signal from your brake light circuit. The Black wire provides constant 12V power from the battery via the circuit breaker. The White wire is your primary ground and must be bolted to a clean, paint-free section of the chassis. Finally, the Blue wire carries the modulated power output to the rear of the vehicle. For a detailed breakdown of the terminal positions at the back of the car, refer to our guide on trailer plug wiring. Using high-quality components during this phase ensures your system remains reliable across thousands of kilometres of corrugated roads.
Step-by-Step Installation: Wiring and Dash Mounting
Transitioning from planning to execution requires a steady hand and attention to detail. Understanding how to install a trailer brake controller involves more than just plugging in wires; it requires precise physical placement and secure connections. This process ensures the hardware communicates effectively with your vehicle’s computer without triggering error codes. Follow these steps for a clean, professional finish.
Step 1: Secure the main unit. Mount the brain of the controller to a solid bracket or internal dash panel. If the unit uses an internal accelerometer, it must be fixed firmly to a level surface. A loose unit will vibrate, causing the sensor to apply the brakes erratically during normal driving.
Step 2: Pass wiring through the firewall. Locate a factory rubber grommet on the firewall. Carefully pierce it and run your power (black) and ground (white) wires into the engine bay. Avoid sharp metal edges that could chafe the insulation and cause a short circuit over time.
Step 3: Connect to the brake signal. Locate the brake light switch above the brake pedal. Use a multimeter to find the “cold side” wire. This wire only carries 12V when the pedal is depressed. Tap the red controller wire into this circuit. Tapping into the wrong wire can cause cruise control failure or dashboard warnings.
Step 4: Route the blue output wire. Run this wire from the cabin to the rear of the vehicle. Follow the path of the factory wiring loom along the chassis rail. Use split conduit for protection and secure it every 300mm with heavy-duty cable ties.
Step 5: Fit the user interface. If you’re using a remote-head unit, mount the control knob in an accessible spot on the dashboard. Ensure it doesn’t obstruct your view of the gauges or interfere with the deployment of knee airbags.
Mounting the Controller Unit
Modern vehicle dashboards often lack flat surfaces for traditional bracket mounts. Remote-head controllers are the standard solution for late-model 4WDs and utes. These allow you to hide the main module behind the dash and install a small, discreet dial in a factory switch blank. This approach maintains the aesthetic of your interior while providing easy access to the manual override button. Always check for clearance behind the panel before drilling to avoid hitting HVAC ducts or factory wiring looms.
Wiring to the Trailer Plug
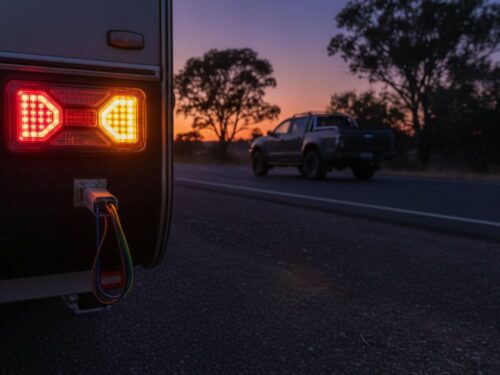
The final electrical connection happens at the trailer plug. In Australia, the blue brake output wire connects to Pin 5 on both 7-pin flat and round plugs. Ensure the terminal screw is tight and the wire is stripped back just enough to fit the terminal. On the trailer side, keep the loom secure and high. You can use galvanised u-bolts to clamp conduit or mounting brackets to the trailer frame. This prevents the wiring from sagging or snagging on obstacles when driving off-road. A solid earth connection to the chassis is also required to complete the circuit. This ensures your brakes receive full power when you need them most.
Calibration and Testing Your Braking Performance
Mastering how to install a trailer brake controller requires a systematic testing approach before you hit the highway. Completing the physical wiring is only the first step. You must now calibrate the system to ensure the electrical signal translates into effective stopping power. Start by reconnecting your vehicle battery and plugging in the trailer. Most modern units display a green light or a “C” for connected. If you see a flashing red light or no indicator, re-examine your ground connections and the blue output wire at the trailer plug.
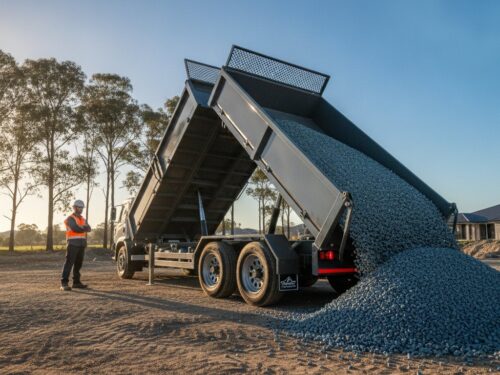
The “Gain” or “Output” setting is the most critical adjustment. This setting determines the maximum power sent to the trailer brakes when you step on the pedal. A trailer carrying a full load of gravel requires a higher gain setting than an empty box trailer. Start with the gain set to a low or mid-range. Use the manual slide or override button while moving at approximately 15 km/h. The trailer should slow the vehicle down noticeably without locking the trailer wheels. If the wheels skid, decrease the gain immediately.
Many units also feature a “Boost” setting. This adjusts how quickly the brakes reach their maximum power. Use a higher boost level for heavy tandem trailers to overcome the initial inertia of the load. For suburban driving with frequent stops, a lower boost setting prevents the brakes from feeling “grabby” or jerky at low speeds. Proper calibration prevents unnecessary wear on your tow vehicle’s brake pads and ensures the trailer remains stable during sudden stops.
The Road Test Procedure
Take your rig to a quiet, level road for a functional test. Accelerate to 40 km/h and apply the brakes firmly as you would in traffic. You should feel the trailer “tug” slightly on the back of the car. This indicates the trailer is doing its share of the work. If the vehicle’s nose dives excessively, increase the gain. If the trailer brakes feel like they are slamming on, back the setting off. Test the manual override function while driving straight. It should apply the trailer brakes independently, which is a vital technique for correcting trailer sway in high winds.
Troubleshooting Common Issues
If the “Trailer Connected” indicator fails to light up, the problem is usually a poor connection at the plug or a faulty earth. Use your multimeter to check for 12V at Pin 5 while the manual override is pressed. If the electrical signal is strong but the braking feels weak, the issue is likely mechanical. Inspect your axles and drum magnets for grease contamination or excessive wear. Jerky braking often points to an incorrectly mounted controller unit that is vibrating or tilted at an angle the accelerometer cannot process. If you find the brakes are still inconsistent after calibration, it is time to upgrade your braking hardware to ensure your setup is safe and reliable.
Optimising Your Braking System with Quality Hardware
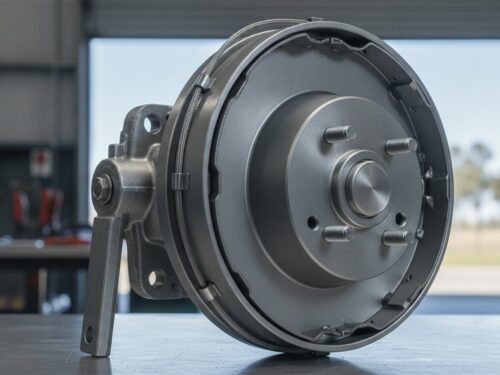
An electronic controller is only one half of a functional braking system. The electrical signal sent from your dashboard must be translated into physical friction at the wheel. This process relies heavily on the condition of your 10 Inch Electric Drum Brakes. When the controller applies power, the internal magnets engage the drum surface, forcing the brake shoes outward. If these magnets are worn or the drums are contaminated with grease, even the most expensive controller will fail to stop the trailer effectively.
Maintaining clean magnets and shoes is essential for consistent performance. Dust and road grime can build up inside the drum, which reduces the magnetic pull and leads to uneven braking. Inspect your braking hardware every 5,000 kilometres or before any long regional trip. This ensures that the time you spent learning how to install a trailer brake controller results in a reliable safety system. For those towing heavier loads, upgrading to dual axle tandem trailers provides superior stability and braking surface area. This is vital for trailers approaching the 3,500kg ATM limit.
Matching Controller to Brake Capacity
Every brake magnet draws a specific amount of current, usually around 3 to 4 amps. A single-axle trailer with two magnets draws roughly 6 to 8 amps. A tandem setup draws double that amount. You must ensure your controller and the associated wiring can handle this load without overheating. Using high-quality automotive-grade wire reduces electrical resistance and improves response times. High-quality components prevent the voltage drop that often causes “spongy” braking on large rigs. Always verify that your power supply circuit is rated for the total number of magnets in your system.
Beyond the Controller: Total System Integrity
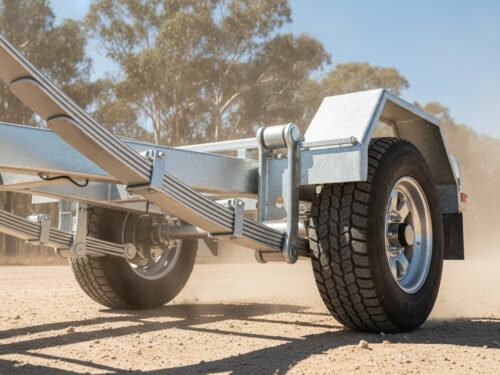
Braking performance is influenced by the entire trailer chassis. During your regular braking service, inspect the leaf springs and galvanised u-bolts for signs of stress or movement. Loose suspension components can cause the trailer to “hop” during heavy braking. This movement interferes with the controller’s accelerometer readings and leads to jerky stops. Even heavy duty single axle box trailers require precise calibration to prevent the wheels from locking on wet bitumen. If you are unsure about technical specifications or load ratings, contact our team for expert advice. Ensuring every component from the dash to the drum is in peak condition is the only way to achieve true towing safety.
Secure Your Rig for the Road
Superior Trailer Parts is Australian-owned and operated since 2014. We offer nationwide shipping on all braking components and provide expert technical support for DIY installers. Whether you’re building a new tandem trailer or upgrading an existing rig, we supply the industrial-grade parts you need to get the job done right. Don’t leave your safety to chance with inferior hardware.
Browse Professional Trailer Braking Systems & Parts
Frequently Asked Questions
Do I really need a brake controller for a light trailer?
You only need an electric brake controller if your trailer has a Gross Trailer Mass (GTM) exceeding 750kg and is fitted with electric brakes. Trailers under 750kg don’t legally require a braking system in Australia. If your trailer is between 750kg and 2,000kg, you can use mechanical over-ride brakes, but anything over 2,000kg requires an electric controller by law.
Can I install a trailer brake controller myself?
You can perform the installation if you have experience with automotive electrics and the correct tools. The process involves tapping into the brake light circuit and running high-current power lines through the firewall. However, modern vehicles with complex CAN bus systems require precision. If you aren’t confident with wiring, professional fitment prevents accidental damage to your vehicle’s electronic control units.
Where is the best place to mount the brake controller in my car?
The best location is within easy reach of the driver’s seat so you can access the manual override button in an emergency. For modern dashboards with limited flat surfaces, remote-head units are the most practical choice. Ensure the main module is fixed securely to a solid, level surface. This prevents vibration from interfering with the internal accelerometer and causing erratic braking performance.
Why are my trailer brakes locking up even at low settings?
Brake lock-up at low settings often points to an incorrect “Boost” level or a poorly positioned controller. If the boost is set too high for a light or empty trailer, the initial braking force will be too aggressive. It can also happen if the unit isn’t mounted level; the internal sensor misreads the vehicle’s deceleration. Check your mounting angle and reduce the boost setting first.
What wire colour is the brake controller output in Australia?
The blue wire is the standard colour for the brake controller output in Australia. This wire carries the modulated power from your unit to Pin 5 on a standard 7-pin flat or round trailer plug. When learning how to install a trailer brake controller, always use a multimeter to verify that Pin 5 receives a voltage signal when you apply the manual override button.
How do I test my brake controller without a trailer attached?
You can test the output using a multimeter or a 12V circuit tester at the vehicle’s trailer plug. Connect the positive probe to Pin 5 (blue wire) and the negative probe to Pin 3 (white wire). Have an assistant operate the manual override button in the cabin. You should see the voltage reading on the multimeter increase as the gain is turned up on the controller.
Will a brake controller work with a 7-pin to 12-pin adapter?
A brake controller will function correctly with an adapter provided the internal wiring follows the Australian standard. Most commercial adapters map Pin 5 correctly for the brake signal. You must ensure the adapter is high-quality and the pins are clean. Poor connections in an adapter can lead to intermittent signal loss, which makes your trailer brakes unreliable during a descent.
Does my vehicle already have a factory tow-pro harness?
Many modern Australian utes and 4WDs are manufactured with a pre-wired harness tucked behind the dashboard or kick panel. This factory plug simplifies the process of how to install a trailer brake controller by eliminating the need to tap into the brake light switch. Check your vehicle’s manual or look for a spare multi-pin connector near the steering column to see if a plug-and-play harness is available.