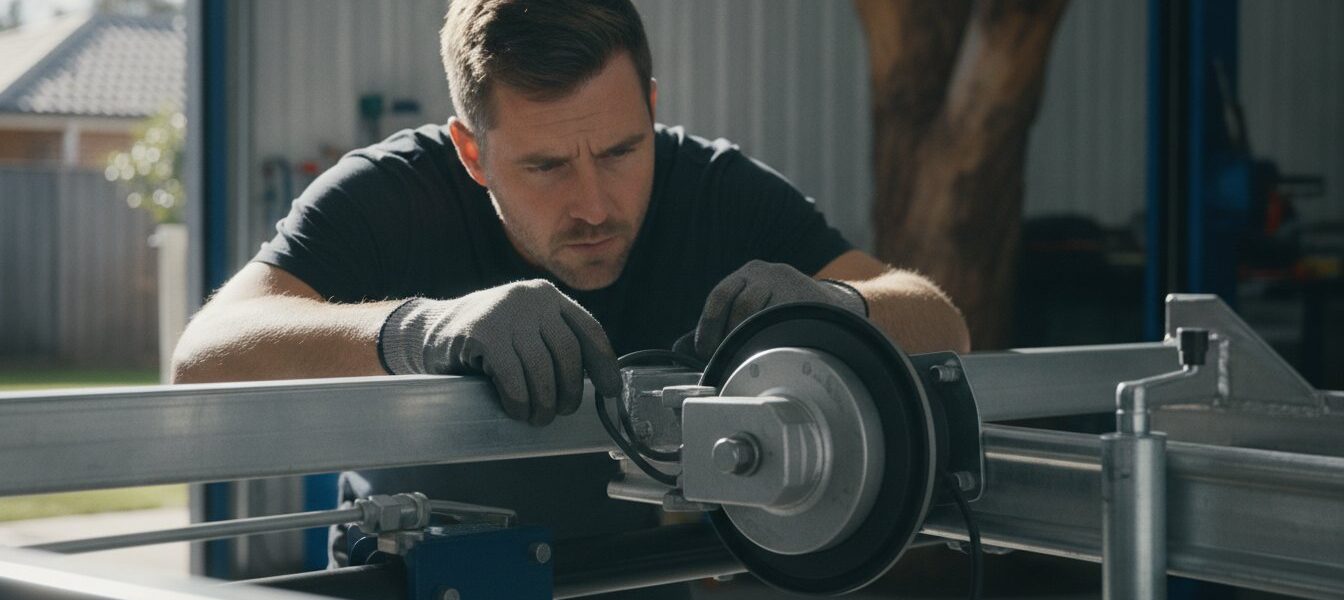
With over 5.5 million registered trailers currently on Australian roads, yours is only one inspection away from being grounded if it fails to meet strict national standards. Understanding how to make a trailer roadworthy requires more than just a quick visual check. It demands a technical approach to every component, from your 45mm square axles to the LED submersible tail lights.
Most owners feel a sense of dread when faced with differing state regulations or the fear of paying for expensive re-tests. We agree that the process should be straightforward and results-oriented. This article explains how to inspect, repair, and prepare your equipment to meet Vehicle Standards Bulletin 1 requirements. You will gain a clear checklist of roadworthy standards and the confidence that your replaced parts, such as 10 inch electric drum brakes or fixed couplings, are fully compliant. We provide a step-by-step breakdown of the hardware necessary to pass your safety inspection on the first attempt.
Key Takeaways
- Understand how your trailer’s Aggregate Trailer Mass (ATM) determines the specific braking and suspension requirements needed to meet Australian Design Rules.
- Identify structural risks in your chassis and suspension, focusing on axle straightness and the integrity of welds to ensure long-term durability.
- Learn exactly how to make a trailer roadworthy by inspecting high-wear components like couplings and brake drums for excessive play or mechanical failure.
- Verify the functionality of your electrical system, including LED submersible tail lights and wiring harnesses, to prevent simple faults from causing an inspection fail.
- Conduct a final safety walk-around to confirm your VIN plate is legible and all secondary equipment like jockey wheels are securely stowed.
Understanding National Roadworthy Requirements in Australia
Roadworthiness in Australia is defined by strict compliance with the Australian Design Rules (ADR) and the Vehicle Standards Bulletin 1 (VSB 1). It isn’t just a hurdle for registration; it’s a legal obligation for every trailer user. Even if your trailer is exempt from yearly inspections in your state, it must remain in a safe condition for public road use at all times. Understanding Vehicle inspection in Australia is the first step toward total compliance. Learning how to make a trailer roadworthy involves matching your hardware to your trailer’s specific weight rating and ensuring every component functions as intended by the manufacturer.
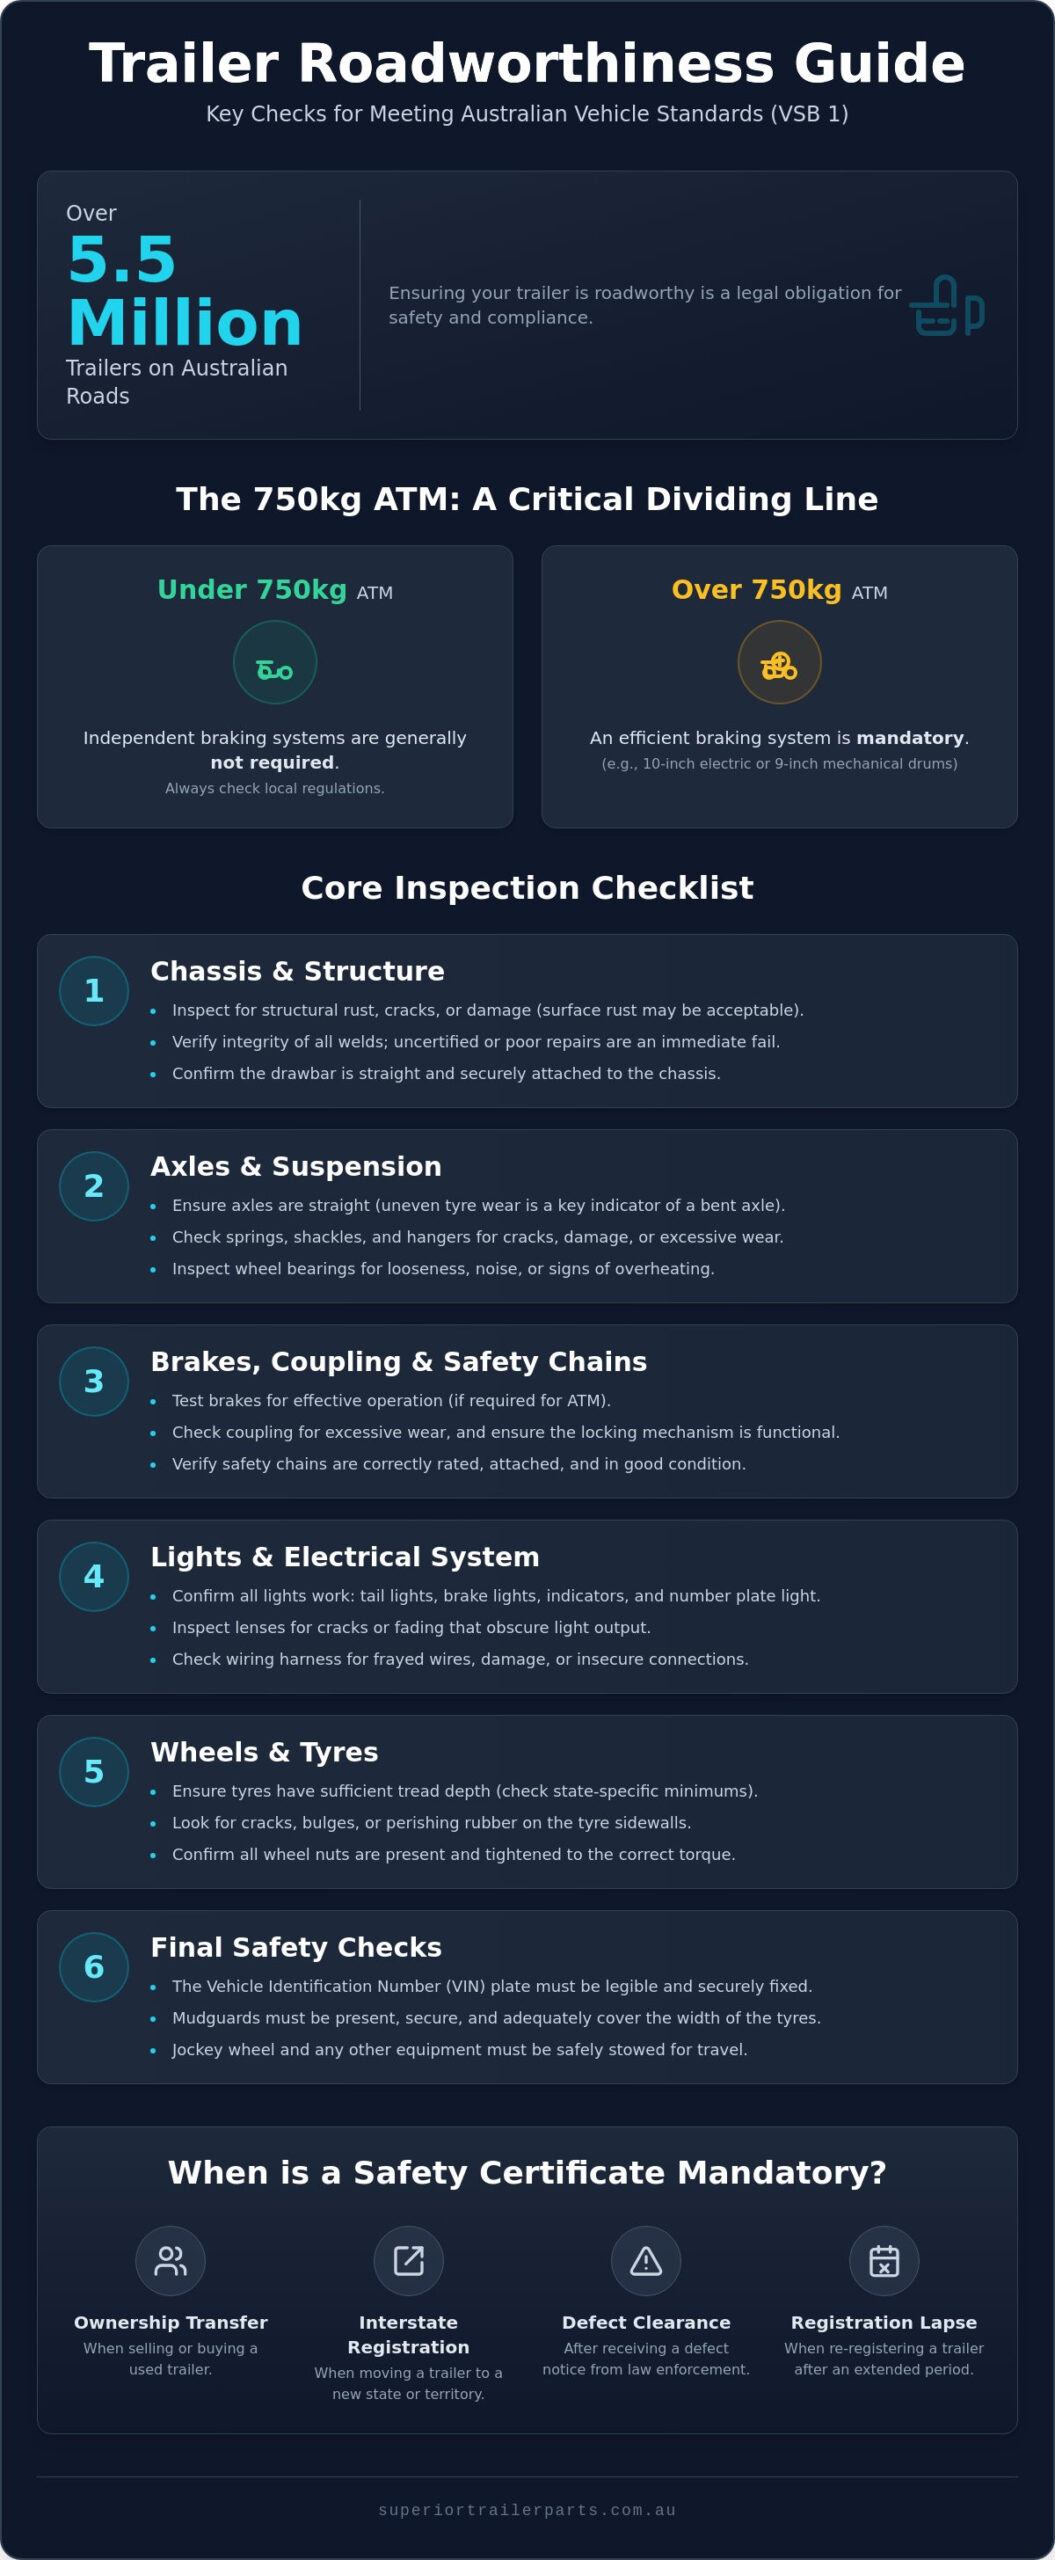
The 750kg Aggregate Trailer Mass (ATM) threshold is the most significant dividing line in trailer regulations. Trailers with an ATM under 750kg generally don’t require independent braking systems. Once you cross this weight, Australian law mandates the installation of efficient brakes, such as 9 inch mechanical drum brakes or 10 inch electric drum brakes. If you’re wondering how to make a trailer roadworthy, start by verifying your trailer’s actual weight against its plated capacity. Using undersized springs or axles is a common reason for inspection failure. For instance, a tandem axle trailer rated for 2,000kg requires heavy-duty components that can handle that stress under harsh Australian conditions.
Determining Your Trailer Category and ATM
The Aggregate Trailer Mass (ATM) is the total weight of the trailer plus its maximum load when it’s not hitched to a vehicle. This differs from Gross Trailer Mass (GTM), which is the weight transmitted to the ground by the trailer’s tyres when it’s coupled to a towing vehicle. You can find these figures on the VIN plate or manufacturer’s data plate, usually located on the drawbar or near the front of the chassis. If you exceed the rated capacity of your trailer parts, such as using a 39mm round axle for a load requiring a 50mm square axle, you’ll face an automatic roadworthy failure. Always ensure your hardware matches the plate specifications.
When is a Safety Certificate or Roadworthy Mandatory?
In most states, a safety certificate is required when selling a trailer, transferring registration across borders, or clearing a defect notice. Queensland requires a certificate for trailers between 750kg and 4,500kg ATM during a transfer. New South Wales utilizes Blue Slips for identity and safety checks on unregistered trailers and Pink Slips for annual renewals on certain heavy trailers. Common triggers for an inspection include:
- Ownership Transfer: Selling or buying a used trailer often requires a valid certificate.
- Interstate Registration: Moving a trailer from one state to another requires a local identity and safety check.
- Defect Clearances: If police issue a defect notice, an Authorized Inspection Station (AIS) must verify the repairs.
- Registration Lapses: Re-establishing registration after it has expired for a specific period (usually 3 to 12 months) requires a fresh inspection.
Authorized Inspection Stations conduct these assessments to ensure every component, from the coupling to the tail lights, meets national safety standards. Being proactive with maintenance saves time and avoids the cost of re-tests.
Inspecting the Chassis, Axles, and Suspension
The chassis is the foundation of your trailer’s structural integrity. During a roadworthy inspection, examiners look for fatigue in the metal, particularly near high-stress points like the drawbar junction and spring hangers. Surface rust is common on older units, but structural corrosion that thins the steel or creates holes will result in an immediate fail. Don’t attempt DIY weld repairs on a chassis unless you’re a qualified professional. Uncertified welds are a major red flag for inspectors and suggest compromised safety.
Axles must be perfectly straight to ensure correct tyre tracking and braking efficiency. If you notice uneven tyre wear on the inside or outside edges, your axle may be bowed from consistent overloading. Learning how to make a trailer roadworthy involves identifying if your current setup is fit for your specific ATM. Check the spindles for scoring or heat discoloration. These marks often indicate a previous bearing failure that has physically damaged the axle surface, requiring a full replacement to meet safety standards.
Axle and Bearing Integrity
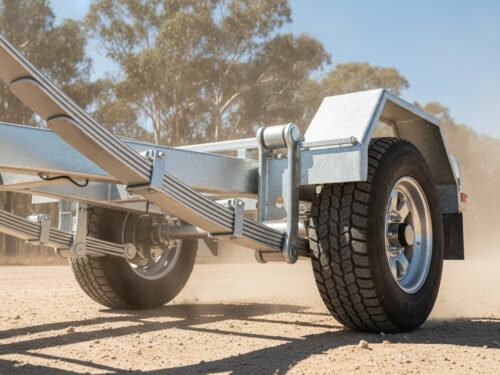
Identifying the difference between a 39mm round axle and a 45mm square axle is critical when sourcing replacements. You can find technical specifications in our axles category to match your trailer’s load rating. To check bearing health, perform the “shake test.” Jack up the trailer and grab the wheel at the top and bottom. If there’s noticeable movement or a clicking sound when you rock it, the bearings require adjustment or replacement. Smooth, silent rotation is the requirement for a pass.
Suspension and Spring Sets
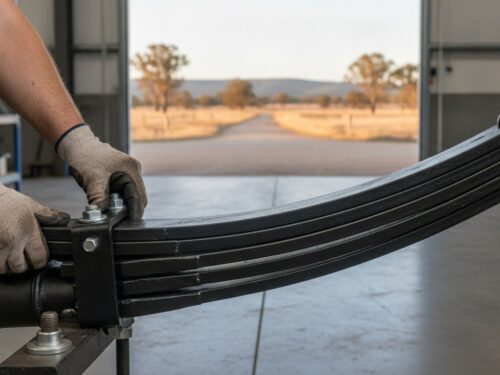
Suspension systems typically use either 4 leaf slipper springs or 5 leaf eye-to-eye springs. Slipper springs are standard on lighter trailers, where the rear of the spring slides in a keeper. Eye-to-eye springs use shackle bolts at both ends for a more controlled ride. Inspect each leaf for cracks or signs that the leaves have shifted out of alignment. If the trailer sits lower on one side, the springs have likely lost their temper and flattened out. It’s best practice to replace leaf springs in pairs. This ensures even load distribution and prevents the trailer from pulling to one side under load, which is a key factor in how to make a trailer roadworthy.
Mounting hardware is often overlooked but remains vital for safety. Check your U-bolts for signs of stretching or loose nuts. These components must be torqued correctly to prevent the axle from shifting on the springs during transit. If you find rust-weakened hardware, installing new U-bolt kits is a cost-effective way to secure your suspension before your inspection date.
Evaluating Braking Systems and Coupling Integrity
Brakes are a critical safety component that must align with your trailer’s Aggregate Trailer Mass (ATM). If your trailer’s ATM exceeds 750kg, it must have an efficient braking system. Failure to match the braking capacity to the load is a primary reason for inspection rejection. Beyond the hardware itself, inspectors check for fluid leaks in hydraulic lines and corrosion in electrical terminals. Knowing how to make a trailer roadworthy requires a thorough assessment of these mechanical and hydraulic systems to ensure consistent stopping power.
Braking Requirements by Weight
The type of brakes required depends entirely on your trailer’s weight tier. Use this breakdown to verify your current setup:
- Under 750kg ATM: No brakes are legally required. However, they can be fitted for added safety on smaller box trailers.
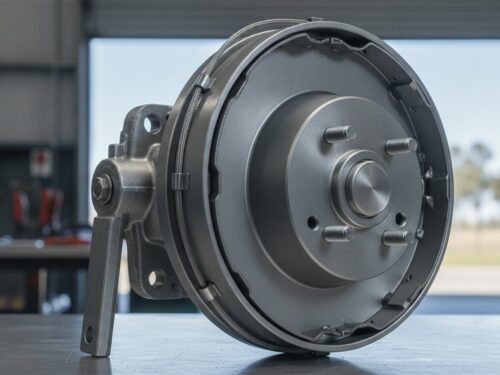
- 750kg to 2,000kg ATM: Over-ride braking systems are permitted. You can use 9 inch mechanical drum brakes or hydraulic disc brake kits. Mechanical systems use a cable, while hydraulic systems use a master cylinder integrated into the coupling.
- Over 2,000kg ATM: Power-actuated brakes are mandatory. This usually means 10 inch electric drum brakes controlled by an in-car brake controller.
- Over 2,000kg ATM (Breakaway): Trailers in this category must have a breakaway system. This device automatically applies the trailer brakes for at least 15 minutes if the trailer disconnects from the tow vehicle.
For boat trailers, hydraulic disc brake kits are often preferred over drum brakes due to better heat dissipation and easier rinsing after salt-water immersion. Ensure all lines are secured to the chassis with clips to prevent vibration damage during transit.
Coupling and Safety Chain Standards
The coupling is the primary connection point between your vehicle and trailer. Inspect the internal ball housing for wear. If there is excessive vertical play when hitched, the internal components are likely worn and require replacement. Check the functionality of the trigger or handle on your 2 hole or 3 hole fixed couplings. It should snap shut and lock firmly onto the 50mm tow ball. For trailers with over-ride brakes, the 4 hole over-ride coupling must slide freely without binding. The handbrake lever must also function correctly and hold the trailer on a grade.
Safety chains must be permanently fixed to the trailer frame by welding or a rated bolt. They cannot be attached via a shackle to the trailer side. Ensure the chain is rated for the trailer’s ATM. If you find cracks in the housing or a faulty locking mechanism, browse our range of couplings and parts to find a compliant replacement. A secure connection is essential to how to make a trailer roadworthy and ensures the safety of all road users.
Lighting, Wiring, and Tyre Safety Standards
Visibility and road contact are the most visible elements of an inspection. Every light on your trailer must function exactly as intended. This includes indicators, brake lights, park lights, and the number plate light. Inspectors also verify that all required reflectors are present and undamaged. If you’re researching how to make a trailer roadworthy, don’t overlook the electrical ground. A poor earth connection is the most common cause of intermittent lighting faults and inspection failure.
Lighting and Wiring Standards
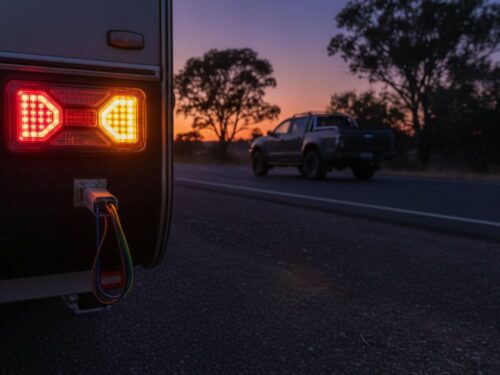
Upgrading to LED submersible tail lights is a practical move for long-term reliability. Unlike traditional bulbs, LEDs resist vibration and are sealed against moisture, which is essential for boat trailers. Ensure your wiring harness is secured to the chassis with clips or conduit to prevent sagging or snagging. Australian trailers generally utilize 7-pin or 12-pin plugs. If your vehicle and trailer have mismatched connections, using high-quality trailer plug adapters can resolve the issue instantly. If lights flicker, check the internal terminals of the plug for corrosion or loose screws before heading to your appointment.
Wheels, Tyres, and Mudguards
Tyre tread must be at least 1.5mm deep across the entire surface. However, tread depth isn’t the only metric inspectors use. Since trailers often sit idle for long periods, tyres are prone to “dry rot” or sidewall perishing caused by UV exposure. A tyre might have deep tread but still be unroadworthy due to structural cracking. A general rule is to replace trailer tyres every five to six years regardless of wear. Check your wheel rims for heavy rust, buckling, or cracks around the stud holes. These defects compromise the wheel’s ability to stay torqued and will lead to a fail.
Mudguards are another mandatory requirement. They must cover the full width of the tyre tread to prevent road spray and debris from hitting other vehicles. Ensure your guards are securely mounted and free from sharp, rusted edges that could pose a hazard. For those building or refurbishing, matching your wheel and tyre combo to the rated capacity of your 45mm or 50mm square axles ensures the entire assembly is legally compliant.
Ensure your trailer is visible and compliant by browsing our range of LED submersible tail lights and electrical accessories today.
Final Steps for a Successful Safety Inspection
The final phase of learning how to make a trailer roadworthy involves administrative accuracy and physical presentation. Your VIN plate must be securely attached and perfectly legible. If the numbers are obscured by paint or rust, or if they don’t match your registration papers, the inspector cannot verify the trailer’s identity. This leads to an immediate rejection before the mechanical assessment even begins. Verify that your tow vehicle is equipped with the correct ball size and a compatible plug to ensure the inspector can test the braking and lighting systems without delay.
The Pre-Inspection Checklist
Perform a final 10-minute walk-around at home before your scheduled appointment. This proactive check prevents simple oversights from costing you a re-test fee. Ensure the trailer is either completely empty or contains a legal, secured load if your state requires a weighted test for braking performance. Many owners use the specifications of heavy-duty single axle box trailers as a benchmark for what a compliant, road-ready build should look like. Check that every bolt is tight and no wiring is hanging below the chassis line.
Dealing with a Failed Inspection
If your trailer doesn’t pass, the inspector will issue a report detailing minor or major defects. Minor defects might include a blown bulb or a missing reflector, while major defects usually involve structural cracks, failed brakes, or compromised axles. Most states provide a 14-day window to rectify these faults. If you complete the repairs within this timeframe, you often only pay for a partial re-inspection rather than a full test. Knowing how to make a trailer roadworthy means acting quickly to source the necessary trailer spares. Replacing a faulty coupling or a worn leaf spring immediately ensures you meet the re-test deadline and get back on the road without further administrative hurdles.
Secure Your Registration with ADR-Compliant Maintenance
Passing a safety inspection depends on the quality of your hardware and the accuracy of your preparation. You now understand how to match braking systems to your trailer’s ATM and identify structural fatigue in your chassis or suspension. Correctly addressing these mechanical details is the core of how to make a trailer roadworthy. Taking a proactive approach to maintenance prevents expensive re-tests and keeps your equipment operational.
We are an Australian-owned and operated specialist providing nationwide shipping on all components. Our hardware is designed to meet strict Australian Design Rules (ADR). This ensures your repairs stand up to both the inspector’s scrutiny and the harsh conditions of the road. Don’t risk a failed inspection with inferior parts.
Browse high-quality trailer parts for your roadworthy repairs and get your trailer back on the road with total confidence.
Frequently Asked Questions
Do all trailers in Australia need a roadworthy certificate to be sold?
No, requirements depend on the trailer’s Aggregate Trailer Mass (ATM) and your specific state’s regulations. In Queensland, trailers with an ATM between 750kg and 4,500kg require a safety certificate before being offered for sale or transferring registration. In other states, an inspection is only mandatory if the registration has lapsed for a specific period. Always verify current state transport rules before listing your trailer.
Can I weld my own trailer chassis and still pass a roadworthy?
Structural DIY welds are often rejected by inspectors unless they meet professional engineering standards. Structural repairs to the chassis or drawbar must be performed by a qualified professional to ensure the metal’s integrity isn’t compromised. Uncertified or messy welds are a major red flag during an inspection. They suggest the trailer is unsafe for public roads and will likely result in an immediate fail.
What is the minimum tyre tread depth for a trailer to be roadworthy?
The minimum legal tyre tread depth is 1.5mm across the entire surface of the tyre. Inspectors also look for signs of sidewall perishing, cracks, or “dry rot,” which are common on trailers that sit idle. Even if your tread is deep, tyres older than six years are often considered a safety risk. Ensuring your tyres are fresh and correctly inflated is a basic step in how to make a trailer roadworthy.
Are safety chains mandatory on all trailers, regardless of weight?
Yes, safety chains are a mandatory requirement for every trailer on Australian roads. The chain must be permanently fixed to the trailer frame by a rated bolt or welding; it cannot be attached to the trailer side with a shackle. Trailers up to 2,500kg ATM require at least one safety chain. If the ATM exceeds 2,500kg, you must use two safety chains of a suitable designation and pull strength.
Do I need brakes on a trailer that weighs exactly 750kg?
Brakes are mandatory only when a trailer’s ATM exceeds 750kg. If your trailer is rated at exactly 750kg ATM, it doesn’t legally require a braking system under national standards. However, if the trailer and its load exceed this limit, you must install an efficient system such as 9 inch mechanical drum brakes. Always check your VIN plate to confirm your trailer’s specific weight rating before heading to an inspection.
What happens if my trailer fails its safety inspection?
If your trailer fails, you’ll receive a defect notice detailing the specific faults that need rectification. You typically have a 14-day window to repair the issues and return for a re-inspection. If you complete the repairs within this timeframe, you usually only pay a reduced re-test fee. Knowing how to make a trailer roadworthy involves sourcing compliant parts quickly to ensure you meet this deadline and avoid further costs.
How long does a trailer roadworthy certificate remain valid?
Validity periods vary significantly between Australian states and territories. In Queensland, a safety certificate for a private seller is valid for two months or 2,000km, whichever occurs first. In other regions, a certificate might only be valid for 30 days or a single registration transfer. It’s essential to plan your inspection close to your sale or registration date to ensure the document remains legally recognized.
Can I use LED lights if my trailer originally came with incandescent bulbs?
Yes, you can upgrade to LED submersible tail lights, and it’s highly recommended for better reliability. LEDs are more resistant to vibration and water ingress than traditional bulbs. You might need to use trailer plug adapters if your towing vehicle requires a specific connection. This upgrade is a practical way to ensure your lighting remains compliant and visible, reducing the chance of an inspection failure due to a blown bulb.