A trailer that fails to stop is a liability. You need reliable braking every time you hit the pedal. Many owners deal with brake fade on steep descents or find hubs seized by saltwater corrosion. Learning how to service trailer drum brakes is the only way to keep your equipment safe and compliant with Australian Design Rules. Proper maintenance ensures your trailer remains a tool rather than a hazard on the road.
Key Takeaways
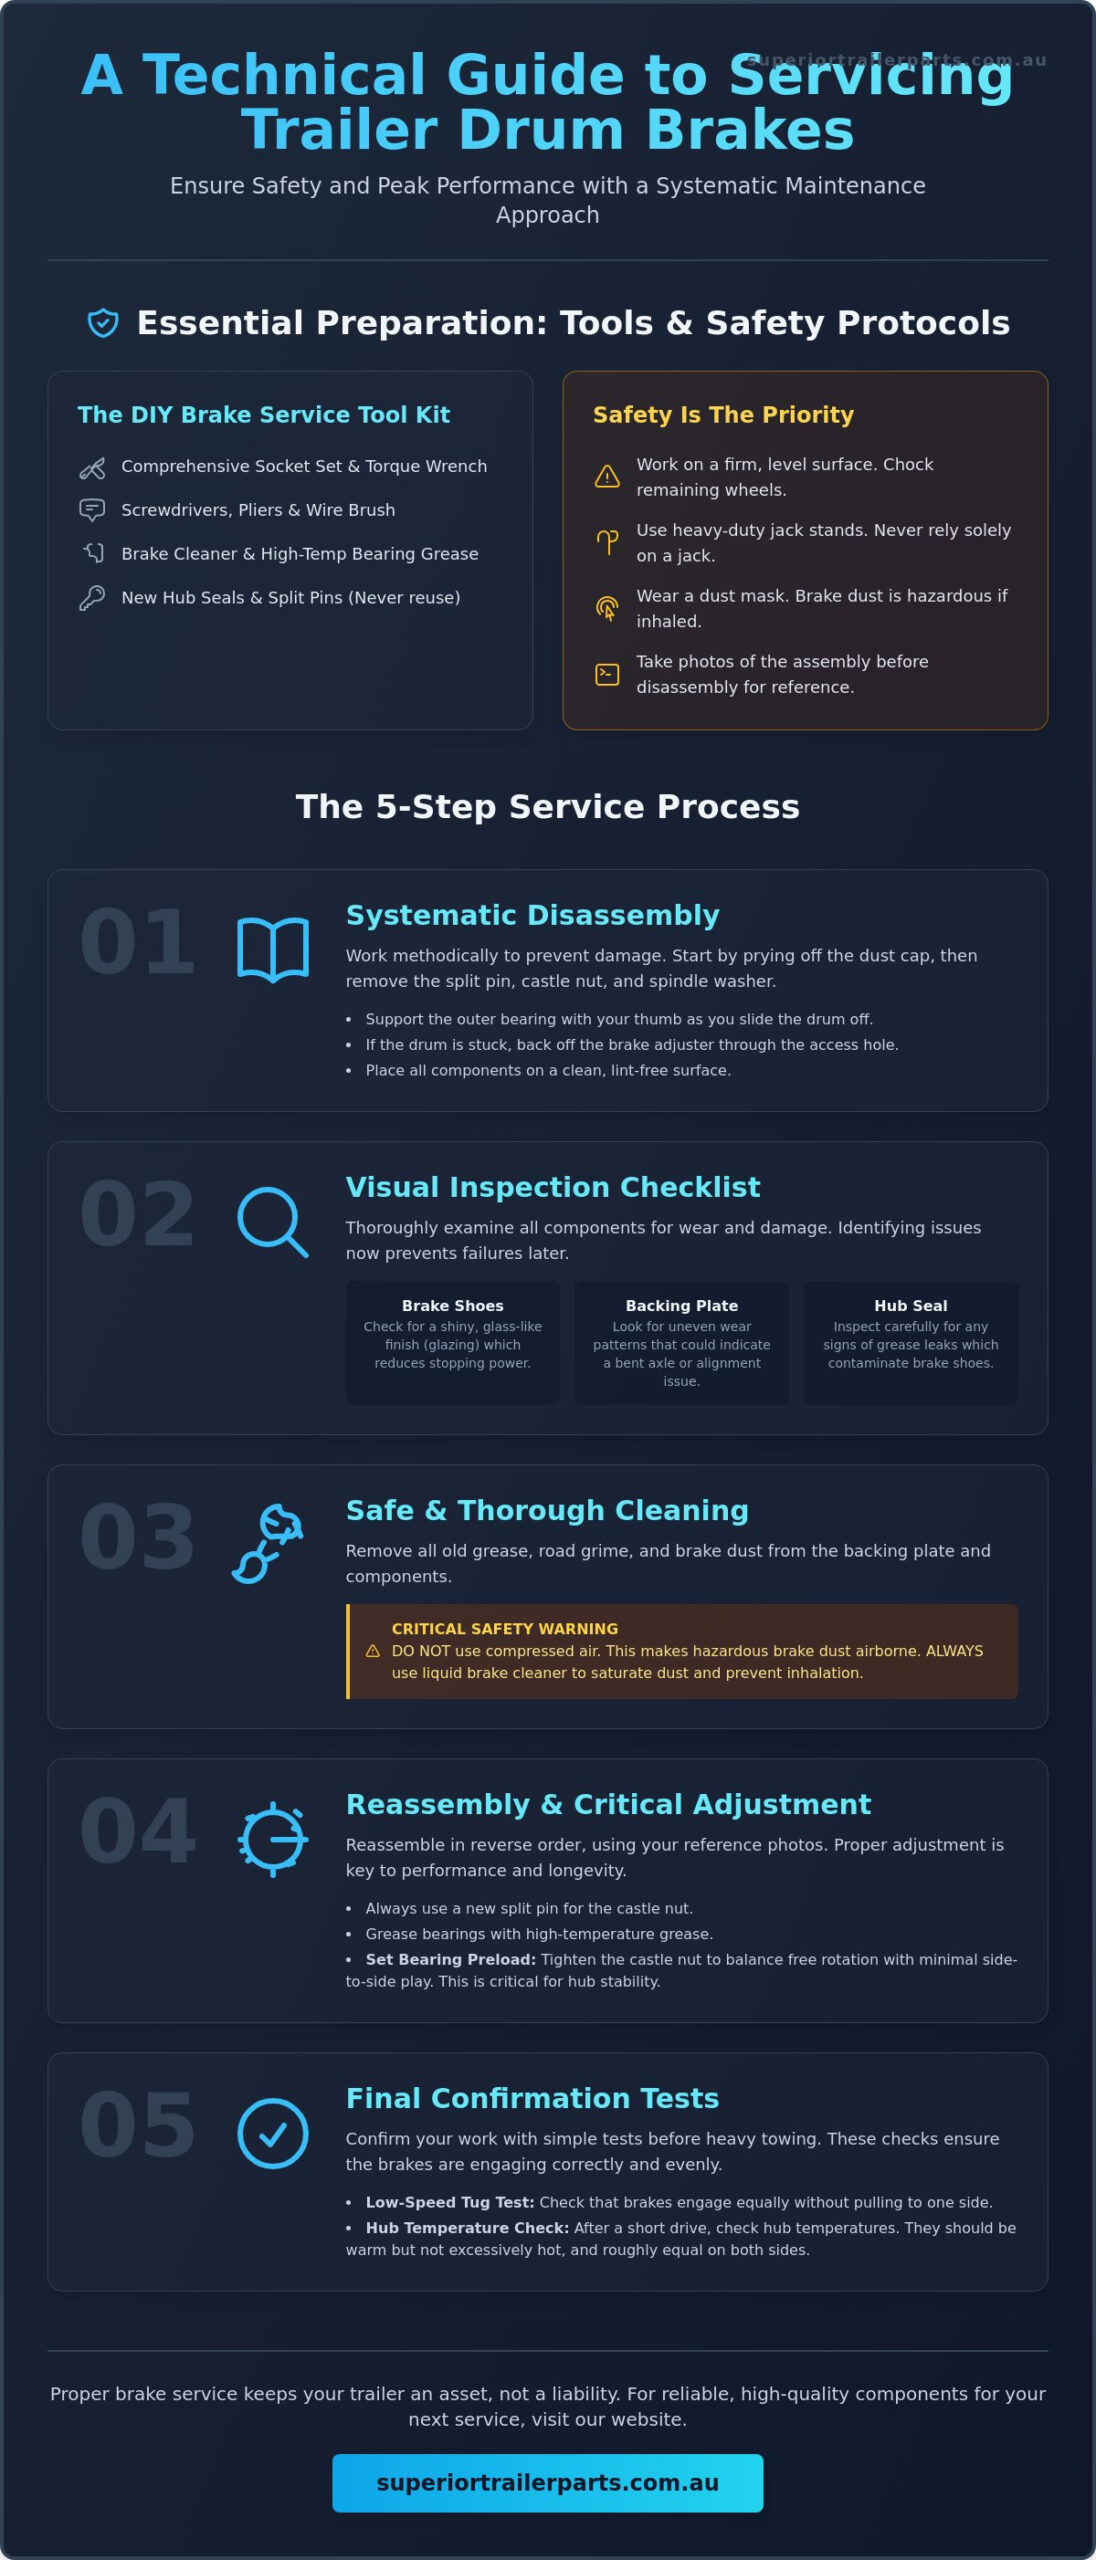
- Prepare your workspace with high-quality components and safety equipment. Always chock the wheels and ensure the trailer sits on level ground before you begin.
- Learn how to service trailer drum brakes by following a systematic disassembly process. This includes removing the dust cap and supporting the outer bearing as you slide the drum free.
- Prioritize safety by using dedicated cleaners to remove grease and dust from the backing plate. Avoid using compressed air to prevent the inhalation of hazardous particles.
- Ensure consistent performance by setting the correct bearing preload during reassembly. This requires precisely adjusting the castle nut to balance rotation and stability.
- Confirm reliability with a low-speed tug test and hub temperature checks. These simple tests prove your brakes are engaging equally and are ready for heavy towing.
Essential Tools and Preparation for Drum Brake Maintenance
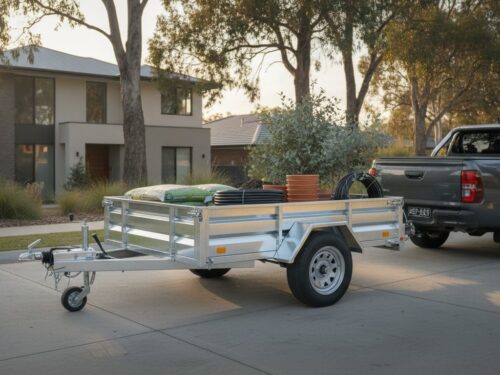
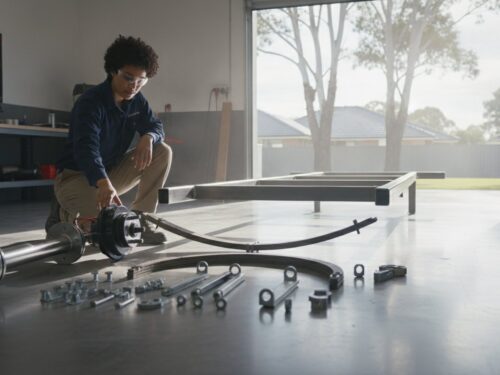
Proper preparation is the difference between a successful service and a trailer stuck on stands. You don’t want to be halfway through the job only to realize you’re missing a critical component. Start by gathering all necessary trailer parts, including new hub seals and split pins. Park the trailer on a firm, level surface. Chock the wheels that will remain on the ground. This prevents the trailer from shifting while you work. Use heavy-duty jack stands rated for your trailer’s Aggregate Trailer Mass (ATM). Never rely solely on a hydraulic jack for support while you’re working under the chassis.
Understanding how to service trailer drum brakes effectively starts with having a clean and organized workspace. Lay out a drop cloth or a drain pan to catch old grease and cleaning fluid. Having your torque wrench and a fresh can of brake cleaner within reach will save time and reduce frustration. This organized approach is standard practice for professional fleet managers and ensures that no step is overlooked during the inspection. A systematic setup prevents the contamination of new parts and keeps the work area safe.
The DIY Brake Service Tool Kit
You need a standard mechanical kit and a few specialized items to handle the job correctly. A comprehensive socket set, a large flat-head screwdriver, and needle-nose pliers are essential for basic disassembly. You’ll also need a stiff wire brush to remove road grime and scale from the drum brake components. Specialized brake spring tools make removing and installing high-tension return springs much safer and faster. Ensure you have high-temperature bearing grease on hand. Using the wrong grease can lead to liquefaction under heat, which may contaminate the brake shoes. Always use new split pins during reassembly. Reusing old pins is a safety risk. They can fatigue and snap, which may lead to hub failure on the road.
Safety Protocols and Work Area Setup
Safety is the priority when dealing with braking systems. Old brake assemblies often contain dust that is hazardous if inhaled. Wear a dust mask throughout the cleaning process. Use liquid brake cleaner to saturate the assembly. This prevents dust from becoming airborne. When you’re ready to lift the trailer, position your jack under the axle at the spring seat or a reinforced section of the frame. Avoid jacking directly on the center of the axle tube. This can cause permanent bowing and alignment issues. Once the wheel is off, take clear photos of the internal assembly from multiple angles. These photos are a vital reference. They show exactly how the primary and secondary shoes are positioned and how the adjuster mechanism is oriented before you move anything.
Step-by-Step Inspection and Disassembly of the Drum
Understanding how to service trailer drum brakes requires a careful approach to disassembly. You must work systematically to avoid damaging the internal hardware. Start by prying off the dust cap with a flat-head screwdriver. Once the cap is removed, use needle-nose pliers to straighten and pull out the split pin. This allows you to unscrew the castle nut. The castle nut maintains the bearing preload, which is critical for hub stability and wheel alignment. After removing the nut and the spindle washer, you can begin to pull the drum toward you.
Removing the Hub and Drum Assembly
Support the outer bearing with your thumb as you slide the drum off the spindle. This prevents the bearing from falling onto the ground and attracting contaminants. If the drum feels stuck, don’t use excessive force. It’s likely caught on a wear lip or the brake shoes are still expanded. Wiggle the drum gently while pulling to clear the shoes. If it remains stubborn, back off the brake adjuster through the access hole on the backing plate. Once the drum is free, place all bearings and washers on a clean, lint-free rag. Wipe away the old grease from the spindle and the interior of the hub to reveal the condition of the metal surfaces.
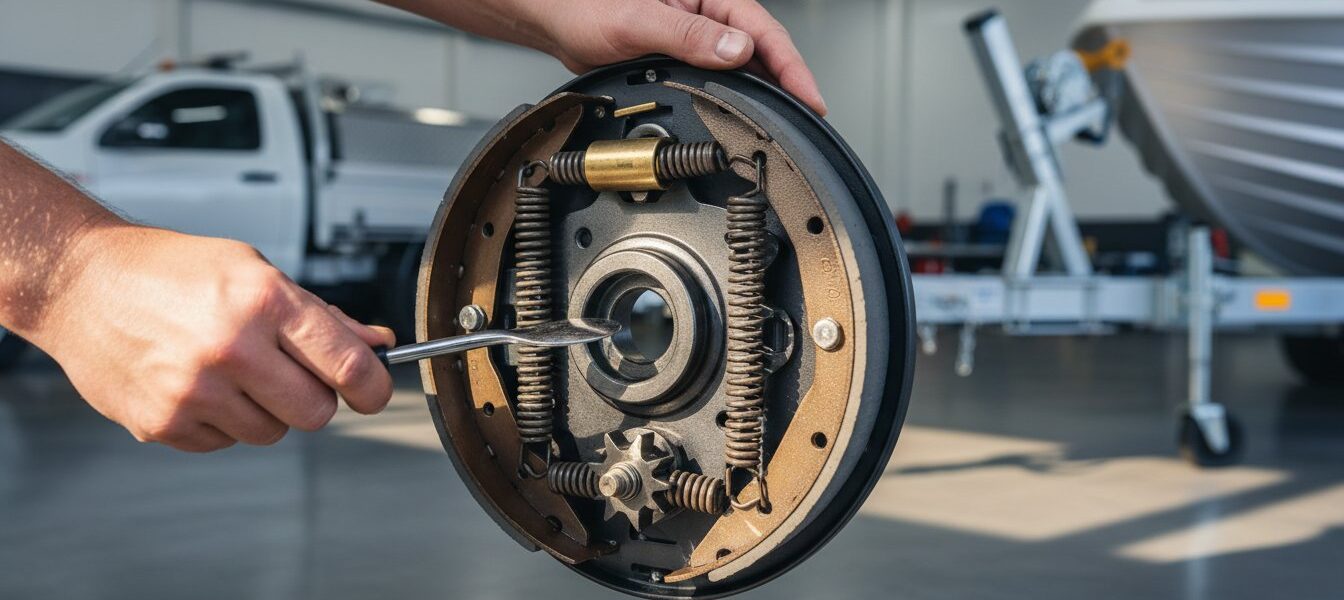
Visual Inspection Checklist
Examine the brake shoes for glazing, which appears as a shiny, glass-like finish on the friction material. Glazing occurs from excessive heat and significantly reduces your trailer’s stopping power. Check the backing plate for uneven wear patterns. Wear on only one side of the shoe often indicates a bent axle or a poorly adjusted cable. Look closely for grease leaks behind the hub seal. If you find grease on the brake shoes or the magnet, the seal has failed. Contaminated shoes cannot be cleaned effectively and must be replaced. If you find damaged components, source high-quality replacement trailer parts to ensure your system remains reliable.
Measuring Component Wear
Use a caliper to check the thickness of the brake shoe lining. The minimum shoe thickness required for safe operation is 1.5mm. If the lining is at or below this limit, replace the shoes immediately. Inspect the internal braking surface of the drum for deep scoring or blue heat spots. Use your caliper to check for an “out-of-round” condition by measuring the diameter at multiple points. If the measurements vary or if scoring is deeper than 0.5mm, the drum requires professional machining. Refer to Dexter Axle brake reassembly instructions for detailed technical specifications regarding component tolerances. If the drum is worn beyond its maximum diameter limit, it must be replaced entirely to maintain structural integrity.
Cleaning and Component-Specific Servicing Requirements
Effective cleaning is the most overlooked part of learning how to service trailer drum brakes. You must remove all accumulated road grime and friction dust to see the true condition of the hardware. Use a dedicated liquid brake cleaner to saturate the backing plate and all internal components. This method flushes away contaminants without making them airborne. You should never use compressed air to clean a brake assembly. Doing so aerosolizes hazardous brake dust, which creates a significant health risk in a confined workshop or garage. Once the assembly is wet, use a stiff wire brush to scrub away stubborn scale or corrosion.
If your inspection showed the brake shoes are still within the safe 1.5mm thickness limit, you can de-glaze them to restore performance. Use light-grit sandpaper, such as 80 or 120 grit, to scuff the surface of the friction material. Work in a circular motion until the shiny, glass-like finish is gone. This creates a fresh surface that can properly bite into the drum. After cleaning, apply a tiny amount of high-temperature brake lubricant to the contact points on the backing plate. These are the raised “bosses” where the metal part of the shoe rests. Be surgical with this application. Any excess grease can migrate to the shoes or the drum surface, which will cause immediate brake failure.
Servicing 10 Inch Electric Drum Brakes
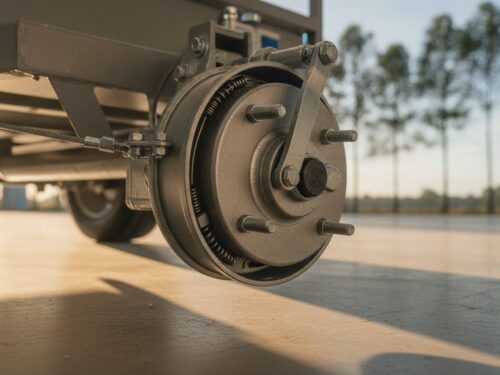
Electric systems rely on an electromagnetic magnet to pull the primary shoe into the drum. Inspect the face of the magnet for uneven wear or scoring. Most magnets have small indentations called wear pips. If these pips are no longer visible, the magnet is worn out and needs replacement. Check the wiring for any signs of fraying or heat damage near the entry point of the backing plate. Test the magnet arm by hand to ensure it moves through its full range without binding. The return spring on the arm must be strong enough to pull the magnet back to its neutral position when the current stops. Weak springs lead to dragging brakes and excessive heat buildup.
Servicing 9 Inch Mechanical Drum Brakes
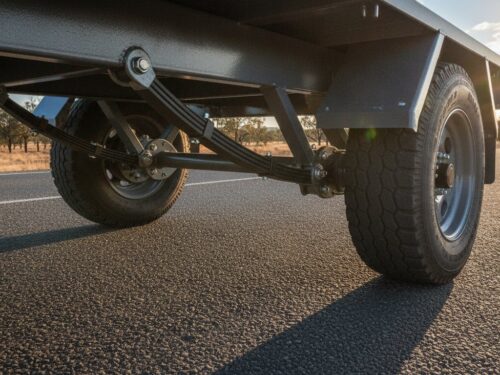
Mechanical setups, often found on override systems, use a lever and cam assembly to expand the shoes. These components are highly susceptible to corrosion, especially on boat trailers. Ensure the cam rotates freely and doesn’t stick in the “engaged” position. Apply a small amount of lubricant to the pivot points of the lever, but ensure no grease reaches the shoe linings. Check the return springs for signs of fatigue or severe rust. If the springs have lost their tension, the shoes won’t retract fully after you release the coupling. This causes the drum to overheat and can lead to a total loss of braking power during your next trip.
Reassembly and the Critical Brake Adjustment Process
Reassembling your braking system is a high-stakes task. You’ve already inspected the internals and cleaned the backing plate. Now you must put the components back together with precision. Slide the cleaned and greased drum back onto the stub axle carefully. Do not force the hub if it resists. You need to support the weight of the drum to keep the hub seal aligned as it passes over the spindle. If the seal catches on a shoulder or thread, it can tear and lead to a grease leak. Once the drum is seated, you’re ready to set the bearing preload and finalize the mechanical setup.
Setting the Bearing Preload
Preload is the specific balance between zero play in the hub and the free rotation of the wheel. To achieve this, tighten the castle nut with a wrench while spinning the drum by hand. This action seats the bearings into the races. Once the drum starts to feel heavy to turn, back the nut off about half a turn. Tighten it again, but only until it is finger-tight. You must align the slot in the castle nut with the hole in the spindle. Insert a new split pin immediately. Bend the legs of the pin firmly around the nut to lock it in place. Never reuse a split pin. A failed pin allows the castle nut to back off, which can lead to the hub detaching from the axle. After the hub is secure, check your couplings and parts to ensure the handbrake or override cables haven’t been pulled too tight during the process.
The “Click and Back-Off” Adjustment Method
Adjustment is the stage where many owners struggle. To do this correctly, locate the small adjustment slot, usually found at the bottom of the backing plate. Use a dedicated brake tool or a flat-head screwdriver to turn the star wheel. You should turn the wheel until the shoes expand enough to lock the drum completely. You shouldn’t be able to spin it by hand at this point. This step centers the shoes within the drum. Now, back the star wheel off between three and five clicks. This creates the necessary clearance for the drum to rotate without excessive drag.
The “feel” of the spin is the most important part of how to service trailer drum brakes. Give the wheel a firm push. It should spin for at least one or two full rotations. You should hear a very slight, rhythmic scuffing sound as the friction material barely kisses the drum surface. This is normal. If the wheel stops immediately, the shoes are too tight. Over-tightened brakes cause rapid heat buildup. This leads to brake fade and can eventually melt your bearing grease, causing a total hub failure on the highway. If you’re unsure of the adjustment, it’s better to be slightly loose than too tight. You can always tighten the star wheel another click after a test drive. If you need high-quality hardware to replace a seized adjuster, view our range of trailer parts to find a durable solution for your specific axle setup.
Final Testing and Troubleshooting for Australian Conditions
The job isn’t finished until you’ve verified the system under real-world conditions. Performing a low-speed tug test is the first step after you’ve lowered the trailer. Hook up your vehicle and engage the manual override on your electric brake controller or pull the handbrake lever slightly. Try to pull away slowly. The trailer should provide firm resistance and hold the vehicle back. If one wheel locks up while the other spins, your adjustment is unequal. This test ensures that your work on how to service trailer drum brakes has resulted in a balanced system that won’t cause the trailer to sway under heavy braking.
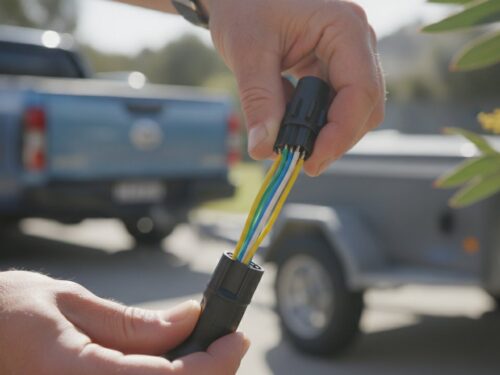
Take the trailer for a short five-minute drive involving several moderate stops. Once you return, carefully place your hand near the hub face. It should feel warm but never hot enough to burn. Excessive heat is a clear indicator that the shoes are dragging or the bearing preload is too tight. If the hub is cold, the brakes aren’t engaging at all. You should also verify that the override coupling or electric controller is triggering the brakes correctly. For those looking to upgrade their system for harsher environments, consult our brakes and calipers guide for advanced selection advice on 9 Inch Mechanical Drum Brakes and 10 Inch Electric Drum Brakes.
Bedding in New Brake Shoes
New friction material requires a burnishing process to seat properly against the drum surface. You should perform 20 to 30 slow stops from approximately 40 km/h down to 10 km/h. Allow a minute between each stop to prevent the shoes from glazing before they’ve settled. This process transfers a thin layer of friction material to the drum, which improves the friction coefficient and overall longevity. Avoid heavy emergency braking or steep descents during the first 100km of travel with new shoes. Proper bedding ensures the shoes wear evenly and provide maximum stopping power when you need it most.
Troubleshooting Common Post-Service Issues
If the trailer pulls to one side during braking, it’s usually caused by unequal star wheel adjustment or grease contamination on one shoe. Re-check the “click and back-off” settings on both sides. A “grabbing” sensation often points to a faulty magnet in electric setups or a drum that has become severely scored or out-of-round. Squealing is another common complaint. This is typically caused by a buildup of fine dust or glazed shoe surfaces from high-heat events. Understanding how to service trailer drum brakes means knowing when to pull the drum back off to scuff the shoes with sandpaper or clean the backing plate again. Constant maintenance is the only way to ensure reliable performance on Australian roads.
Maintain Reliable Stopping Power for the Long Haul
Regular maintenance is the only way to avoid brake fade and ensure your trailer stops predictably under load. You’ve learned that a systematic approach to inspection and cleaning reveals hidden wear that a visual check might miss. Precise adjustment of the star wheel and setting the correct bearing preload are the most critical steps for preventing overheating and mechanical failure. Mastering how to service trailer drum brakes gives you the confidence that your setup meets Australian road standards and is ready for harsh regional conditions. This proactive habit keeps your equipment reliable and protects your investment over thousands of kilometers.
If you find worn magnets, scored drums, or fatigued springs during your inspection, don’t compromise on safety with inferior hardware. We are an Australian-owned and operated specialist providing high-quality components engineered to endure local environments. We offer nationwide shipping on all brake parts to get you back on the road quickly. Browse our range of 9-inch and 10-inch trailer drum brakes and spares to find the exact fit for your axle. Keeping your braking system in peak condition ensures every journey is safe and hassle-free.
Frequently Asked Questions
How often should I service my trailer drum brakes?
You should service your trailer drum brakes every 30,000 km or before embarking on a long journey. Regular servicing is essential for identifying wear before it leads to a roadside failure. If you tow in harsh conditions, such as off-road tracks or coastal areas, increase this frequency. Learning how to service trailer drum brakes annually ensures that components like springs and adjusters remain free of corrosion and fully operational.
Can I use WD-40 to clean my brake assembly?
No, you must never use WD-40 or any petroleum-based lubricants to clean your brake assembly. These products leave a residue that contaminates the brake shoes and significantly reduces friction. Use a dedicated, non-chlorinated brake cleaner to flush away dust and grease. This ensures the braking surfaces remain dry and capable of providing maximum stopping power. Contaminated shoes cannot be saved and must be replaced immediately to maintain safety.
Why are my trailer brakes getting hot after a service?
Excessive heat after a service usually indicates that the brake shoes are adjusted too tightly against the drum. If you didn’t back off the star wheel by the recommended three to five clicks, the shoes will drag and generate friction. Another cause is over-tightening the castle nut, which puts excessive pressure on the wheel bearings. Re-check your adjustment settings and bearing preload immediately to prevent permanent damage to the hub assembly.
Do I need to bleed the brakes if I have mechanical drum brakes?
Mechanical drum brakes do not require bleeding because they operate using a physical cable or lever system rather than hydraulic fluid. Bleeding is only necessary for hydraulic disc or drum setups where air can enter the lines. For mechanical systems, focus your maintenance on lubricating the pivot points and ensuring the cables have the correct tension. Check that the return springs are strong enough to fully release the shoes after braking.
What is the difference between 9 inch and 10 inch drum brakes?
The primary difference lies in their braking capacity and the method of operation. 9 Inch Mechanical Drum Brakes are typically used on trailers up to 2,000 kg GTM and rely on override couplings. 10 Inch Electric Drum Brakes offer more stopping power and are controlled via an in-car electric controller. The larger surface area of the 10-inch drum handles heat more effectively, making it the standard choice for heavier tandem axle trailers.
How do I know if my brake magnets are worn out?
You can determine if your brake magnets are worn by inspecting the wear pips on the magnet’s friction surface. These small indentations act as depth gauges. If the pips are no longer visible, the magnet has reached its service limit and requires replacement. Also, look for exposed copper wiring or uneven wear across the face. Worn magnets won’t provide the necessary magnetic pull to engage the primary shoe effectively during heavy braking.
Is it better to replace the whole backing plate or just the shoes?
Replacing the entire backing plate assembly is often more practical than replacing individual shoes. A complete assembly comes with new shoes, magnets, springs, and adjusters already installed and correctly positioned. This saves significant labor time and ensures that all internal components are fresh and compatible. It’s a cost-effective way to restore your braking system to factory standards without the hassle of wrestling with high-tension return springs during a rebuild.
What should I do if my trailer has been submerged in saltwater?
You must flush the entire brake assembly with fresh water immediately after saltwater exposure. Saltwater accelerates corrosion on the backing plate, springs, and adjustment mechanisms, which can cause the brakes to seize. After flushing, it’s best to perform a full inspection to ensure no salt has bypassed the hub seals. Understanding how to service trailer drum brakes after a boat ramp launch is vital for preventing long-term structural damage to your axles and hubs.